


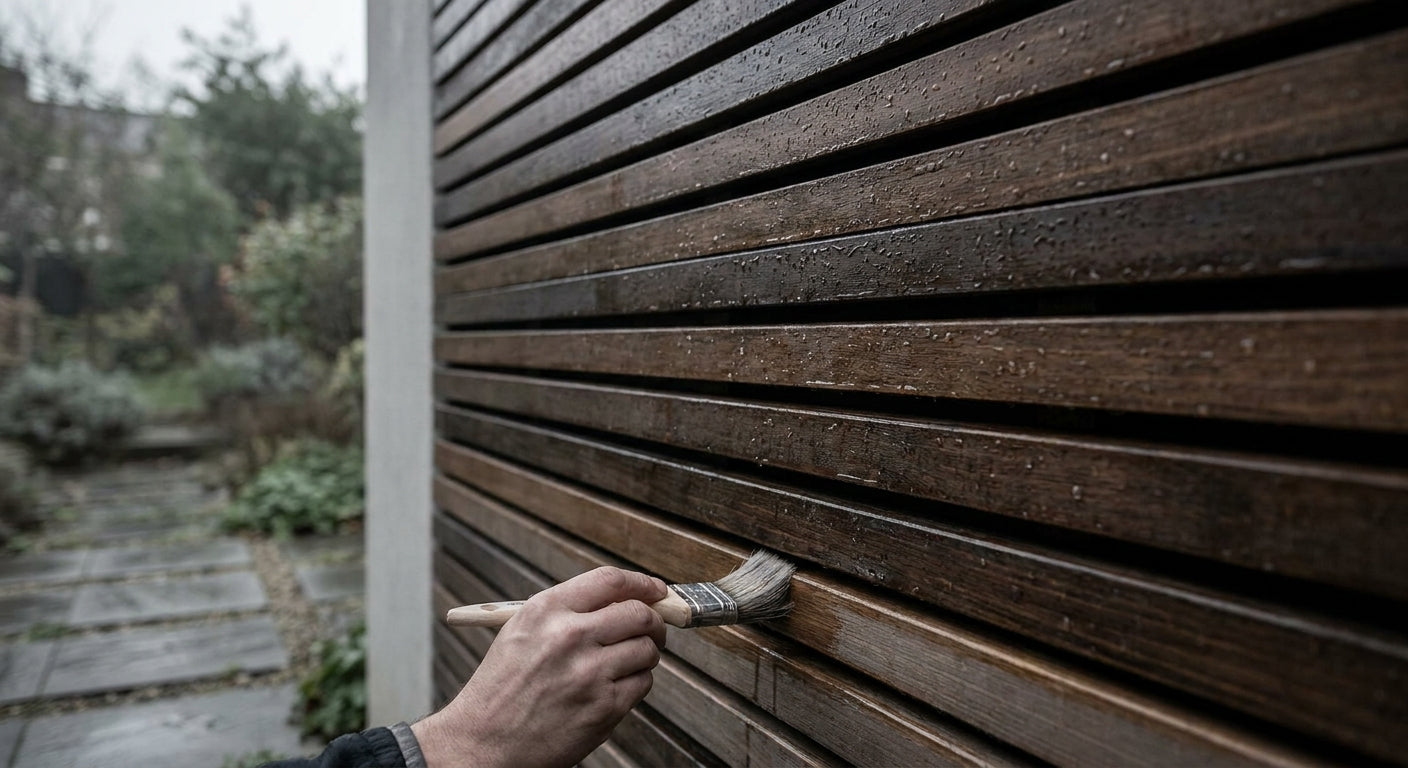
Wood slat panels look sharp on a covered porch, pergola, or exterior feature wall, but raw wood veneer without a waterproofing plan will cup, gray, and start rotting within two seasons outdoors. This guide covers the sealing steps, coating choices, and maintenance schedule that keep a slat panel wall standing up to rain, sun, and freeze-thaw well past its first year outside.
- Seal end grain and face veneer with an exterior-grade oil or polyurethane before install, not after.
- Standard indoor acoustic slat panels are not built for outdoor use in 2026 — a dedicated exterior wall panel is.
- Waterproof wood slat panels outdoor installs need at least 3 coats and a 1/4-inch drainage gap at the base.
- Reapply topcoat every 12-24 months in direct sun; covered porches stretch that closer to 3 years.
- Keep wood moisture content under 19% or rot risk climbs fast, even with a good seal.
Why This Matters
Indoor acoustic slat panels are built for climate-controlled rooms — steady humidity, no direct UV, no standing water. Take the same veneer outside without prep and the wood swells on wet days, shrinks on dry ones, and the slats start cupping by the second summer.
That's why AKU Woodpanel splits its catalog: acoustic slat panels for interiors, and a separate exterior wall panel line engineered for weather exposure. If your project is a covered patio, cladding, or fence accent, starting with an exterior-rated panel saves you the sealing labor described below. If you're determined to waterproof a slat panel that wasn't built for outdoor use, the steps still apply — they just need to be more aggressive and repeated more often.
What You'll Need
- Fine sandpaper, 120 and 180 grit
- Tack cloth or a stiff brush for dust removal
- Exterior-grade penetrating oil or marine spar polyurethane
- A UV-blocking exterior topcoat (separate from the base oil)
- Natural bristle or foam brush, 2-3 inches wide
- Stainless steel or coated exterior fasteners
- Finishing trim rated for outdoor use
- A moisture meter (a $20-$40 pin meter works fine)
- Painter's tape and drop sheets
The Steps
1. Confirm the panel is actually rated for exterior exposure
Check whether the panel in front of you is an interior acoustic slat or an exterior-rated product before you spend a weekend sealing it. Interior veneers are often bonded with adhesives and MDF backers that swell when wet, no matter how good the topcoat is. If the backer isn't exterior-grade, no amount of sealant fixes that — swap to an exterior wall panel instead.
Common mistake: assuming any wood-look panel can be waterproofed with enough coats. The backer material matters as much as the finish.
2. Sand and clean the face veneer
Start with 120-grit to open the wood grain, then finish with 180-grit for a smooth surface that won't trap dust under the sealant. Wipe every panel down with a tack cloth — any dust left behind shows up as a rough patch once the finish dries.
Do this step in 2026's dry season if you're in a humid region; wood absorbs finish more evenly below 60% relative humidity.
3. Seal the end grain first, twice
End grain — the cut edges at the top and bottom of each slat — absorbs water 10-15 times faster than the face grain. Brush on two coats of penetrating oil or sealant on every exposed edge before touching the face. Let each coat sit 15-20 minutes, then wipe off the excess.
Common mistake: sealing the face and skipping the ends because they're hidden after install. Water finds the ends first, and rot always starts there.
4. Apply the base coat to the face
Brush on your penetrating oil or exterior polyurethane in thin, even coats, following the grain direction. Two to three coats is the minimum for genuine outdoor exposure — one coat looks fine on day one and fails by month six. Let each coat cure fully (check the product label; most need 24 hours) before adding the next.
5. Add a UV-blocking topcoat
Sun exposure, not rain, is what turns wood gray and brittle first. A separate UV-blocking topcoat over the base sealant slows that fading and keeps the wood flexible instead of chalky. Panels facing south or west need this step even if they're under a roof overhang, since reflected UV still reaches the surface.
6. Build in a drainage gap at the base
Mount the bottom row of slats with a 1/4 to 1/2-inch gap off the deck, patio, or ground. Standing water at the base is the single fastest way to rot an otherwise well-sealed panel — moisture wicks up through the grain even when the surface finish is intact.
Use a finishing trim to close the visual gap without closing the drainage path. AKU Woodpanel's exterior panel finishing trim is built for exactly this — it frames the edge while leaving airflow underneath.
7. Use fasteners and hardware rated for outdoor exposure
Standard interior screws rust within a season outdoors and leave dark streaks bleeding down the panel face. Stainless steel or coated exterior screws, like the exterior panel screws built for exterior wall panel installs, cost a little more per box and save you from replacing panels stained by rust runoff.
Common mistake: reusing leftover interior fasteners because they're already in the toolbox. That's how you end up with orange streaks by spring.
8. Set a reapplication schedule and inspect twice a year
Waterproofing isn't a one-time job. Mark a calendar reminder for spring and fall inspections — check for cracking finish, gray patches, or soft spots with a screwdriver tip. In direct sun, plan to reapply the topcoat every 12-24 months; under a covered porch, that stretches to about 3 years.
Troubleshooting
Wood is graying despite the sealant. UV is breaking down the topcoat faster than expected — switch to a product with a higher UV-blocker concentration and reapply annually instead of every two years.
Slats are cupping or warping. Moisture content is uneven between the face and back of the panel. Check with a moisture meter; if it reads above 19%, the panel needs to dry out fully before any recoat will hold.
Black spots appearing on the surface. That's mold, not rot, usually from trapped moisture behind the panel. Pull the panel, check for a drainage gap, and treat the spot with a diluted bleach solution before resealing.
Rust streaks bleeding from screw heads. The fasteners aren't stainless or coated. Replace them — patching the stain without swapping the screw just delays the same streak coming back.
Finish is peeling in sheets rather than wearing evenly. Too many coats were applied without full cure time between them. Strip back to bare wood and restart the sealing sequence with proper dry time.
Gaps opening between slats at the seams. Normal wood movement with the seasons — a small gap is expected. If gaps exceed 1/8 inch consistently, the panel was installed too tight for the climate and needs re-spacing.
Tools And Resources
- Exterior-grade penetrating oil or marine polyurethane
- Separate UV-blocking topcoat
- Moisture meter
- Exterior panel screws — coated or stainless fasteners
- Exterior panel finishing trim — closes gaps without blocking drainage
What To Do Next
Once the panel is sealed and mounted, the bigger risk shifts from the finish to the climate the panel sits in. A step-by-step breakdown of full weatherproofing — beyond just the coating — is worth reading before you finish the install: how to weatherproof exterior wall cladding panels covers flashing, joint sealing, and climate-specific adjustments in more depth than a single sealing guide can.
FAQ
Can you waterproof indoor acoustic slat panels for outdoor use?
You can improve their water resistance with sealant and a UV topcoat, but most indoor slat panels use backers not built for outdoor exposure. An exterior-rated panel lasts longer with less maintenance in 2026 conditions.
How often do outdoor wood slat panels need resealing?
Every 12 to 24 months in direct sun, or roughly every 3 years under a covered porch. Inspect twice a year and reseal sooner if the finish looks chalky or cracked.
What's the best sealant for waterproofing wood slat panels outdoor?
A penetrating exterior-grade oil or marine spar polyurethane as a base coat, followed by a separate UV-blocking topcoat, gives the best combined water and sun protection. Two coats minimum, three for high-exposure walls.
Does wood moisture content matter after sealing?
Yes. Keep it under 19% even with a good seal in place. Sealant slows water absorption, it doesn't stop it entirely, so trapped moisture behind the panel still causes rot.
Do I need a drainage gap at the base of outdoor slat panels?
Yes, a 1/4 to 1/2-inch gap off the ground or deck surface. Standing water at the base rots the bottom row faster than any other part of the panel, regardless of how well it's sealed.
Are stainless screws necessary for outdoor wood panels?
Standard interior screws rust within one season outdoors and leave visible dark streaks down the wood face. Stainless or coated exterior fasteners avoid that entirely and last through multiple seasons.
What causes graying on outdoor wood panels?
UV exposure breaks down the surface finish and the wood's natural tannins, causing a silver-gray look. A dedicated UV-blocking topcoat, reapplied annually in high-sun spots, slows this significantly.
One Last Thing
End grain absorbs water 10 to 15 times faster than the flat face of the board, which is exactly the spot most people skip when they're in a rush to finish a weekend project. Seal the ends twice before you touch the face, and the rest of the waterproofing job holds up far longer in 2026's weather swings.
“Seal the end grain first — that's where every outdoor wood panel actually starts to fail.”





 Better performance and aesthetic appeal
 In Stock




