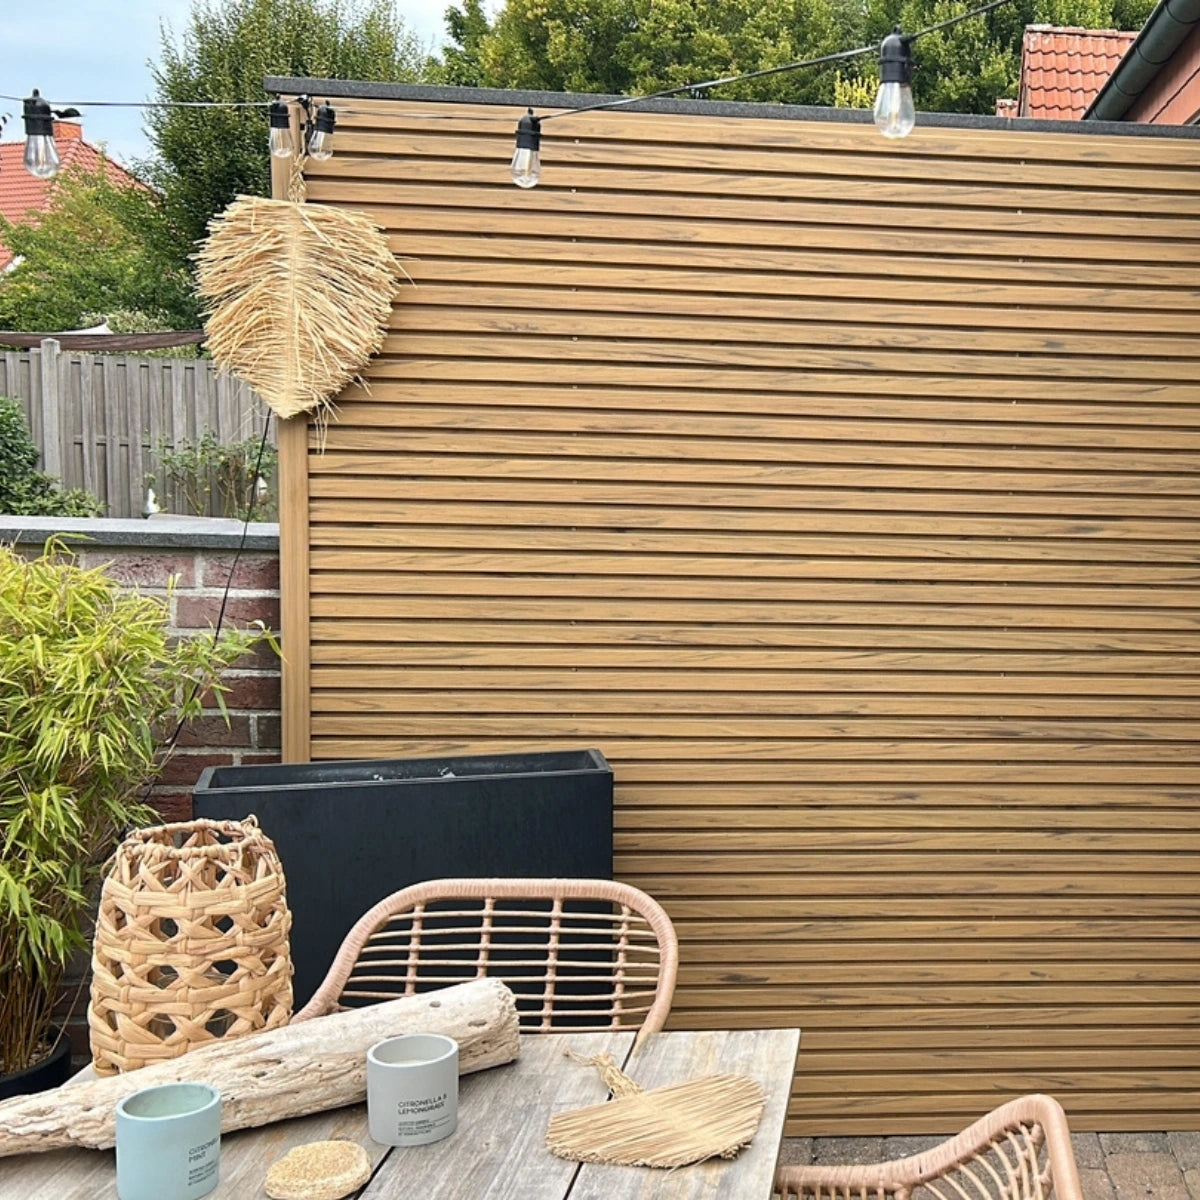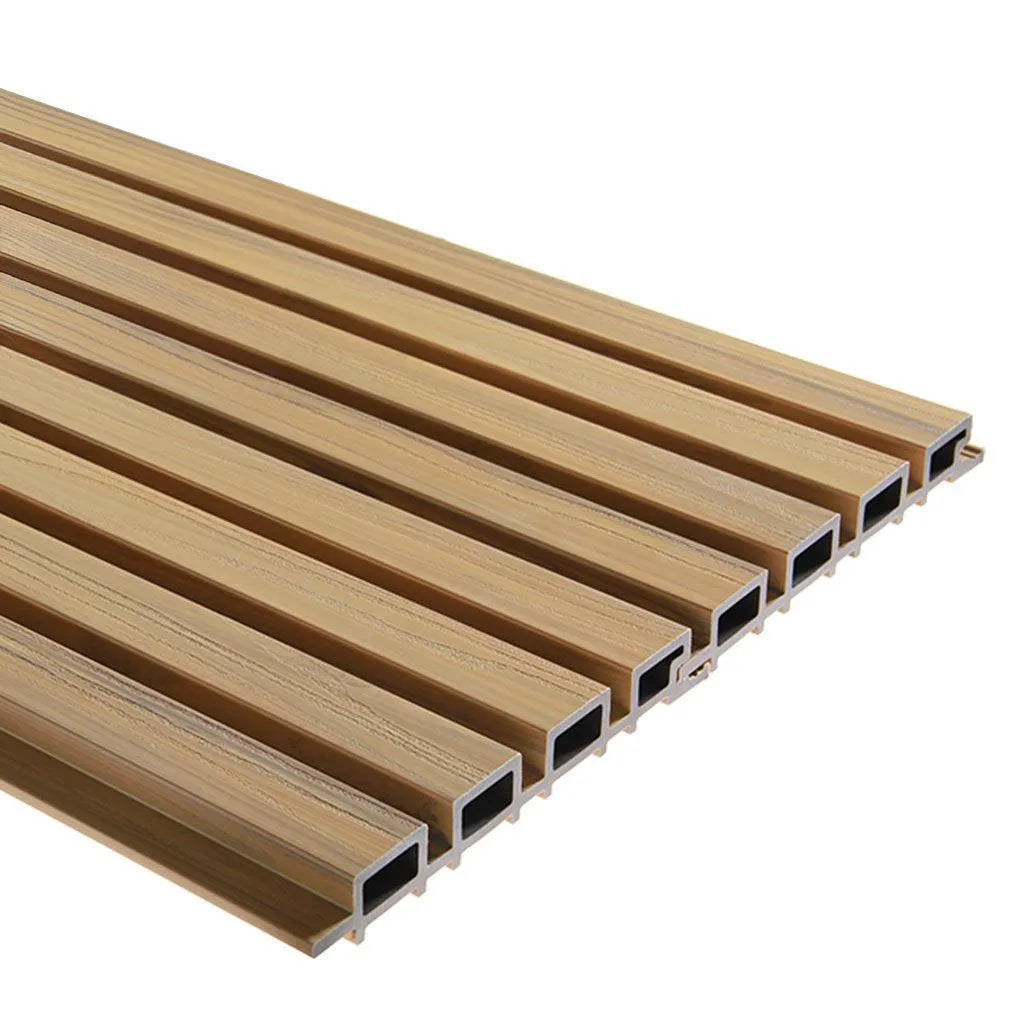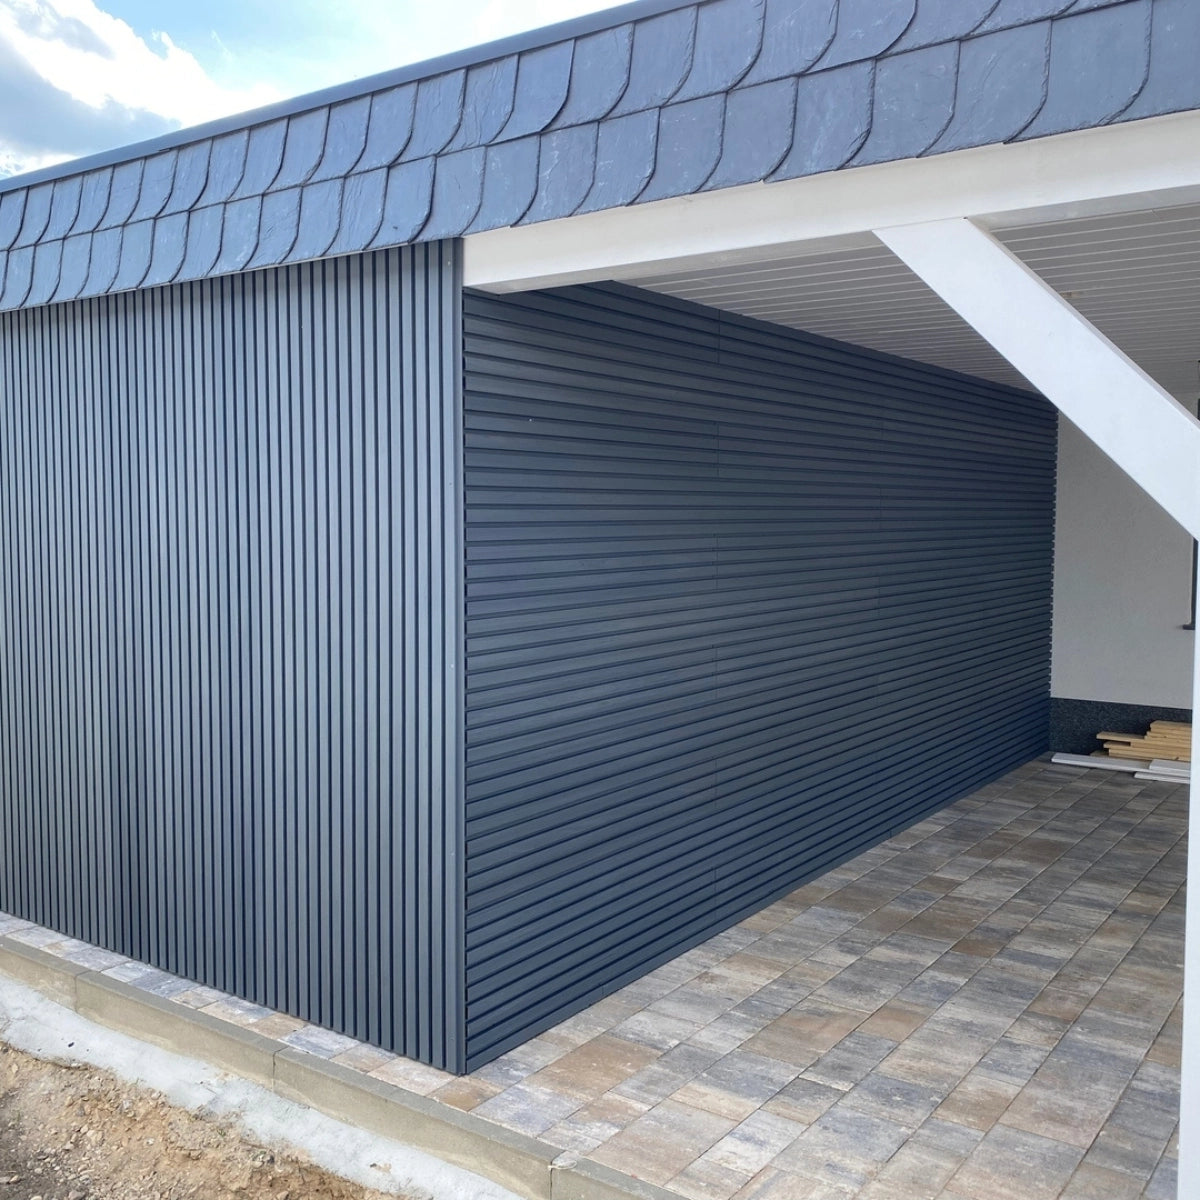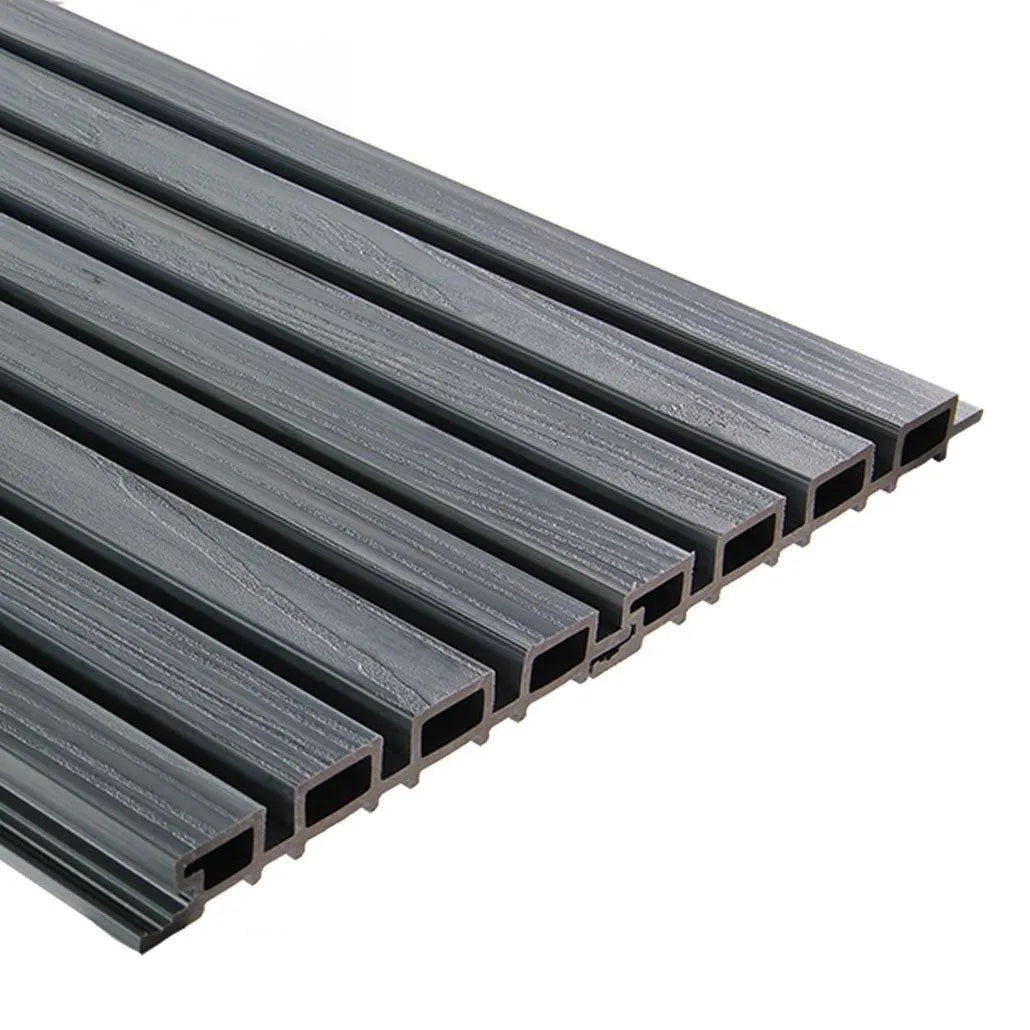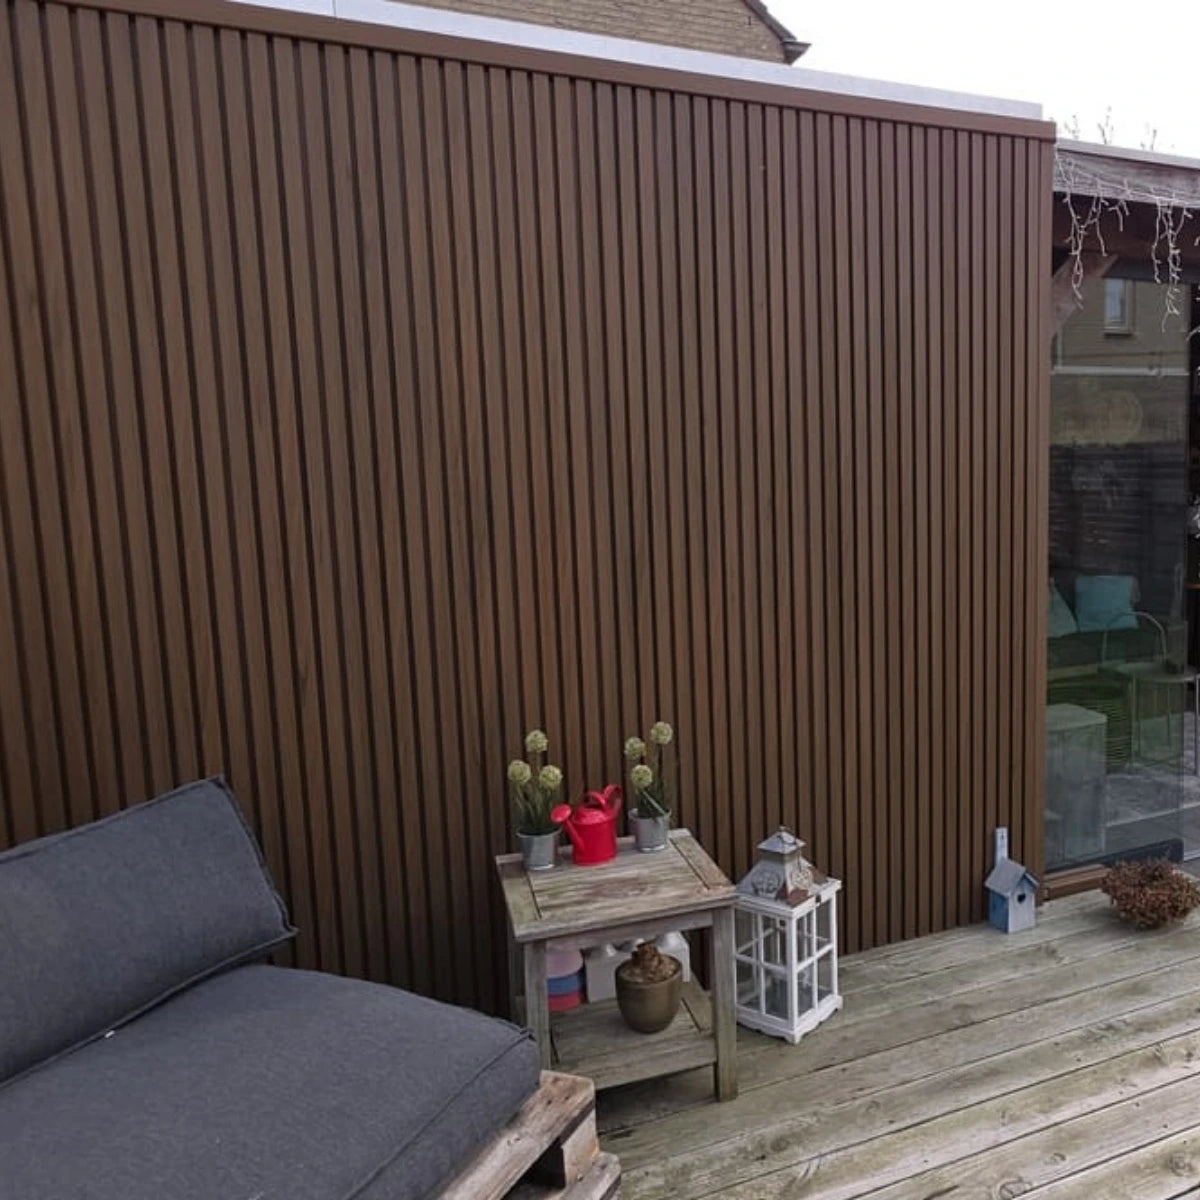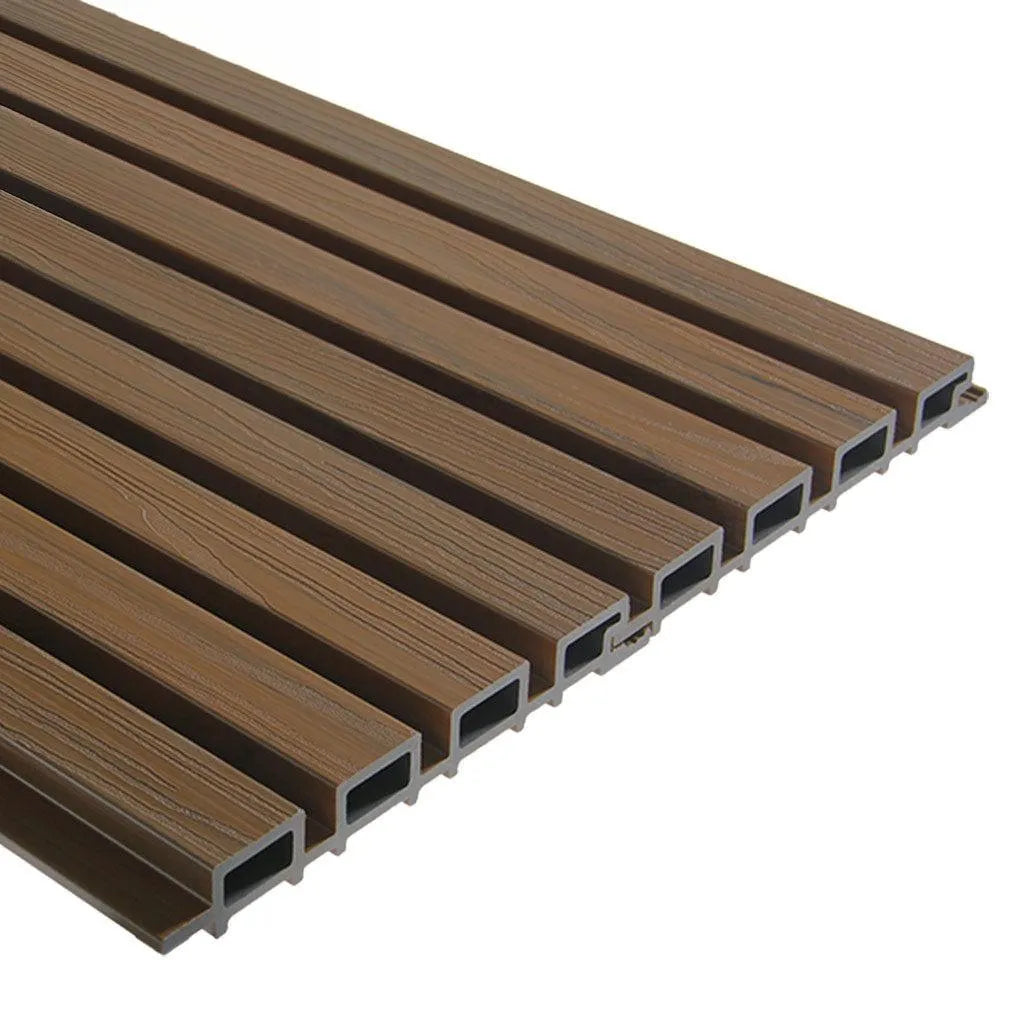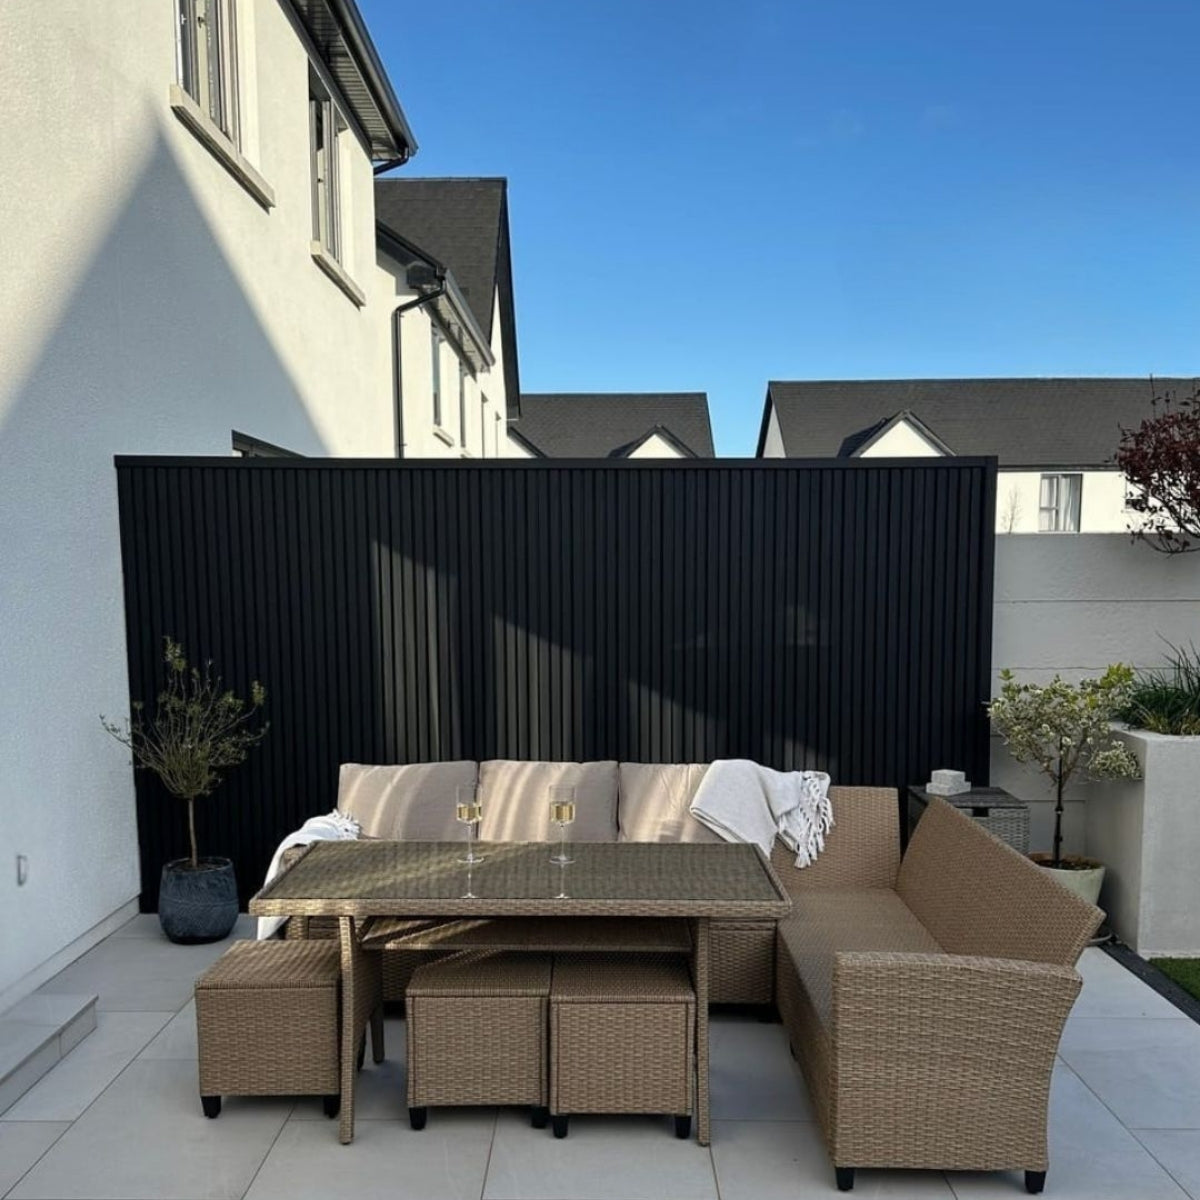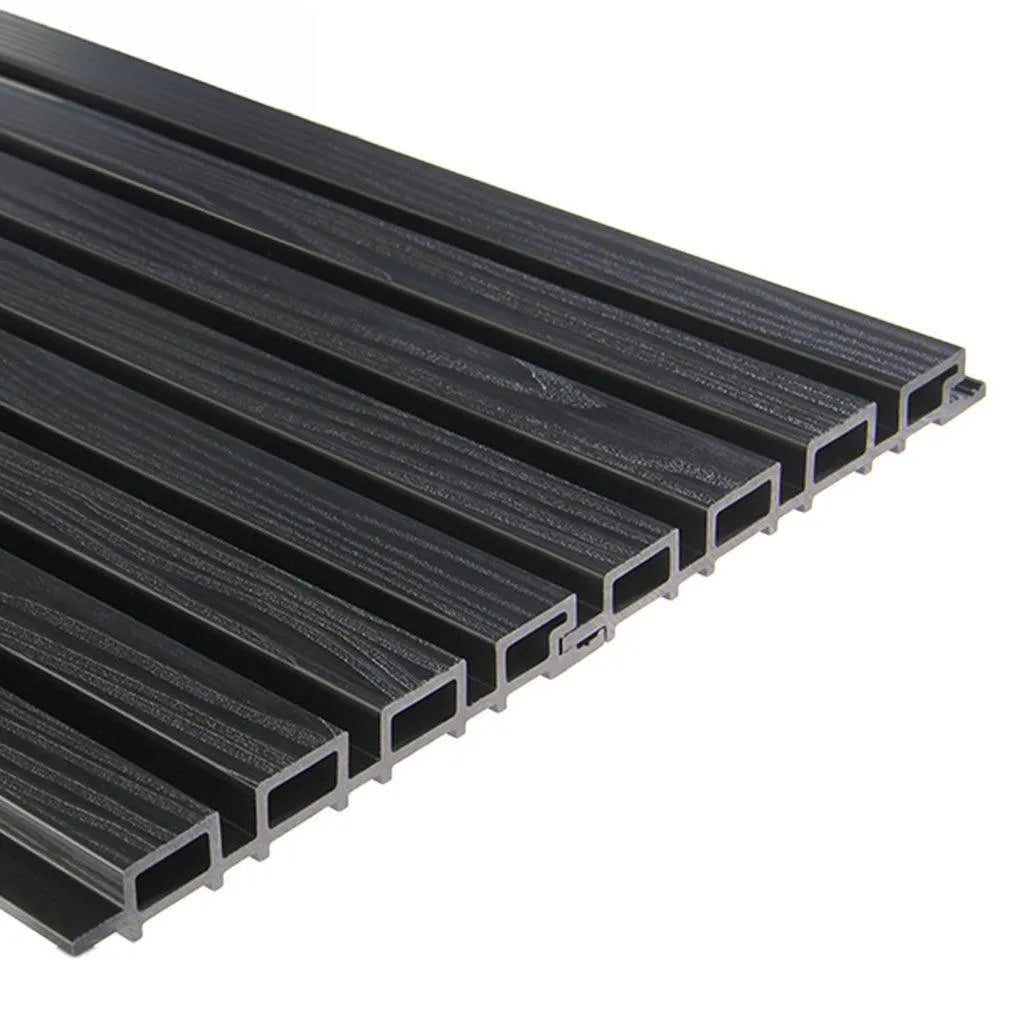
Assembly Instructions for Outdoor Panels
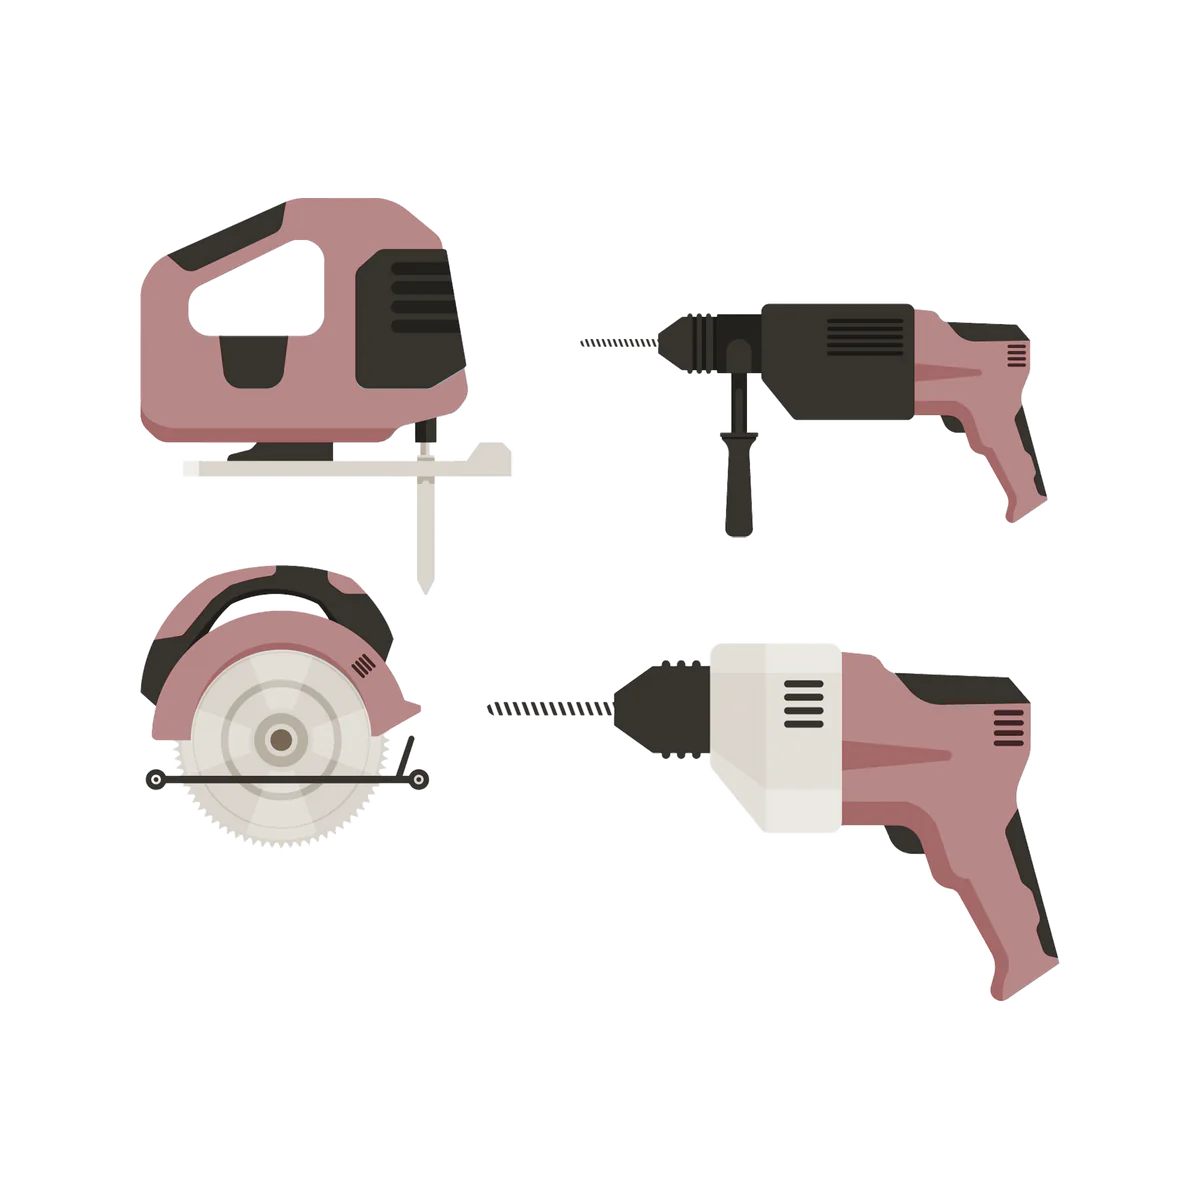
Required Tools:
- Measuring tape
- Pencil
- Level
- Drill
- Circular saw or handsaw
- Gloves
- Safety glasses
- Screws and anchors
Installation Using Screws
Step 1: Preparation
Prepare the Surface:
- Ensure the mounting surface (wall or fence) is clean, smooth, and stable. Clear away any dirt or loose materials and repair damage as needed.
- Level the surface if necessary to support panel installation.
Measure and Plan:
- Measure the height and width of the installation area.
- Plan the layout for even spacing. A quick sketch will help avoid errors and achieve a polished, aesthetically pleasing result.
Step 2: Installing the Outdoor Panels
Installing the First Panel:
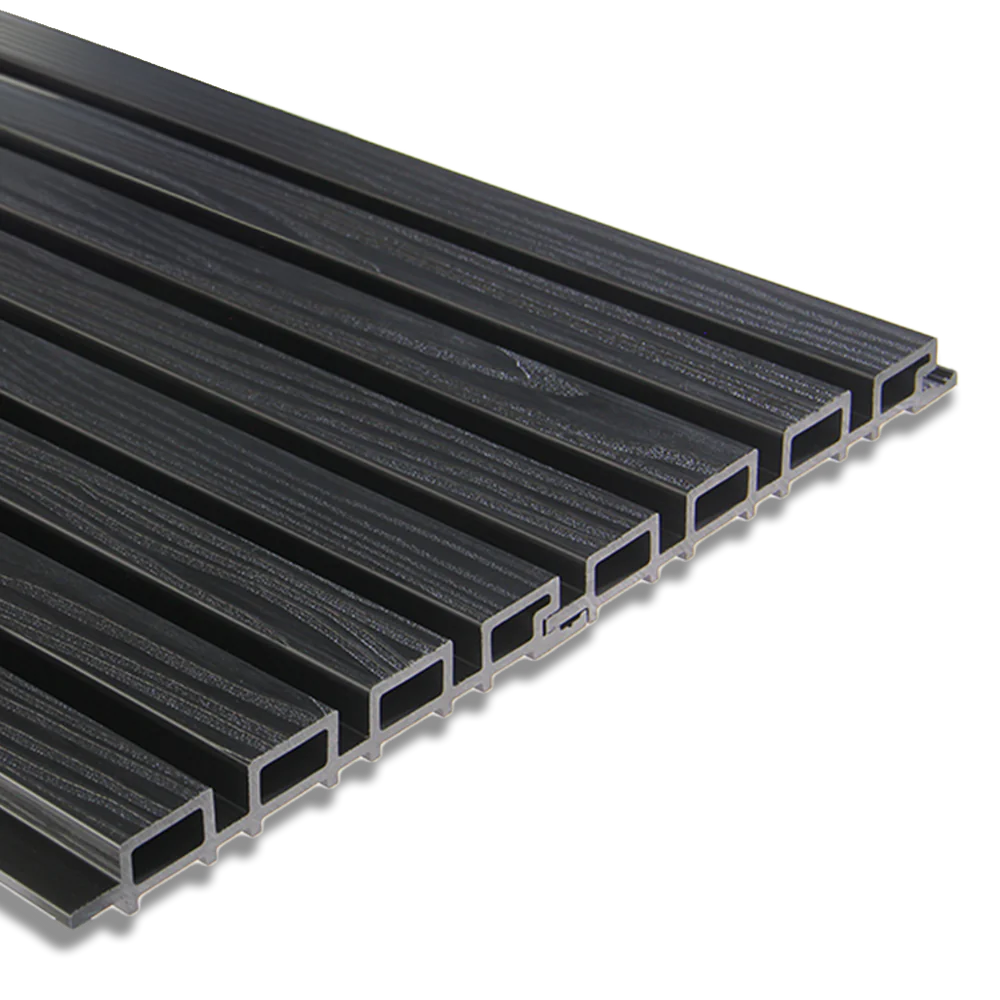
- Start at the bottom, positioning the first panel flush against the wall or fence. Make sure the grooved side faces inward.
- Leave a minimum ⅜-inch gap (10 mm) between the panel and the ground to allow for ventilation and drainage.
- Use self-tapping screws to fasten the panel to the wall. Pre-drilling is recommended to prevent potential damage.
Securing Additional Panels:
- Horizontal Installation: Place the next panel horizontally beside the first.
- Vertical Installation: Place the next panel directly above the previous one.
Continue Installation:
- Repeat these steps until the entire wall or fence is covered.
- Maintain close panel contact, allowing only for the necessary expansion gaps.
Step 3: Finishing Corners and End Pieces
Securing Corners:
- Use L-shaped corner trims to finish outer corners. Position the trim and secure it with self-tapping screws.
- Ensure the trim is flush with the panels for a neat, professional look.
Adding End Pieces:
- For areas around windows and doors, use fascia boards. Cut boards to size and secure with construction adhesive.
- Leave a ⅜-inch gap (8 mm) between the panels and surrounding structures to account for expansion.
Step 4: Inspection and Finishing Touches
Final Check:
- Verify that all panels are secure and that ventilation gaps are in place.
- Ensure all screws are tightened and panels are aligned.
Cleaning:
- Wipe down the panels with a soft brush or cloth to remove any dust or dirt.
Safety and Maintenance
Safety Precautions: Wear protective gear such as gloves and safety goggles while installing panels.
Maintenance: Composite outdoor panels require minimal upkeep. Regularly rinse with water and a soft brush to keep panels looking fresh.
With these steps, your outdoor panels will be installed properly for a lasting, stylish finish. For further questions or assistance, feel free to contact us.
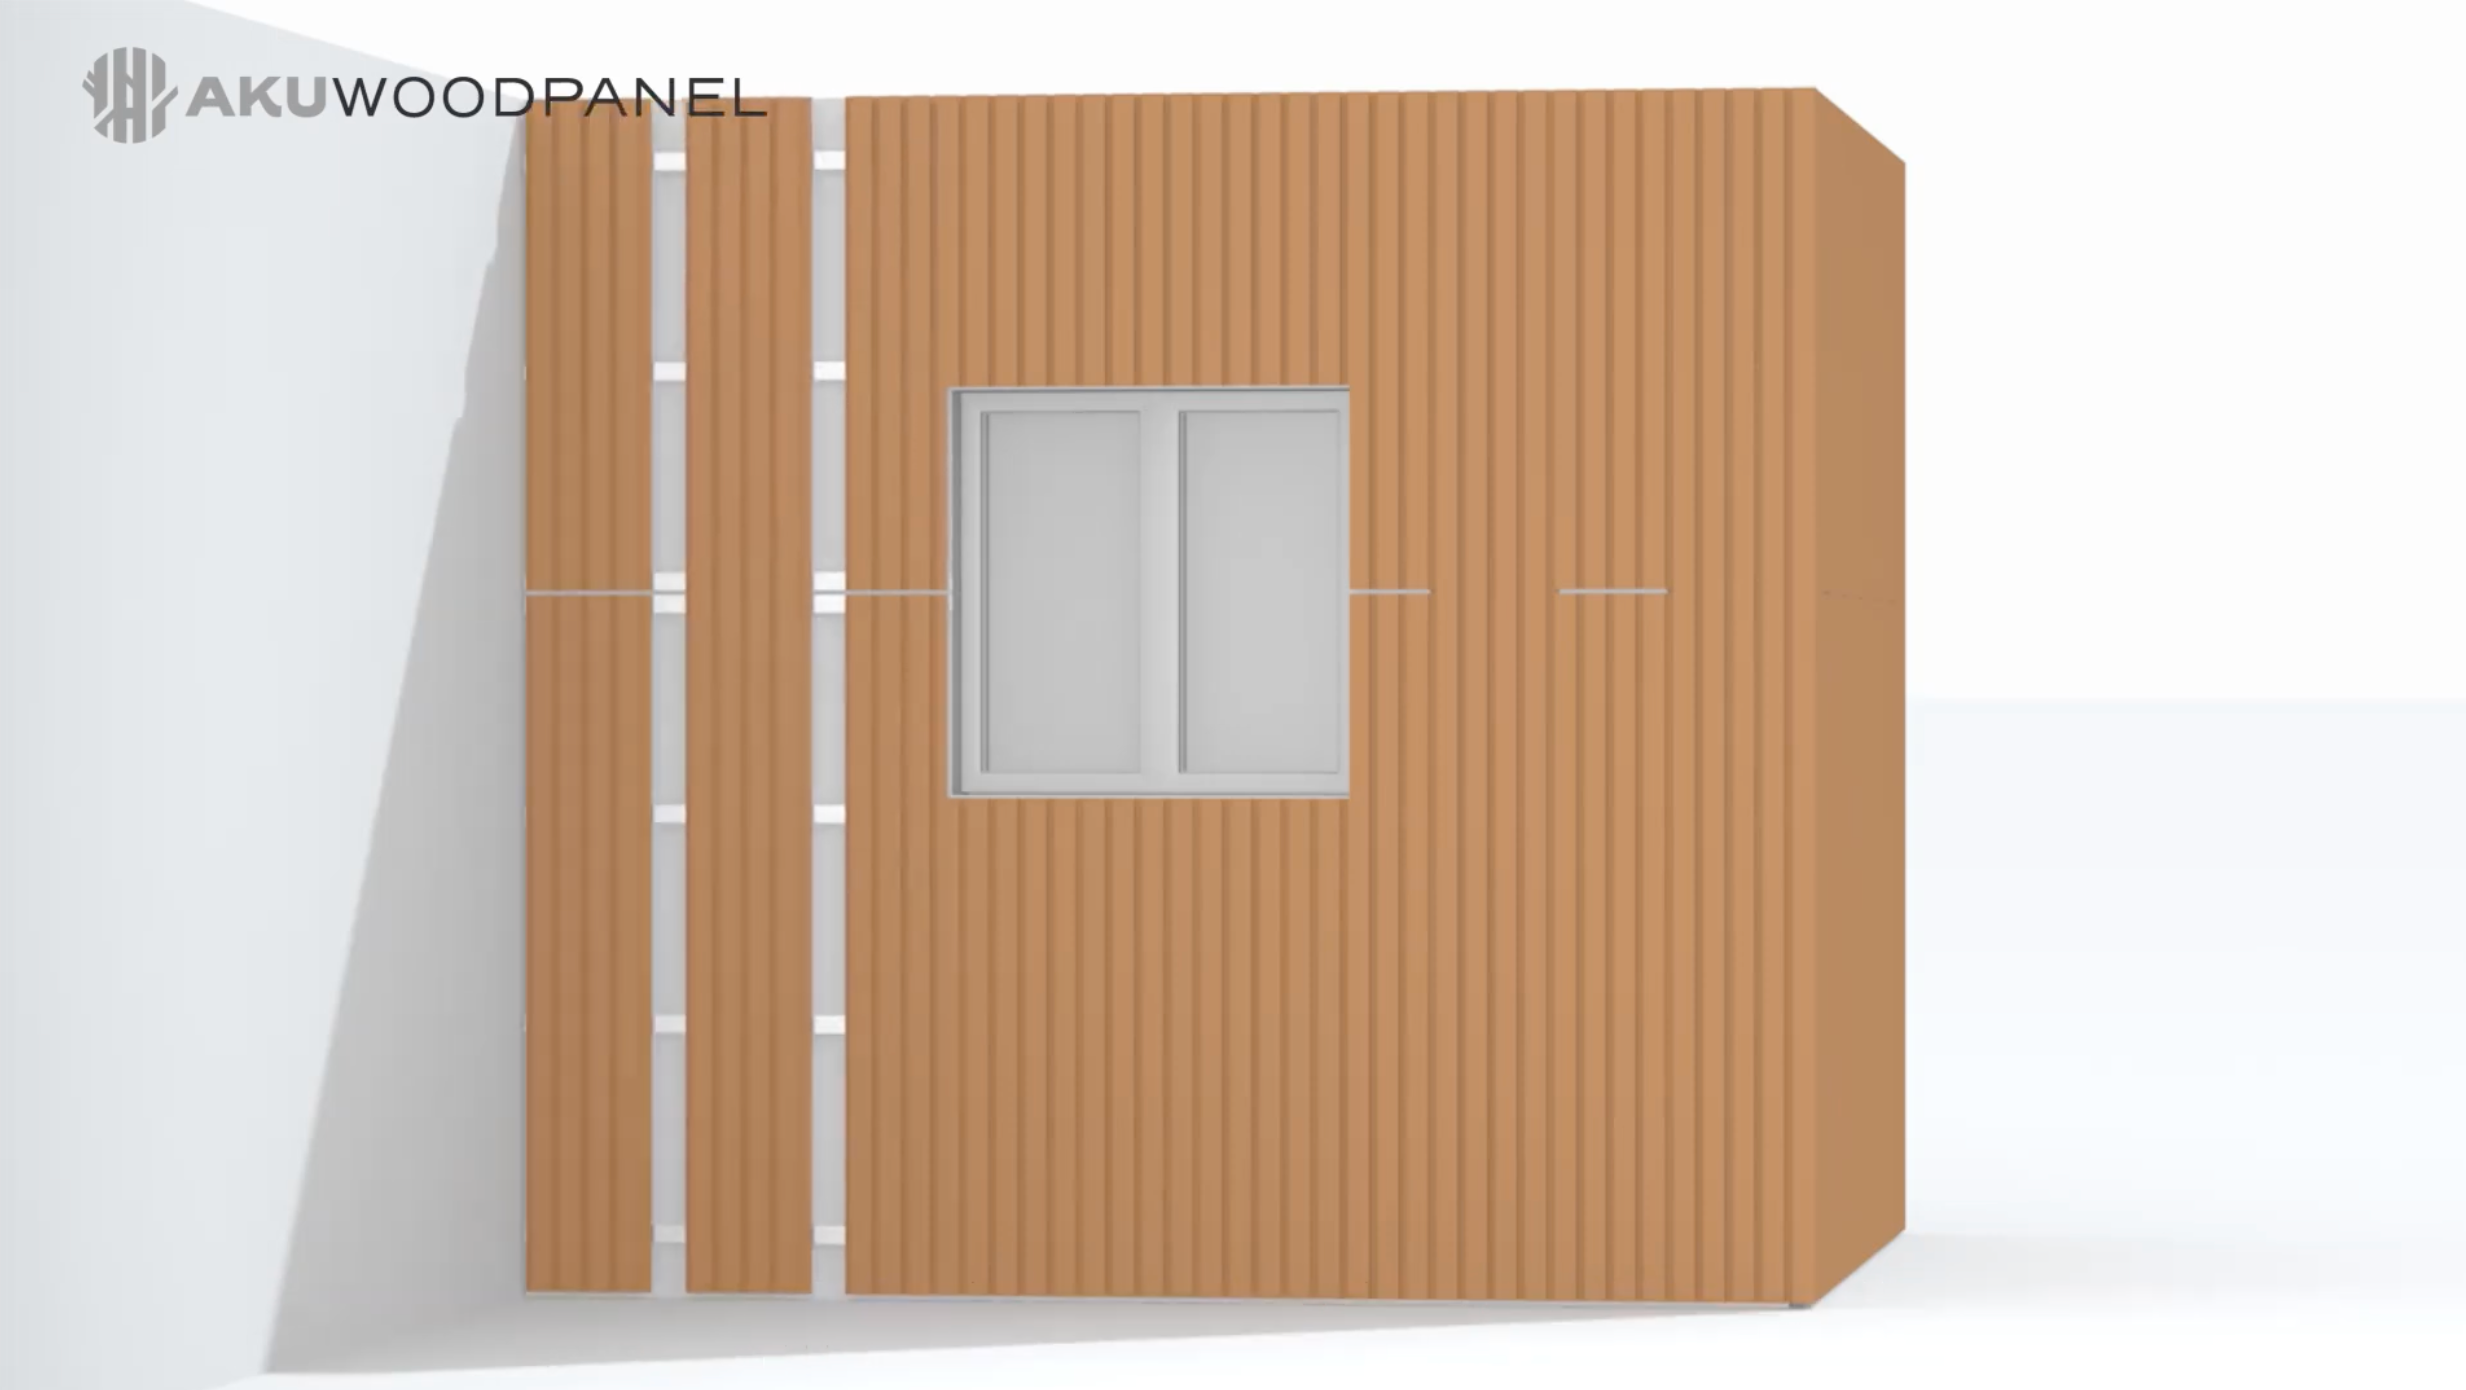
Check Out the Installation Video Below!
Video
CHECK OUT OUR PREMIUM QUALITY
