

How to install your acoustic slat panels
Planning, cutting and mounting interior acoustic slat panels, step by step. Pick the mounting method that suits your wall and get a clean, secure result.

Three quick checks
Your panels
Confirm the panel type and the exact spot where you will install it.
Your wall
The surface must be sound, clean and dry, and free of dust, grease and loose paint.
Your fasteners
Use fasteners suited to your wall and to the weight of the panels.
From bare wall to finished panels
Four steps. Take your time with the first two: good planning and preparation make the rest easy.
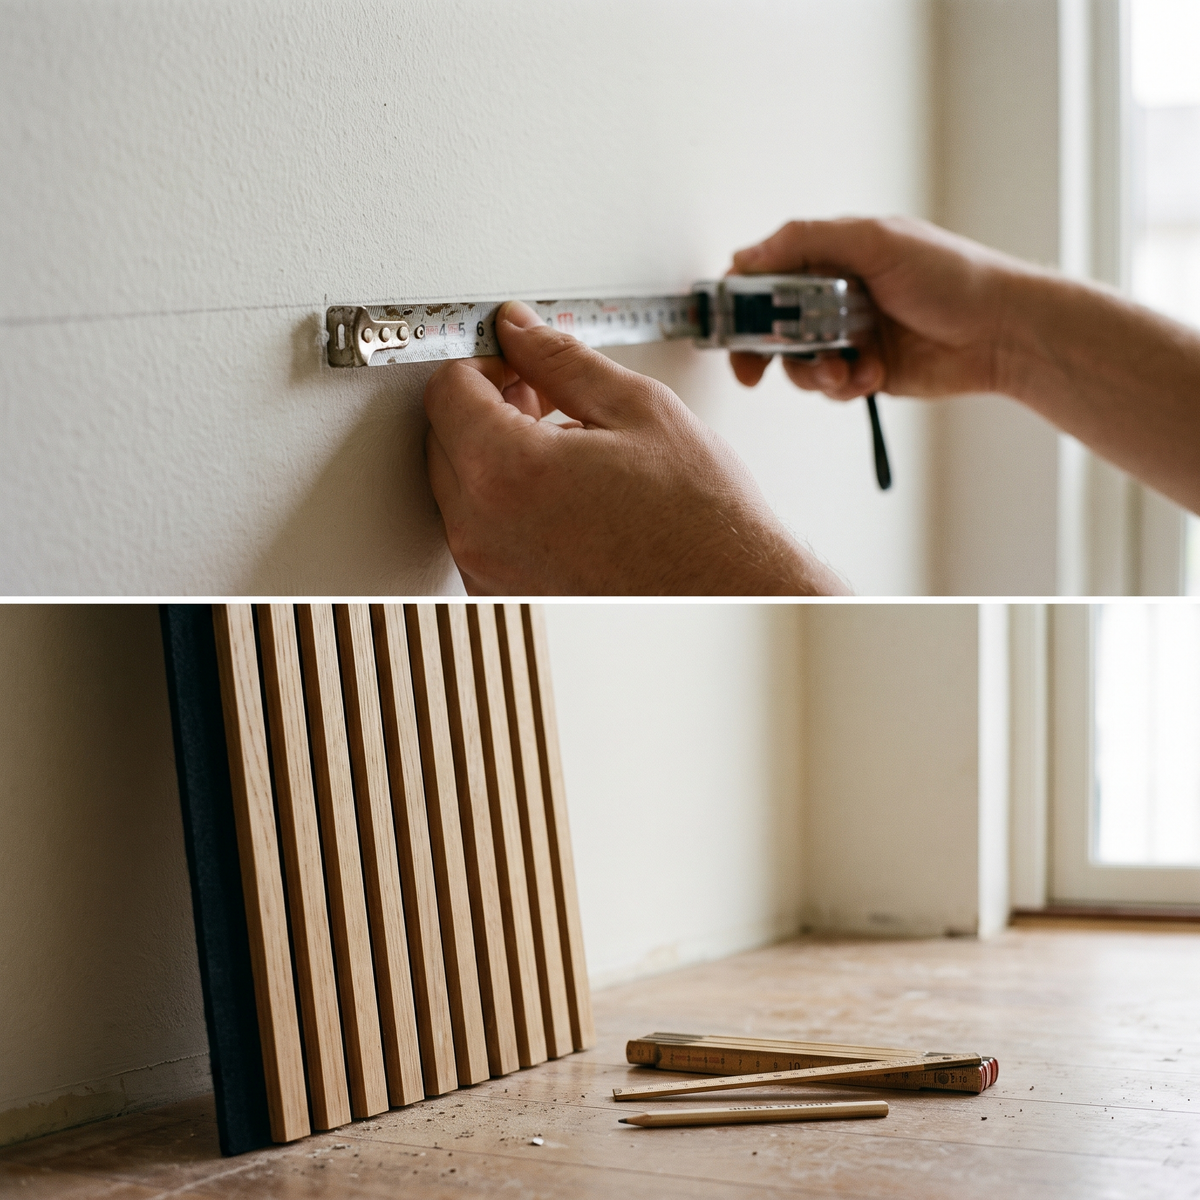
Measure, plan and dry-fit
Measure the wall and plan where each panel goes before you cut anything. Check the wall at several points for uneven floors, ceilings or corners.
Divide the wall width by the panel width (22.6" for 94.5" panels, 23.6" for 118.1" XL panels) to see how many panels you need. Then lay them out to confirm the alignment, the order and how you will finish the exposed edges.
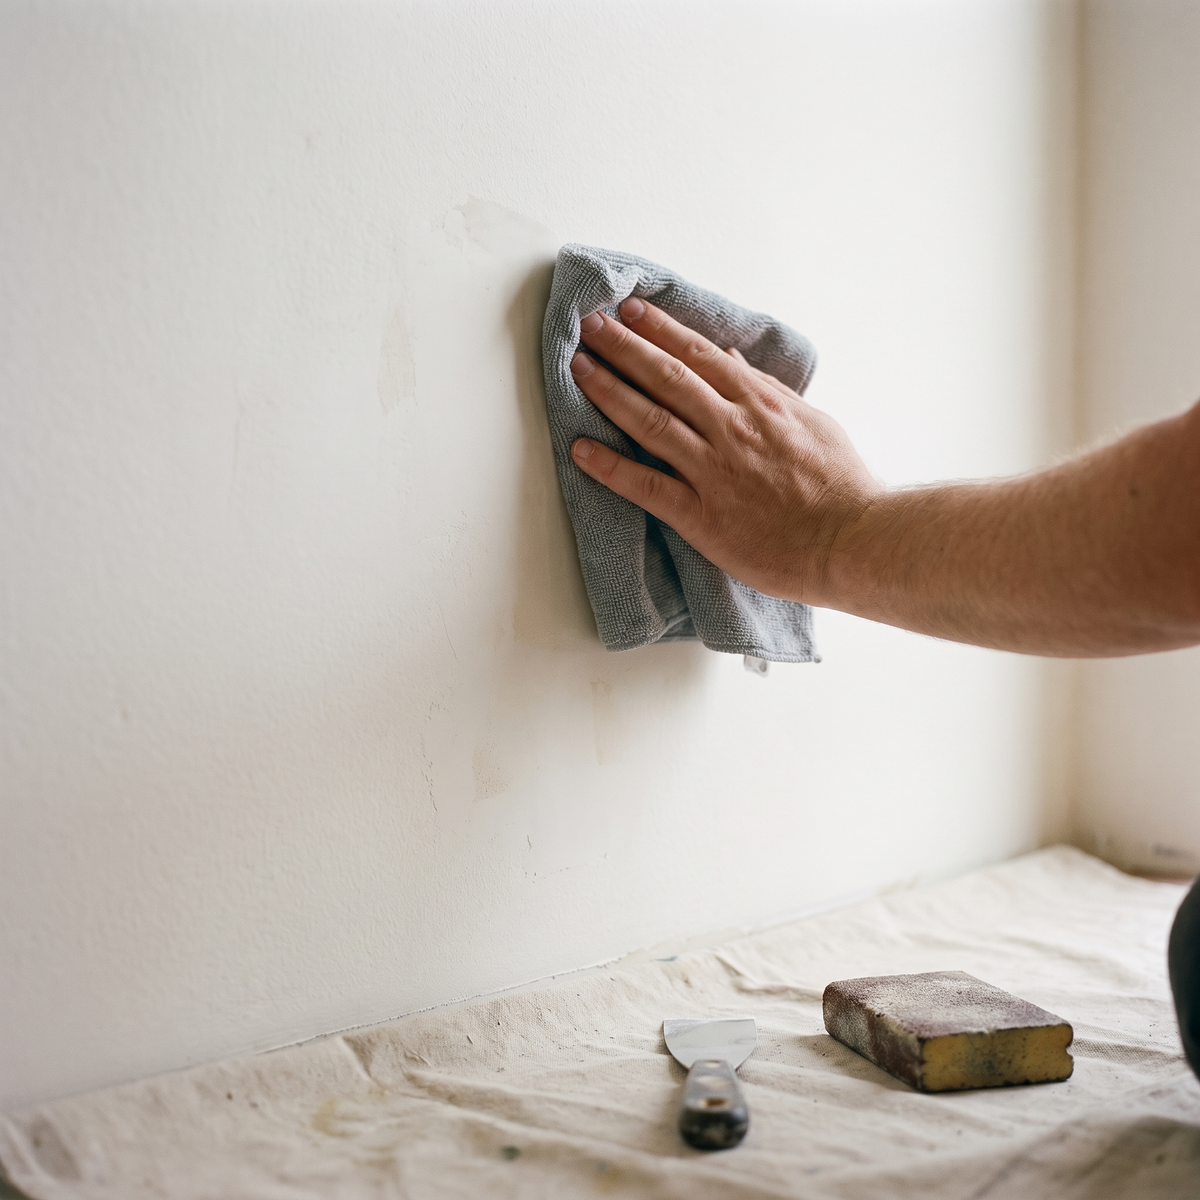
Prepare the wall and cut
The wall should be sound, clean, dry and free of dust, grease, loose paint and protrusions. Clean it with a product suited to the wall material and let it dry completely.
To cut, mark the line and support the panel securely. Use a suitable sharp blade and test on a scrap piece first if you can.
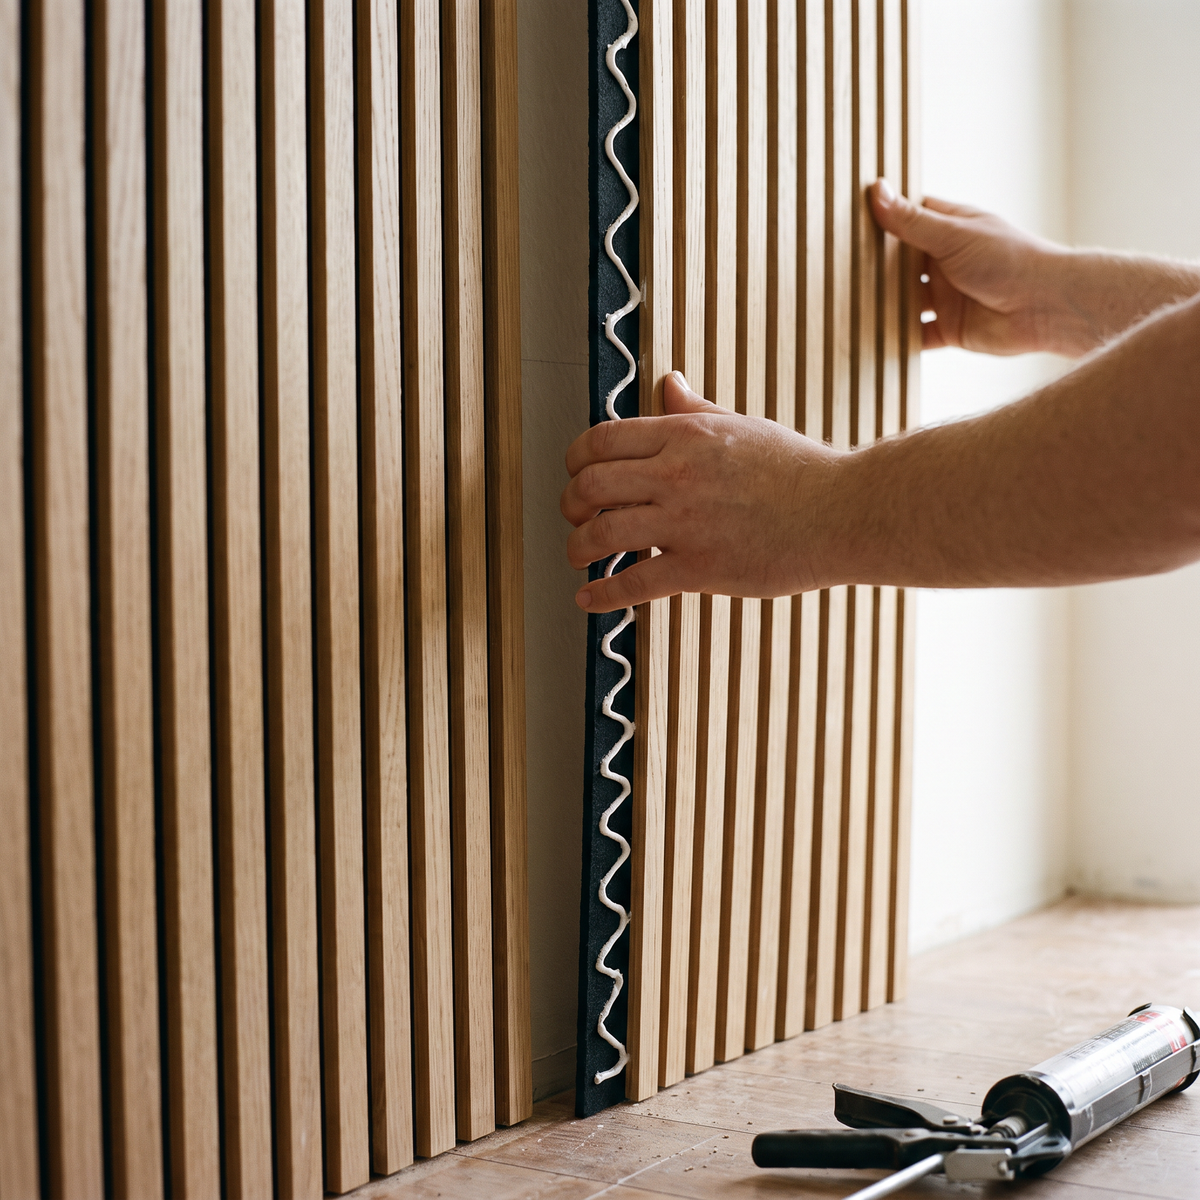
Mount the panels
Fix each panel with one of three methods. Keep the seams tight and check regularly that everything is level.
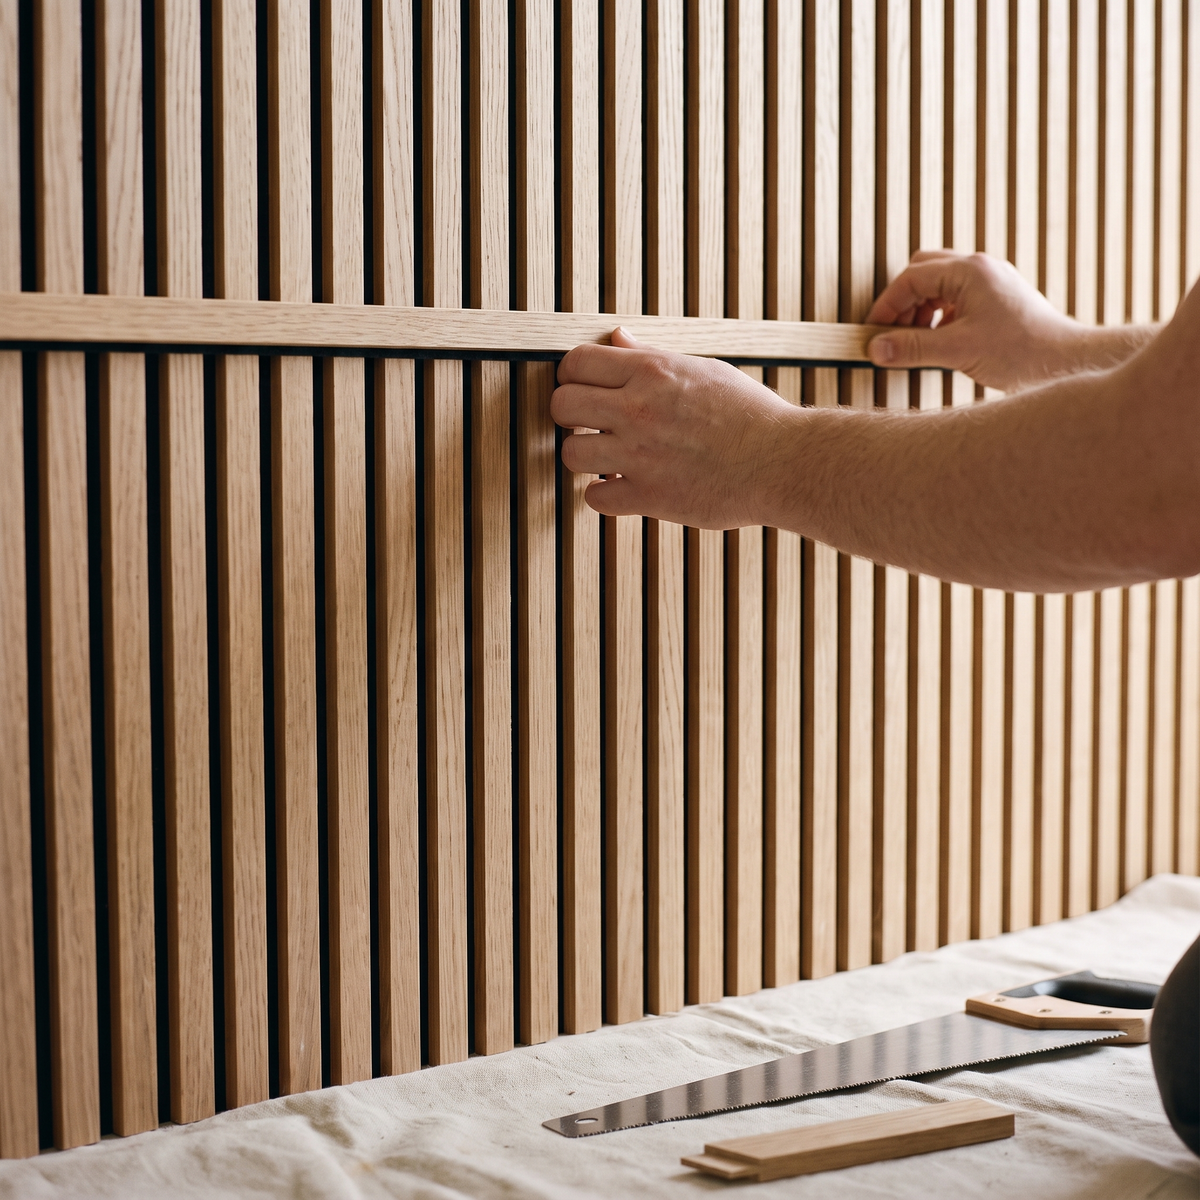
Finish the edges
Trim excess felt at exposed edges with a sharp utility knife, taking care not to cut or splinter the wood slats. Cover the exposed side edges with matching end pieces for a neat result. They come in the same lengths as the panels: 94.5" and 118.1".
Choose your mounting method
Each method works when the wall and fasteners are right for it. Compare them below, then open the steps for the one you choose.
High-tack construction adhesive
Glue the panels straight onto the wall.
- NeedsAn adhesive approved for the panel backing, your wall and the orientation
- WatchBrace the panel until the adhesive has fully cured
- CeilingsNot on adhesive alone, unless its manufacturer approves it
Show the 5 steps
- Complete steps 1 and 2: plan, prepare the wall and cut.
- Read the adhesive label for bead pattern, coverage, open time, ventilation, temperature and cure time, and apply as directed.
- Place the panel on your layout marks, check the alignment and press it firmly into place.
- Support or brace the panel for the time the adhesive manufacturer specifies. Don't load it before it has cured.
- Trim excess felt at exposed edges without damaging the slats.
Screws over horizontal battens
Fix battens to the wall, then screw the panels onto them.
- NeedsHorizontal battens about 12 in. (30 cm) apart
- ScrewsAs a guide, around 12 per panel, spread evenly
- WatchDrywall screws are not suitable for every situation
Show the 5 steps
- Complete steps 1 and 2: plan, prepare the wall and cut.
- Fix horizontal battens to the wall structure, about 12 in. (30 cm) apart. Check this layout suits your panel and installation.
- Place the panel and screw through the felt into the battens. Adjust the number and position of screws to your panel and batten layout.
- Use fasteners suited to the panel, the battens, the wall and the load.
- Check alignment and fixing before you install the next panel. Trim excess felt at exposed edges.
Screws directly into the wall
No battens, only when the wall can hold the panel securely.
- NeedsStuds, solid timber framing, masonry or anchors rated for the load
- WatchHidden pipes and electrical wiring
- CeilingsOnly with a properly rated, approved mounting system
Show the 6 steps
- Find secure fixing points: studs, solid timber framing or masonry. Using hollow-wall anchors? Check their load rating.
- Hold the panel in place and mark screw positions over those fixing points, spread evenly. Avoid damaging the slats.
- Choose screw type, diameter and length for your wall. Use corrosion-resistant screws where the room requires it.
- Screw through the felt into the stud, masonry or anchor, without crushing or tearing the felt.
- Check that the panel is level and stable. If it flexes or the fixing moves, stop and reassess.
- Trim excess felt at the final exposed edge.
Safety first
Protect yourself
Wear eye, hearing and respiratory protection when cutting panels. Secure the panel before you cut and follow the tool manufacturer's instructions. Take care with sharp blades when trimming felt.
Ceilings and overhead installs
Use a mounting method and fasteners approved for overhead use and rated for the panel weight and the structure. Don't rely on adhesive alone unless its manufacturer approves it for that use. Not sure? Check the mounting design with a qualified installer.
Tools and materials
Final inspection
- The panels line up consistently and the exposed edges are neat.
- Every panel is securely mounted, with no loose fasteners or edges.
- All adhesive cure times and mounting instructions have been respected before you use the room normally.
- You kept the adhesive and fastener product information for future reference.
What you need


FAQs
Read our FAQ page for more answers.
How long does delivery take?
We strive to ship every order within 48 business hours. In-stock orders are delivered within 7 to 10 days to the contiguous USA (allow up to 14 days). 118.1" XL panels and orders of 25+ boxes ship by LTL freight in 7 to 12 days. Once your order ships, you receive an email with a tracking number.
Do your panels help with sound absorption?
Yes. Our acoustic panels absorb sound waves and reduce echo in your room. Popular for home offices, studios, podcast rooms and living rooms that need to sound calmer.
Are the panels suitable for commercial spaces?
Absolutely. Our panels are used in offices, restaurants, hotels and shops. For larger projects we offer a dedicated B2B service with volume discounts and project support. Get in touch for a custom quote.
Can I order samples before placing a large order?
Yes. Order samples to see the color and texture at home. Samples ship for free.
How do I request a business quote?
For larger orders or B2B projects you can request a quote via our business page. We usually reply within 1 business day.
Do I need special tools for installation?
No special tools. A tape measure, pencil, level, a suitable saw, a drill/driver, a utility knife and painter's tape cover most installs. Mount the panels with high-tack construction adhesive, screws over horizontal battens or screws directly into the wall, depending on your wall. See the methods above.
Stuck with the installation?
Our team is available Monday to Friday, 9 AM to 5 PM CST. We reply within 24 hours on average.
3-sided real wood veneer
Real wood, not an imitation.
Sustainable materials
FSC-certified wood and recycled PET felt.
Up to 85% sound absorption
Noticeably less reverb in your room.