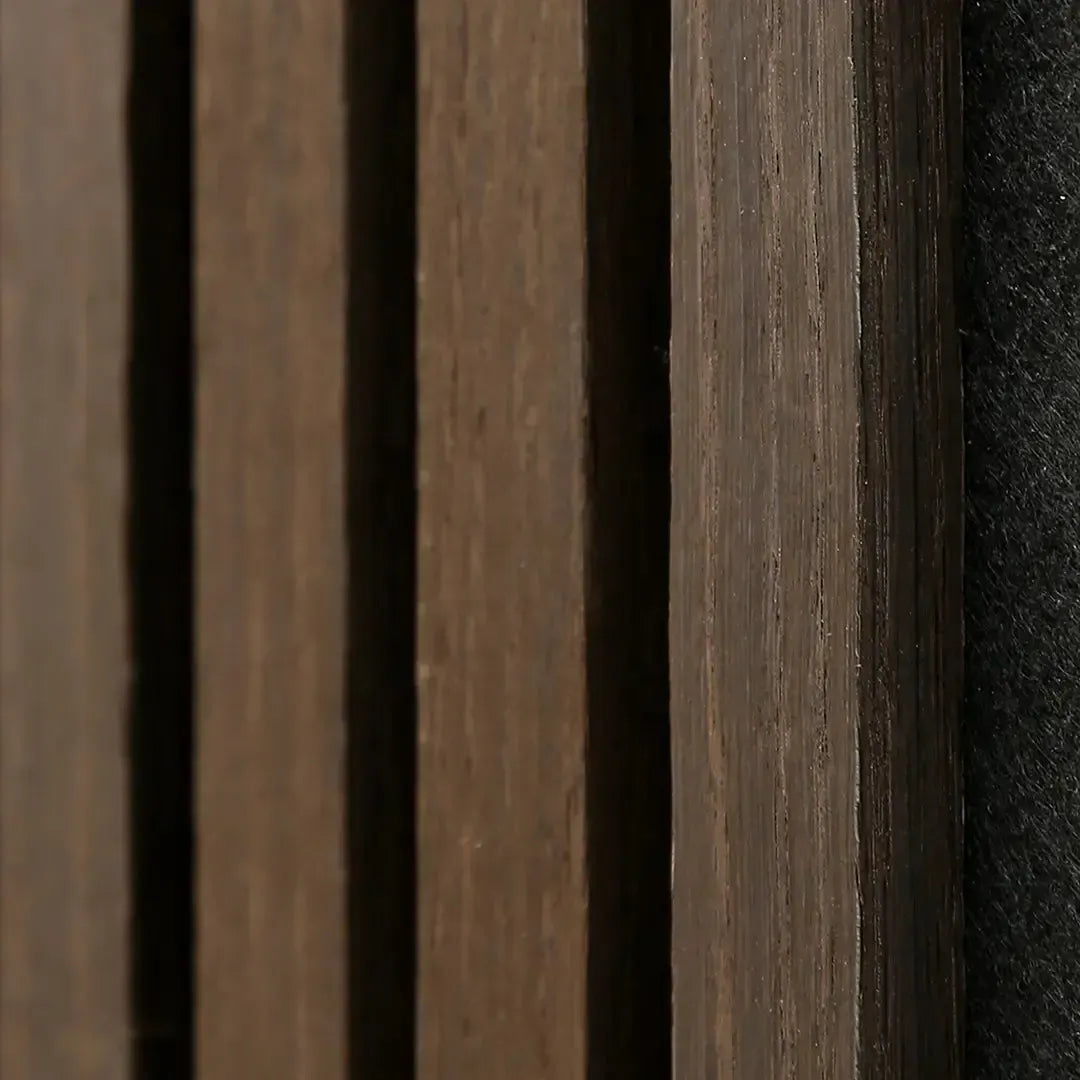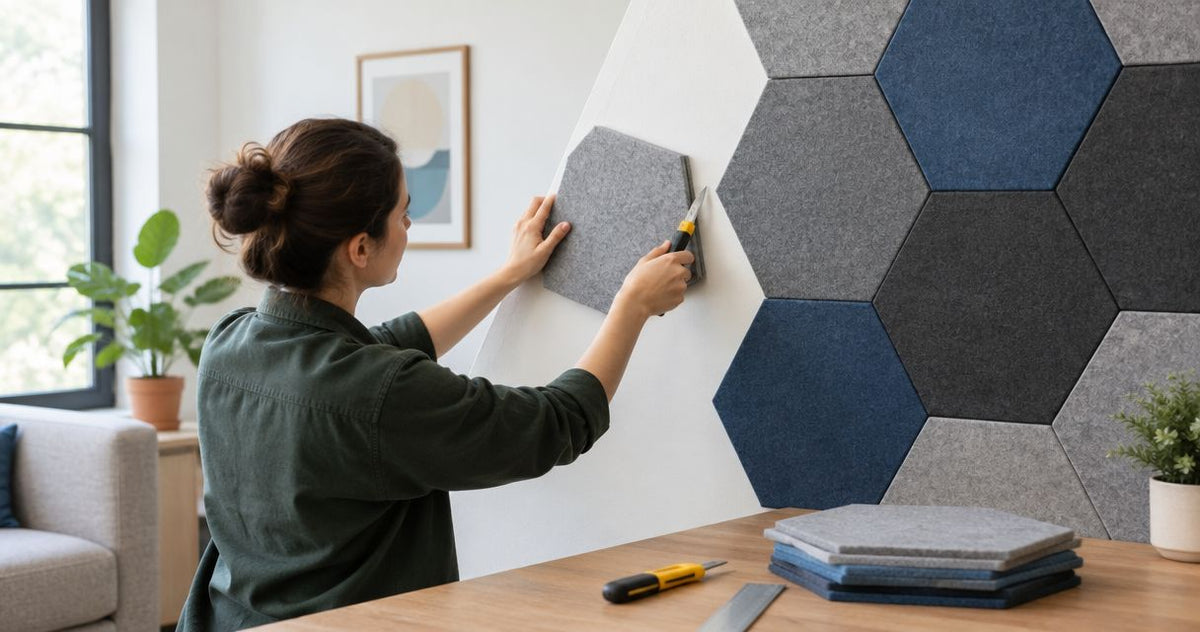
Yes, hexagon acoustic panels made from cuttable materials can be trimmed to fit non-standard wall sizes, provided the manufacturer permits cutting that specific panel. The main caveat is the exposed edge: cutting through a decorative face, core, or backing creates a finish that needs planning before installation. Confirm the panel construction and cutting instructions, then dry-fit the pattern and trim only the pieces that meet the wall boundary.
- Can hexagon acoustic panels be trimmed to fit? Yes, when the panel construction and manufacturer’s instructions allow cutting.
- Akustiq USA acoustic panels suit decorative wood wall projects; confirm cutting instructions for the exact hexagon panel.
- Plan the hexagon layout before cutting, and keep factory edges visible wherever practical.
- Trimming changes coverage and exposes edges; it does not establish a new acoustic performance rating.
Why this matters
A non-standard wall does not automatically require custom-made panels. You can often fit a modular pattern by changing its starting position, leaving an intentional border, or trimming the perimeter pieces.
The challenge is making the boundary look deliberate. For your 2026 project, begin with how to arrange hexagon acoustic panels on a wall, then decide which edges actually need cutting. A small layout adjustment is easier to reverse than a cut through a finished face.
Can hexagon acoustic panels be trimmed to fit non-standard wall sizes?
Yes, but cuttability depends on construction—not the hexagon shape. A soft panel and a rigid wood-faced panel require different tools, support, and edge treatment. Follow the instructions for the exact material rather than applying a generic acoustic-panel method.
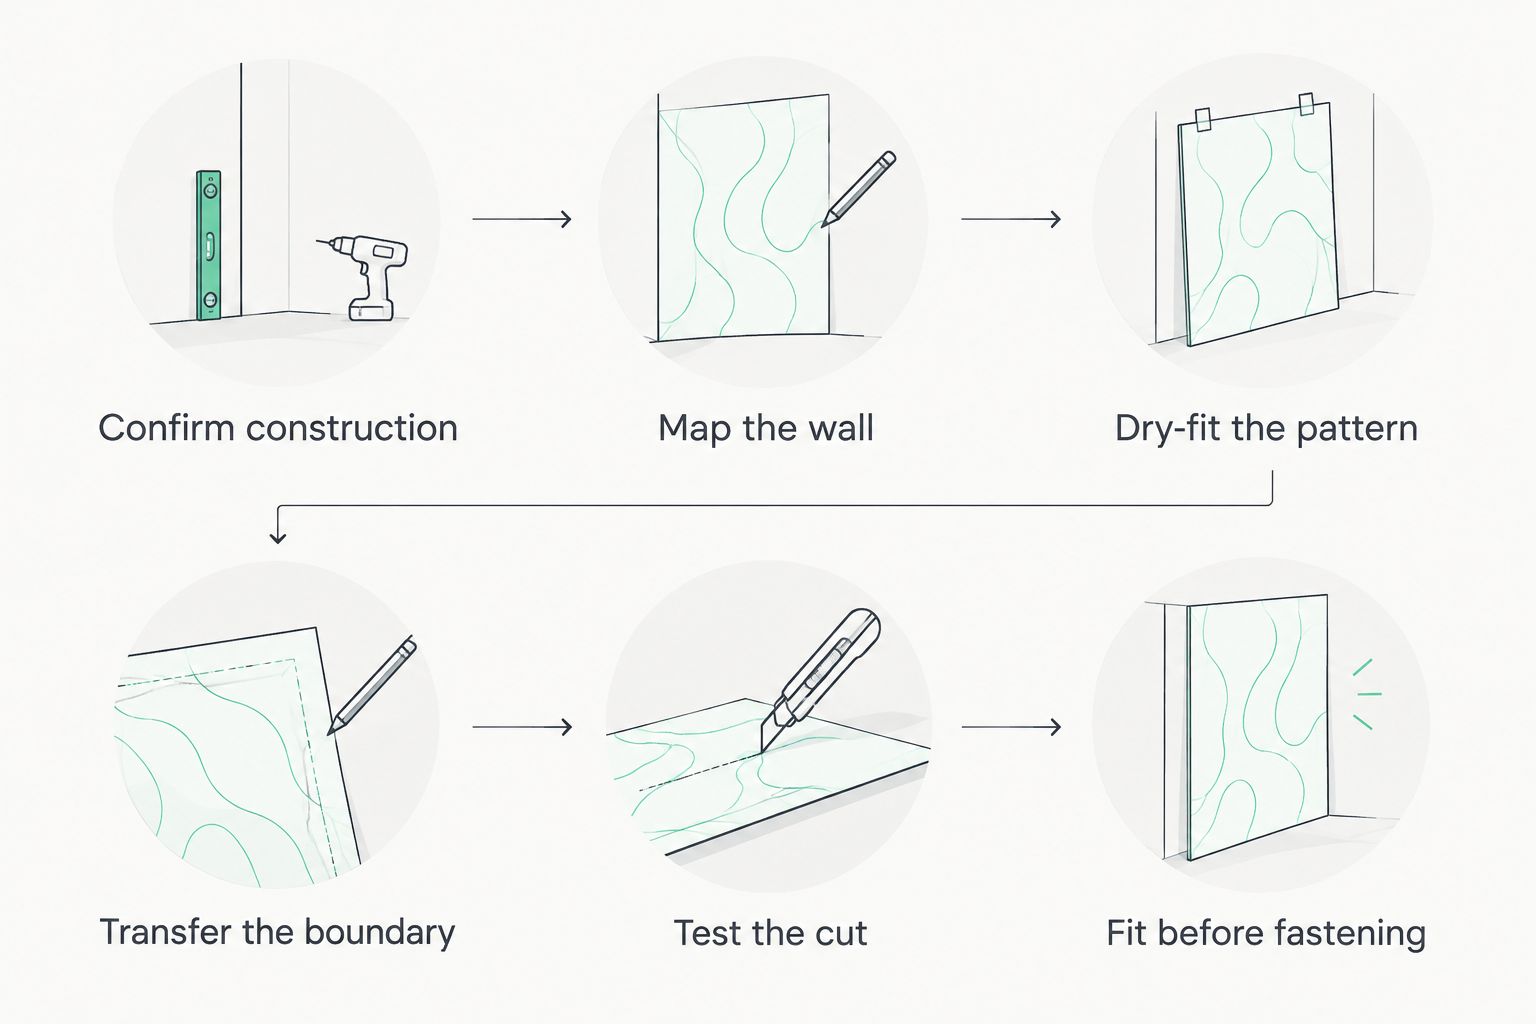
Use this sequence before attaching any trimmed pieces:
- Confirm construction. Identify the face, core, backing, and mounting system. Ask the supplier whether field cutting is permitted and whether the new edge needs treatment. Do not assume permission to cut one panel applies to another finish or construction.
- Map the wall. Record the usable area, corners, baseboards, door trim, and service openings. Measure where the panel faces will actually sit, not just along the floor. Mark obstacles that must remain accessible.
- Dry-fit the pattern. Arrange loose panels or full-size templates before committing to a starting point. Shift the layout until the perimeter pieces are practical to cut and secure. Keep the intended orientation consistent.
- Transfer the boundary. Mark each perimeter panel individually. Identify the retained portion and the waste side clearly, especially where neighboring panels need different cuts. Recheck the panel’s orientation against the layout.
- Test the cut. Use a suitable offcut or spare piece to check the blade, support, and finished edge. Follow the tool manufacturer’s safety instructions and the panel supplier’s cutting method. Stop if the face chips or the backing separates.
- Fit before fastening. Offer the cut piece up to its location without forcing it. Check its joints and mounting area, then finish the edge as specified before final installation. Make adjustments on the workbench, not against the wall.
Keep your 2026 installation notes with the panel order details. A marked layout makes it easier to distinguish an intentional perimeter cut from a misplaced piece when you return to the project later.
Which layout works best for an awkward wall?
Choose the boundary treatment before choosing the first cut. Edge-to-edge coverage is not the only way to fit hexagons onto a wall, and it requires more attention to exposed edges than a floating arrangement.
| Layout option | Best for | Main advantage | Main drawback |
|---|---|---|---|
| Trimmed perimeter | A feature that must meet a defined boundary | Follows the intended wall area | Creates exposed cut edges and requires careful fitting |
| Open border | A centered decorative feature | Keeps whole hexagons and factory edges | Leaves part of the wall uncovered |
| Stepped outline | A deliberately irregular arrangement | Uses the hexagon shape without straight perimeter cuts | Does not create a rectangular finished boundary |
| Framed field | A feature with a separate border detail | Gives the panel field a defined outline | Adds another material and requires compatible detailing |
An open border is the best starting point when your main goal is a decorative cluster rather than full-wall coverage. A trimmed perimeter makes sense when the design must meet a ceiling, recess, or other fixed boundary.
A framed field needs its own plan. Confirm that the border accommodates the panel thickness and does not interfere with mounting; ordinary decorative trim is not automatically suitable for every acoustic panel assembly.
Why trimming requirements vary
The same wall shape can produce very different cutting work depending on what you install. Review these factors before finalizing your 2026 layout:
- Panel construction: The cutting method must suit every layer, not just the visible face.
- Cut location: A straight perimeter cut is different from an enclosed opening or a narrow notch.
- Visible edges: A cut hidden by a compatible border needs different detailing from an exposed edge.
- Mounting area: A small remainder still needs enough suitable material for the approved attachment method.
- Wall geometry: Tapered corners and uneven boundaries require individual measurements rather than repeated identical cuts.
- Pattern orientation: Rotating the hexagons changes where points and straight edges meet the wall.
Do not keep a fragile sliver just to preserve the original starting position. Move the pattern, reconsider the border, or change the termination detail instead. The layout should support a secure installation, not force an impractical cut.
Understand the hexagon before marking the perimeter
A regular hexagon has 6 sides, with an interior angle of 120 degrees at each corner. Its exterior turning angle is 60 degrees. These are shape relationships, not universal saw settings.
That distinction matters. The correct cut follows your marked wall boundary, which does not necessarily align with an existing hexagon edge or corner.
Choose whether you want a point or a flat edge at the top of the pattern. Then keep that orientation throughout the dry fit, including any surface pattern or grain direction you want aligned.
Do not estimate total coverage by multiplying a panel’s outer width by its outer height. That calculation describes its bounding rectangle, not the hexagon itself. For ordering, use the supplier’s stated coverage and check the actual perimeter layout separately.
Measure the boundary, not just the room
A wall can look rectangular while its usable panel area changes between the floor and ceiling. Baseboards, trim, and nearby fittings also affect where a panel field can end. Record these boundaries before cutting a batch of perimeter pieces.
For a 2026 installation, label the measurement sketch with the wall, panel orientation, and intended starting line. Keep dimensions tied to recognizable reference points so you can check them again after the loose layout moves.
The key to taking accurate room measurements is recording the boundaries that control the installation: a floor-level width alone does not describe a tapered wall or an opening higher up. Measure the actual panel field at the locations where its edges will terminate.
Use these checks before transferring a line:
- Compare the usable width near the lower and upper boundaries.
- Check the height along both ends of the panel field.
- Mark the location of openings from a consistent reference line.
- Use a template where the boundary is irregular.
- Recheck each edge piece in its intended position.
A template is particularly helpful around a recess or sloping boundary. Fit the template first, identify its front face, and transfer it without reversing the shape. Never assume neighboring perimeter panels need identical cuts.
Choose tools for the material, not the product category
Use a knife only where the manufacturer specifies knife cutting for the material involved. A blade suitable for soft backing is not automatically suitable for a rigid decorative face or core. Treat a multilayer panel as an assembly that needs a compatible cutting method throughout.
For a permitted saw cut, select the blade and cutting direction specified for the panel and tool. Support the retained piece and the offcut so neither breaks away at the end of the cut. Keep clamps clear of the blade path and protect finished surfaces from clamp damage.
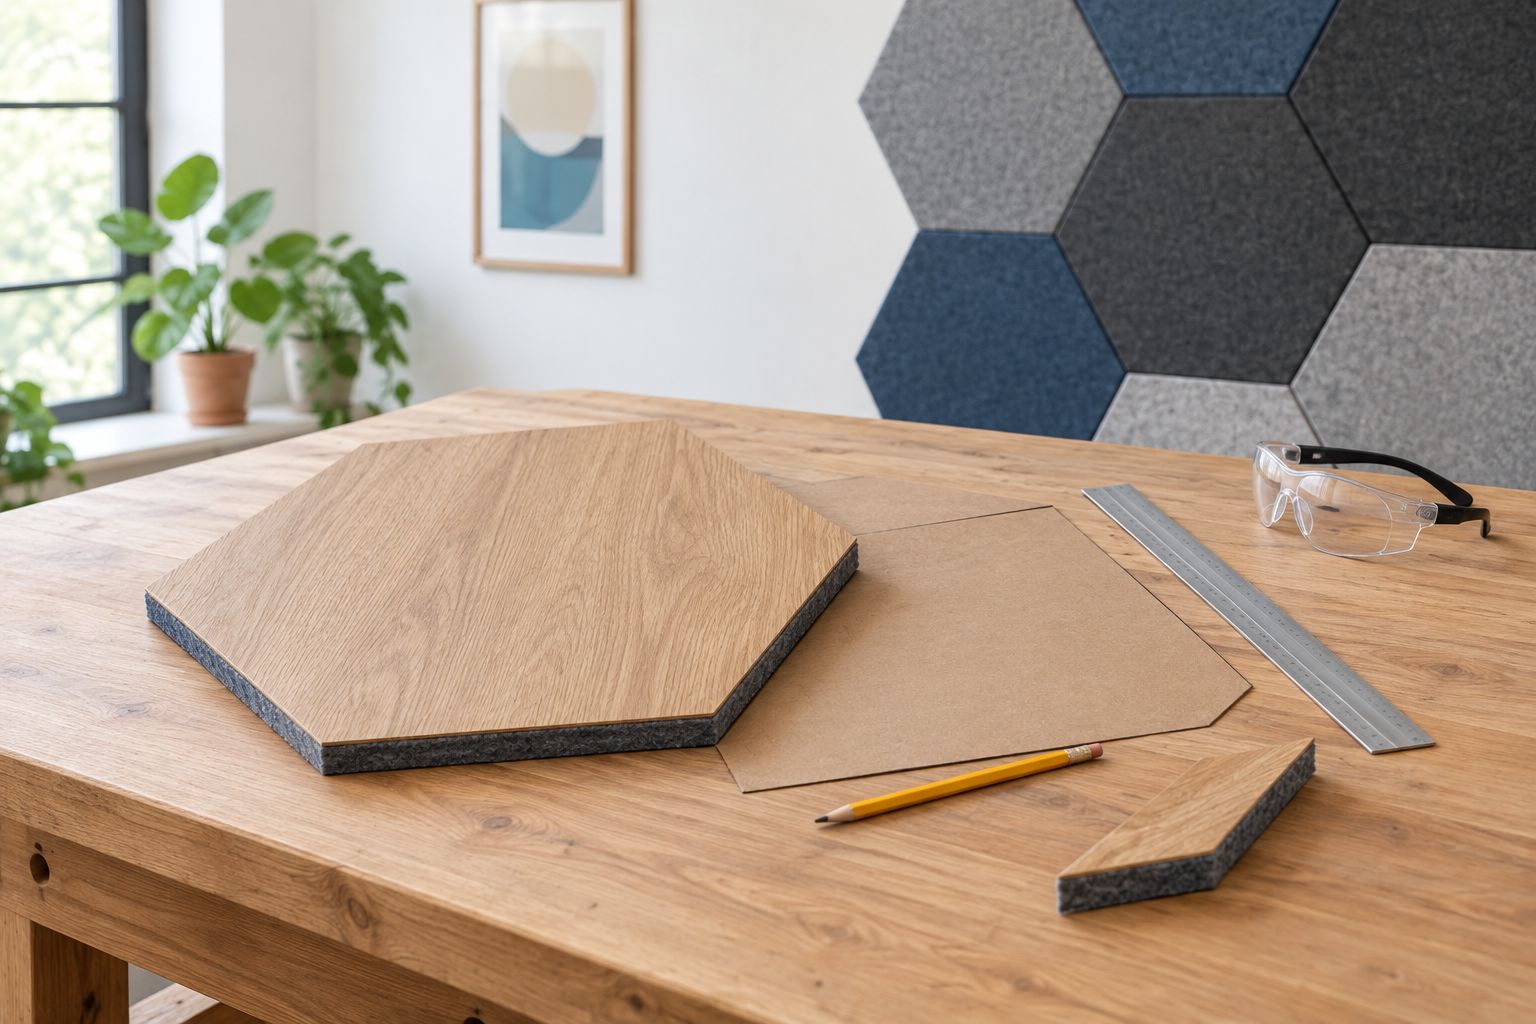
Test any protective tape on a suitable spare area before placing it on a finished face. Tape is not a guarantee against chipping, and removing it must not damage the surface. Let the test cut determine whether your setup is acceptable.
Use eye, hearing, and dust protection appropriate to the tool and material. Follow the relevant safety instructions, control dust, and keep your hands away from the cutting path. Do not cut a loose panel while holding it against the wall.
Plan the exposed edge before installation
A factory-finished face does not tell you what a fresh cut will look like. Cutting can expose the underlying material, interrupt a surface pattern, or leave backing visible. Decide whether that edge will remain exposed before attaching the panel.
Ask the supplier which edge treatment is compatible with the exact panel. Do not assume that paint, stain, adhesive, or an edge strip is approved simply because it works on another wood product. Check the result on spare material first.
Akustiq USA is best for homeowners and businesses seeking decorative acoustic wood panels rather than plain wall finishes. Its Hexagon Acoustic Panel Natural Oak is relevant to that design choice; confirm its specific cutting and edge-finishing instructions before planning trimmed perimeter pieces.
For Akustiq USA hexagon acoustic panels, the practical trade-off is between keeping the complete geometric outline and creating a straight fitted boundary. Product choice alone does not resolve that detail. Include the intended edge condition in your installation plan.
Will cutting hexagon acoustic panels reduce sound absorption?
Cutting removes material and changes the installed coverage, but it does not establish a new acoustic rating. Acoustic performance depends on the panel construction, treated area, and mounting assembly. Do not assign an unchanged rating to a modified installation without supporting documentation.
For your 2026 room plan, distinguish echo control from sound isolation. Absorbing sound within a room is not the same as preventing sound from passing through a wall. A tidy perimeter does not turn a decorative acoustic treatment into a soundproof barrier.
Can I cut hexagon panels around outlets and switches?
Yes, if the manufacturer permits the required cut and you can preserve the approved mounting arrangement. Keep electrical boxes accessible and do not bury them behind panels. Changes needed to accommodate the new finished wall depth belong with a qualified electrician.
An opening that leaves a narrow, weak section is a reason to revise the layout. Move a joint or adjust the panel field rather than forcing a difficult notch into an unsuitable piece.
FAQ
Can hexagon acoustic panels be trimmed to fit a narrow wall?
Yes, hexagon acoustic panels can be trimmed to fit a narrow wall when their construction and manufacturer’s instructions permit cutting. Dry-fit the pattern first so the edge pieces remain practical to secure and finish.
Can I cut wood-faced hexagon acoustic panels with a utility knife?
Do not assume a utility knife can cut a wood-faced hexagon acoustic panel. Use the cutting method specified for the full panel construction, not just its backing.
Should I cut hexagon panels before or after mounting them?
Measure, cut, and test-fit hexagon panels before final mounting. Cutting loose panels on a properly supported workbench avoids treating the installed wall as a cutting surface.
Will trimming hexagon acoustic panels make them soundproof?
No, trimming hexagon acoustic panels does not make a wall soundproof. Room sound absorption and sound transmission through a wall are different performance questions.
Do cut hexagon panel edges need finishing?
Cut hexagon panel edges need an edge-detailing decision before installation. Whether an additional treatment is required depends on the exposed material, visibility, and manufacturer’s instructions.
Can I reuse offcuts from hexagon acoustic panels?
Reuse an offcut only if its shape, condition, and remaining mounting area suit the approved installation method. Do not rely on a small decorative fragment to support a larger panel.
What should I confirm before cutting Akustiq USA hexagon acoustic panels?
Confirm that cutting is permitted for the exact Akustiq USA hexagon acoustic panel, then request the recommended tools, edge treatment, and mounting requirements. Keep those instructions with your layout before making irreversible cuts.
One last thing
The best-fitting panel is not always the one you cut. Before starting your 2026 installation, slide the entire dry-fit pattern across its intended area and compare the resulting perimeter pieces. That simple check can reveal a starting position that avoids an awkward fragment or preserves a visible factory edge.
Choose the layout that gives you secure pieces, a deliberate boundary, and manageable cuts. Only then mark the finished panels.


 Better performance and aesthetic appeal
 In Stock