


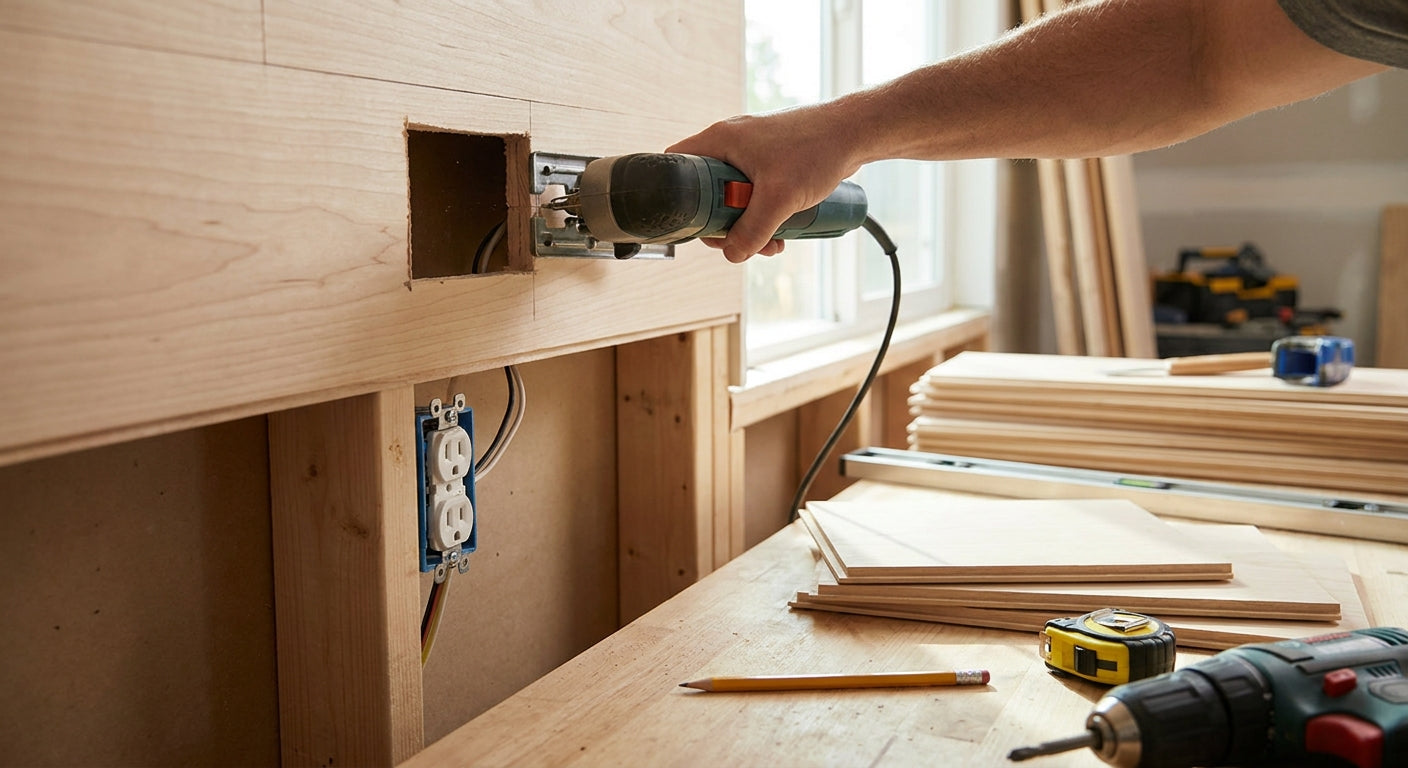
Cutting acoustic slat wall panels around outlets and switches without cracking the veneer or leaving a gap under the cover plate comes down to five accurate measurements and one cut order — mark, drill, jigsaw, test-fit, then finish the edge. This guide walks through the full process AKU Woodpanel recommends for 2026 DIY installs, from breaker-off safety to the box extenders that make switches sit flush again.
- Install wood panels around outlets only after the breaker is off and a non-contact tester confirms zero voltage.
- A fine-tooth jigsaw cuts clean outlet holes in acoustic slat wall panels; rotary tools tear the veneer. Buy a jigsaw.
- Box extenders bring outlets flush once panel thickness is added to the wall. Skip them and covers won't seat.
- Natural Oak end pieces finish exposed panel edges around switches cleaner than caulk in 2026 installs. Verdict: use them.
- DIY-safe for surface panel work; call a licensed electrician for box relocation or rewiring.
Why this matters
Outlets and switches are the part of any wood panel install that goes wrong first. A panel cut a quarter-inch short of the box leaves a gap the cover plate can't hide; a panel cut too deep chews into the veneer edge you just paid for. Get the outlet cutouts right and the rest of the wall looks intentional. Get them wrong and every visitor's eye goes straight to the mismatch.
The other reason this trips people up: outlet boxes sit flush with drywall, but adding a 3D wood panel or a slat panel on top changes that depth. Unless you extend the box, the switch or receptacle ends up recessed behind the new surface, and the cover plate won't screw down flat in 2026 or any other year.
What you'll need
- A non-contact voltage tester (non-negotiable — test before every cut)
- Jigsaw with a fine-tooth, down-cut blade
- Tape measure, level, and a fine-point marker
- Outlet box extenders (depth matched to your panel thickness)
- Longer switch/outlet mounting screws
- Wood panels — a natural oak acoustic slat wall panel is a common choice for feature walls with outlets, since its 3-sided veneer hides a slightly imperfect cut better than a painted MDF panel does
- Construction adhesive or panel clips, plus painter's tape to mask the wall before marking
- 30-60 minutes per outlet, more on your first cut
The steps
1. Kill the power and confirm it's off
Flip the breaker for that circuit, then hold the non-contact tester against the outlet and switch plate before touching anything. This takes two minutes and it's the step that prevents every serious injury on this project. Never assume a breaker label is accurate — test anyway.
2. Map every outlet and switch before you cut a single panel
Measure from the floor and from the nearest finished corner to the center of each box, then transfer those two numbers onto the back of the panel that will cover it. Working from the panel's back face keeps your marks off the finished veneer. Common mistake: measuring from an adjacent panel edge instead of a fixed wall reference, which compounds error across a multi-panel wall.
3. Dry-fit the panel and trace the box outline
Hold the panel in its final position — unglued — and trace the outlet box directly onto the back using the box's own edges as a template. Add 1/8 inch of clearance on all sides so the panel doesn't bind against the box when you slide it into place. Skipping the dry-fit is the single biggest cause of a cutout that's off by half an inch.
4. Drill a pilot hole, then jigsaw the cutout
Drill a 3/8-inch pilot hole inside one corner of the traced outline to give the jigsaw blade a starting point. Cut along your line with slow, steady passes — the veneer face grain chips if you rush the blade. For slat and fluted panels with a narrower cutting surface, the same cutting technique for fitting fluted wall panels into awkward spaces applies around outlet boxes too — slow the feed rate where the blade crosses a groove.
5. Test-fit before adhesive goes anywhere near the wall
Slide the panel over the box and check that the cutout clears all four sides with roughly 1/8 inch of play. If it's tight, file the opening rather than forcing the panel — forcing it cracks the veneer at the corner of the cutout almost every time. This is the point where a 10-minute check saves an entire panel.
6. Install box extenders before final mounting
With most slat and 3D wood panels adding meaningful surface depth to the wall, the outlet or switch box now sits recessed. A box extender ring, screwed into the existing box, brings the device forward to meet the new panel face. Skip this and the cover plate either won't sit flat or won't reach the mounting screws at all.
7. Mount the panel, then reattach the device and plate
Set the panel with adhesive or clips per the panel's install method, let it seat fully, then reinstall the outlet or switch with longer screws sized to the extender. Snap the cover plate on last. Check every edge of the cutout for a shadow gap — anything over 1/16 inch gets a matching wood filler stick or a trim reveal, not caulk.
Troubleshooting
The cutout is close but not quite square with the box. File the high corner with a rasp rather than re-cutting — a cover plate hides up to 1/4 inch of play on most standard outlets.
The cover plate won't sit flush after the panel goes up. This almost always means the box extender is too shallow for the panel thickness. Measure the actual gap and swap to a deeper extender rather than shimming behind the plate.
The panel edge around the switch splintered during the cut. Score the veneer face with a utility knife along your cut line before running the jigsaw — this single pass prevents chip-out on cross-grain cuts.
The outlet box itself needs to move, not just extend. That's rewiring, not a panel job — bringing in someone who can hire a licensed electrician for box relocation avoids code violations that a DIY box-moving job commonly creates, especially on shared circuits.
The exposed panel edge around the box looks unfinished. A matching end piece, not caulk, gives a factory-finished look — run a bead of adhesive behind it and press for 30 seconds.
Tools and resources
- Non-contact voltage tester and a fine-tooth jigsaw blade rated for veneered wood
- Box extenders in 1/4-inch, 3/8-inch, and 1/2-inch depths — buy an assortment before you know exactly which panel thickness you're working with
- A step-by-step reference on installing acoustic slat wall panels on drywall if this outlet wall is also your first full panel install
- Wood filler sticks matched to your panel's veneer tone for any minor gap at the cutout edge
What to do next
Once the outlet cutouts are done, the rest of the wall goes faster since you've already solved the hardest part of the layout. Plan the remaining panel run, order enough material with a margin for waste, and move to full coverage next.
FAQ
Can you install wood panels around outlets without turning off the power?
No — always shut off the breaker and confirm with a non-contact voltage tester before cutting near any outlet or switch box. This takes under two minutes and removes the shock risk entirely.
Do you need a box extender when installing panels over outlets?
Yes, if the panel adds noticeable thickness to the wall, since the outlet or switch box then sits recessed behind the new surface. A box extender brings the device forward so the cover plate sits flush again.
What tool cuts the cleanest outlet holes in wood wall panels?
A jigsaw with a fine-tooth, down-cut blade gives the cleanest cutout in veneered slat and 3D wood panels. Rotary tools tend to tear the wood grain around tight corners.
How much clearance should a panel cutout leave around an outlet box?
Leave about 1/8 inch of clearance on all sides of the traced outline. That gap lets the panel slide over the box without binding, and the cover plate hides it once installed.
Is it safe to DIY panel installation around switches and outlets?
Cutting and fitting panels around existing outlets is a reasonable DIY project in 2026 as long as the power is off before any cut. Moving or rewiring a box is electrical work and should go to a licensed electrician.
Do longer screws matter when reinstalling outlets after paneling?
Yes — standard mounting screws are often too short once a box extender and panel thickness are added. Longer screws sized to the extender keep the device seated and the cover plate flat.
What causes a gap around the panel cutout after installation?
A gap usually means the box extender depth didn't match the panel thickness, or the cutout was traced without a dry-fit first. Filing the cutout and matching the extender depth fixes most gaps.
Can slat wall panels be repaired if a cutout is cut too large?
A slightly oversized cutout can be closed with a matching end piece or trim reveal rather than a full panel replacement. Anything wider than a standard cover plate typically needs a new panel section.
One last thing
Most outlet cutout mistakes trace back to skipping the dry-fit in step three — not the jigsaw work itself. Hold the panel in place unglued, trace the box directly, and the rest of the install goes almost mechanically from there.



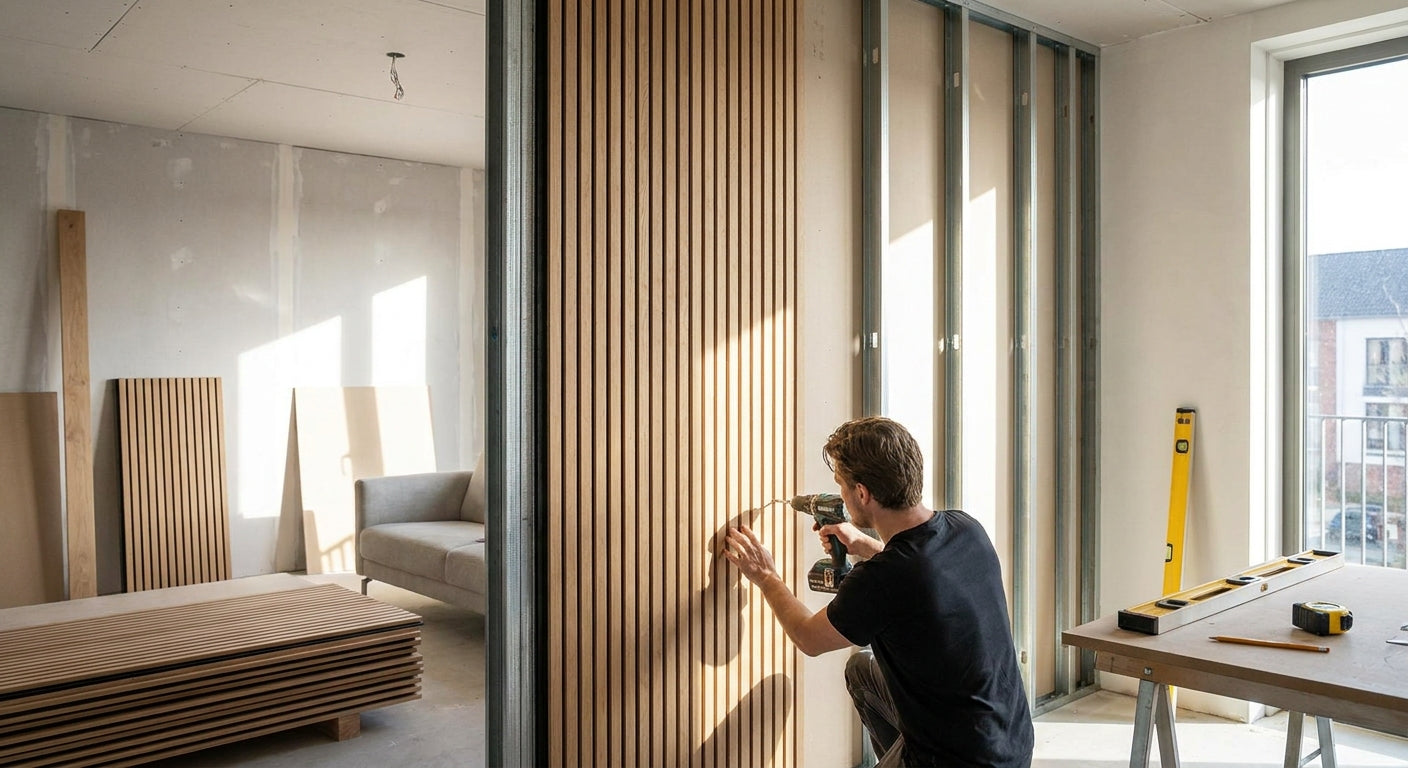



 Better performance and aesthetic appeal
 In Stock




