


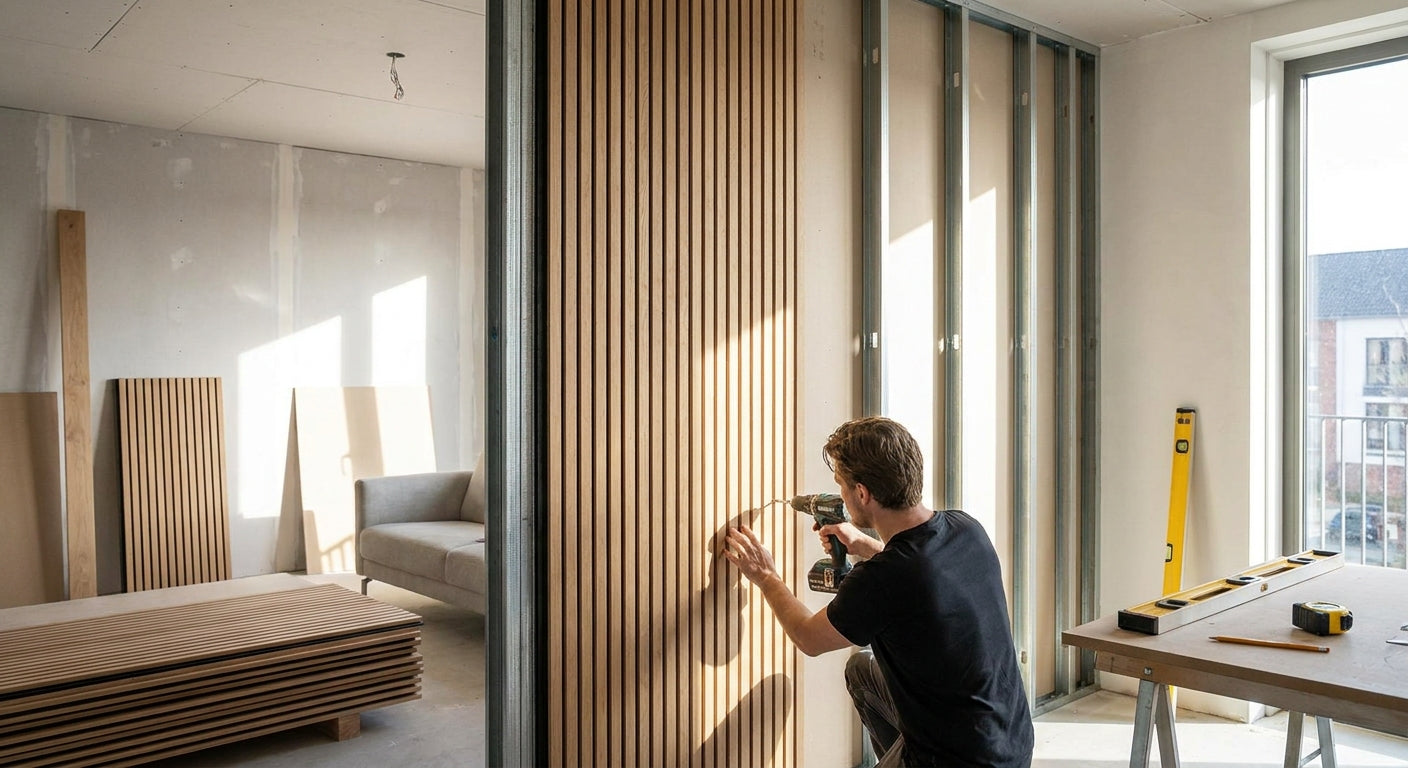
Metal stud framing changes the install math for wood slat panels: you can't just screw straight into 20 or 25-gauge steel and expect a flat, lasting wall. Get the backing and fasteners right and an acoustic slat panel wall goes up in an afternoon and stays tight for years.
- Install wood slat panels on a metal stud wall over 1/2-inch plywood backing, never straight into bare steel studs.
- Self-tapping #8 x 1-1/4-inch pan-head screws bite metal studs without stripping when pre-drilled at 1/8 inch.
- Akuwood's Acoustic Slat Wall Panel in Natural Oak click-fits over furring strips set 16 inches on center. Buy.
- Skip construction adhesive alone on steel track edges — it fails within a year without mechanical backing.
Why this matters
Metal stud walls are common in condo renovations, basement build-outs, and commercial fit-outs going up in 2026 — and they behave nothing like wood framing. Steel studs are hollow, thin-gauge, and flex under lateral load, which is exactly the kind of stress a heavy wood slat panel puts on a wall when it's screwed on unevenly. Drive a standard wood screw into 25-gauge steel and it strips the pilot hole in seconds. Skip backing and the panel edges telegraph every stud gap in the wall.
The fix isn't complicated, but it's not optional either: give the steel studs something solid to bite into, then fasten the panel to that. Do this once, correctly, and the wall doesn't need attention again in 2026 or for years after.
What you'll need
- Magnetic stud finder (steel studs won't register on a standard sensor reliably)
- 1/2-inch plywood or OSB backing sheets, cut to wall height
- Furring strips or a full plywood substrate, fastened at 16 inches on center
- Self-tapping #8 x 1-1/4-inch pan-head screws rated for metal
- Cordless drill/driver with a 1/8-inch pilot bit
- Construction adhesive rated for wood-to-wood bonding
- 4-foot level and a chalk line
- Safety glasses and a dust mask for cutting
- The panel itself — for example the acoustic slat wall panel in natural oak, which ships with real wood veneer over an acoustic core
The steps
1. Locate every stud with a magnetic finder
Steel studs have a hollow C-channel profile, and cheap capacitive stud finders miss them or give false positives on the drywall screws already in the wall. A magnetic stud finder locks onto the screw heads holding the drywall to the track, which tells you exactly where the studs sit. Mark every stud top to bottom with a pencil line, not just a single tick — you'll need the full vertical line once backing goes up. Common mistake: marking only at eye level, then losing the line once you start drilling lower on the wall.
2. Fasten plywood backing across the studs
This is the step people skip and regret. A 1/2-inch plywood or OSB layer screwed into every stud gives the wall a continuous, rigid surface that steel alone can't provide, and it gives your slat panel screws real wood to grip instead of thin sheet metal. Use self-tapping #8 x 1-1/4-inch screws at every stud location, spaced no more than 16 inches apart vertically. Pre-drill a 1/8-inch pilot hole before driving — this is what stops the screw from stripping the steel on the first turn. Expected outcome: a flat, drum-tight surface with zero flex when you press on it.
3. Snap a level line for your first panel
Even a 1/4-inch lean over 8 feet of wall becomes obvious once slat panels are up, because the vertical grooves amplify any tilt. Use a 4-foot level to establish a true vertical line at one end of the wall, then chalk-snap it top to bottom. Start your install from this line, not from a corner, since corners in older builds are rarely square.
4. Dry-fit and cut panels to width
Lay the first two or three panels against the wall before fastening anything. Most acoustic slat panels run in standard widths, so measure the total wall length and calculate how many full panels you'll get before hitting a cut piece. Cutting the last panel in a run rather than the first keeps your visible pattern consistent and avoids an odd sliver at a focal point. Common mistake: cutting from both ends to center the layout, which usually looks worse than one full-width panel on one side.
5. Apply adhesive and fasten mechanically
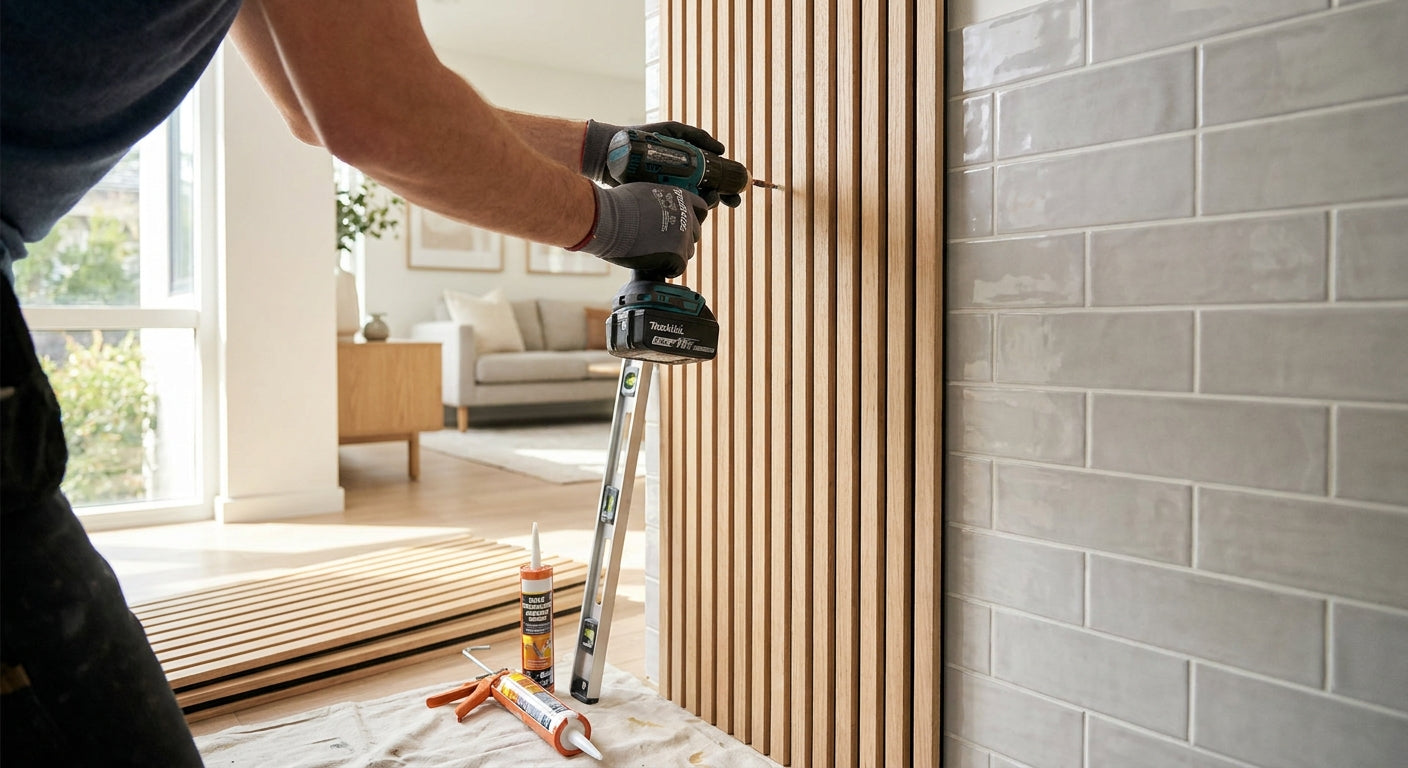
Run a bead of construction adhesive down the back of each panel in a zigzag pattern, then press it into the plywood backing along your level line. Adhesive alone isn't enough on a wall this size — back it up with finish screws or panel clips driven into the plywood at stud locations, spaced every 16 to 24 inches. This dual approach keeps panels flat against the wall through humidity swings, which matter more than people expect since most interior wood veneer panels move slightly with seasonal moisture.
6. Seat each subsequent panel against the last
Most slat panels use a tongue-and-groove or click edge so panels lock together without a visible seam. Push each new panel firmly into the groove of the previous one before fastening — don't fasten first and try to slide panels together after, since that tends to leave a visible gap line. Work in one direction across the wall and check level every third panel, not just at the start.
7. Finish exposed edges cleanly
Any edge that ends mid-wall, at a corner, or around an opening needs a clean finish rather than a raw cut face. An end piece slat wall panel in natural oak caps the exposed groove and matches the veneer tone, which reads far better than a bare cut edge under any light. Skipping this step is the single most common reason a slat panel wall looks unfinished even after a clean install.
Troubleshooting
- Screws spinning without biting into steel — you're missing a pilot hole. Back out, drill 1/8 inch, and re-drive at slower speed.
- Panel edges not flush after install — the plywood backing wasn't shimmed flat before fastening. Pull the panel, check backing with a level, and shim gaps before refastening.
- Panel bowing at the center of a long run — furring strips were spaced wider than 16 inches. Add an intermediate strip and re-fasten.
- Echo hasn't improved after install — some acoustic slat panels have a felt or acoustic backer facing one direction only. Check orientation before final fastening; reversed panels look identical but perform differently.
- Adhesive not holding on steel track near the floor — adhesive rated for wood won't bond long-term to bare metal. Route that fastening through the plywood layer instead, not the steel directly.
Tools and resources
- Magnetic stud finder and 4-foot level
- Cordless drill with 1/8-inch pilot bit
- Self-tapping #8 x 1-1/4-inch pan-head screws
- Construction adhesive rated for interior wood
- Full sample box of slat wall panels to check color and grain against your actual room lighting before ordering full coverage
What to do next
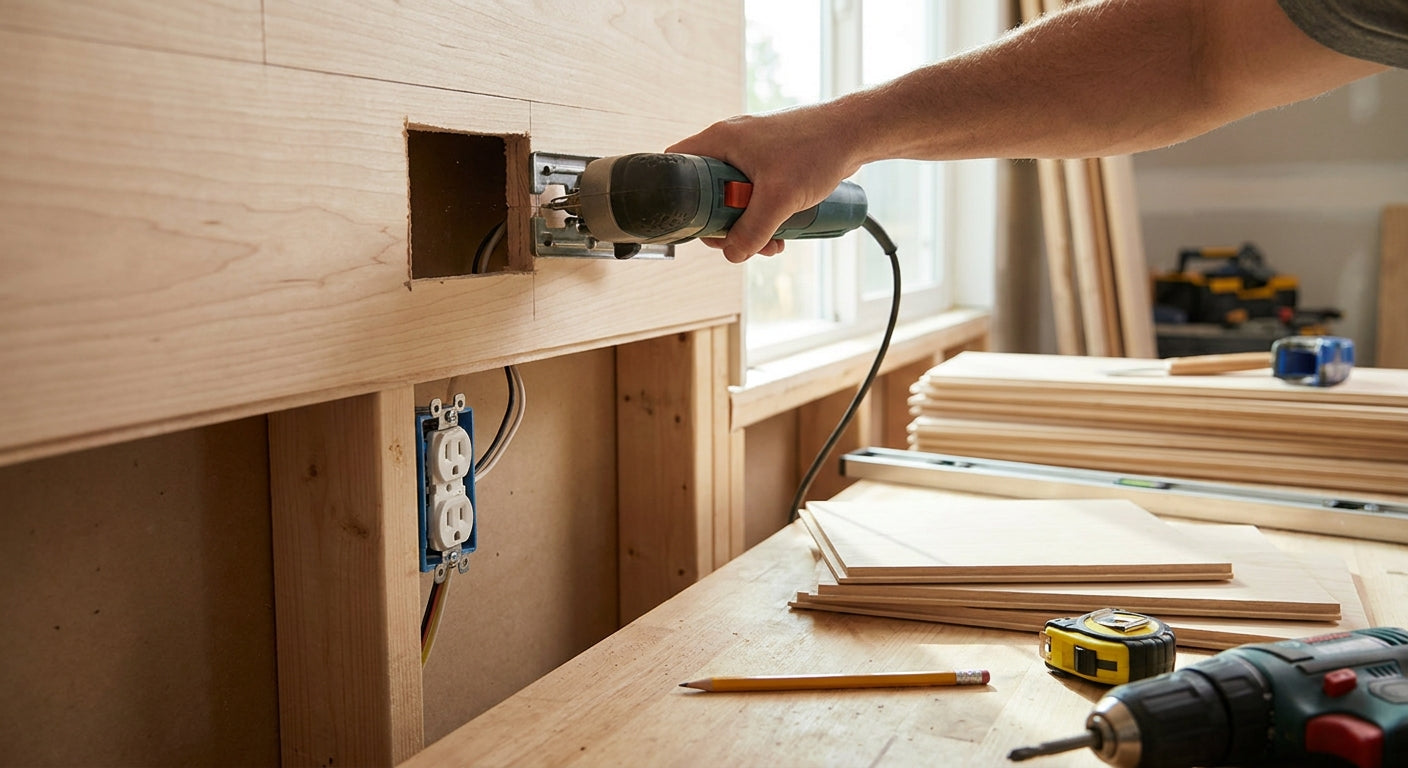
Once the layout is confirmed and backing is up, the remaining question is how much material to order — most installers underestimate waste on cut pieces around outlets and corners. A separate guide on how to install acoustic slat wall panels on drywall covers the equivalent process for standard framing, useful if part of your wall transitions from metal stud to drywall-only sections.
FAQ
Can you install wood slat panels directly onto metal studs?
No, direct fastening into bare metal studs strips screws and leaves panels loose within months. Add 1/2-inch plywood or OSB backing across the studs first, then fasten panels into that layer.
What screws work for slat panels on metal stud walls?
Self-tapping #8 x 1-1/4-inch pan-head screws hold reliably in metal studs when pre-drilled with a 1/8-inch pilot hole. Standard wood screws strip the steel on the first turn.
How far apart should furring strips be on a metal stud wall?
Furring strips or plywood backing fasteners should land every 16 inches on center. Wider spacing lets panels bow at the center of long runs.
Is adhesive enough to hold slat panels on a metal stud wall?
Adhesive alone isn't enough at full wall height. Pair a zigzag adhesive bead with mechanical screws or clips into the plywood backing every 16 to 24 inches.
Do acoustic slat panels reduce echo on a metal stud wall the same as drywall?
Yes, once mounted on solid backing the acoustic core behind the veneer performs the same regardless of framing type. The backing quality matters more than whether studs are wood or steel.
What's the best wood slat panel for a metal stud install?
Akuwood's Acoustic Slat Wall Panel in Natural Oak is a reliable pick for metal stud walls because its click-fit edges tolerate minor backing irregularities. Verdict: buy for most residential and light commercial installs.
How do you finish the edge of a slat panel wall near a corner?
Use a matching end piece panel to cap the exposed groove rather than leaving a raw cut face. It keeps the veneer tone consistent and hides the fastening line.
Can you remove slat panels from a metal stud wall later?
Panels fastened with screws into plywood backing come off cleanly; panels relying only on adhesive tend to damage the veneer backing on removal. Screw-and-adhesive combined installs are the easiest to service later.
One last thing
The plywood backing step is the part almost every DIY metal-stud install skips, and it's also the exact reason most complaints about loose slat panels trace back to steel framing rather than the panel itself. Add the backing once in 2026 and you won't touch this wall again for a decade.



 Better performance and aesthetic appeal
 In Stock




