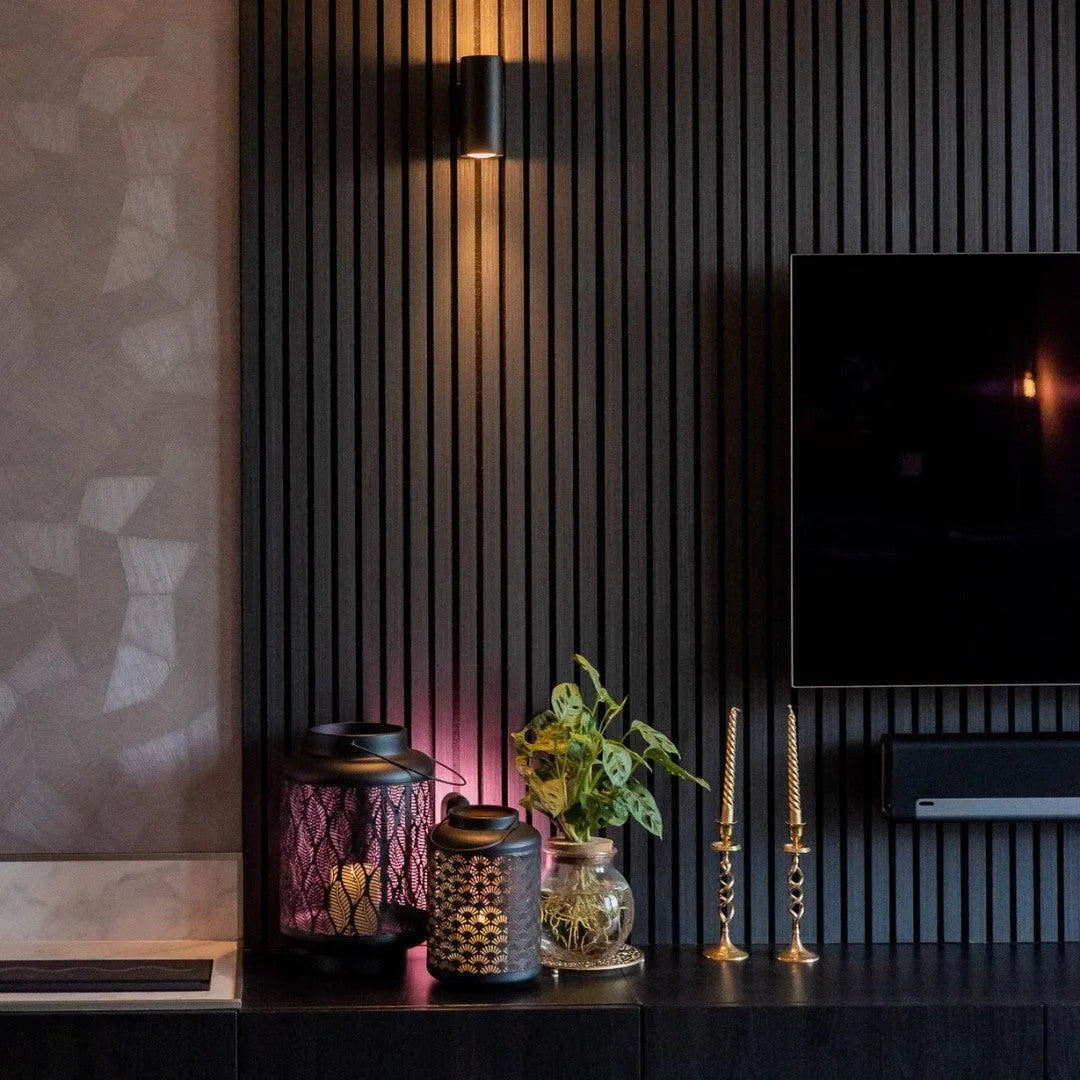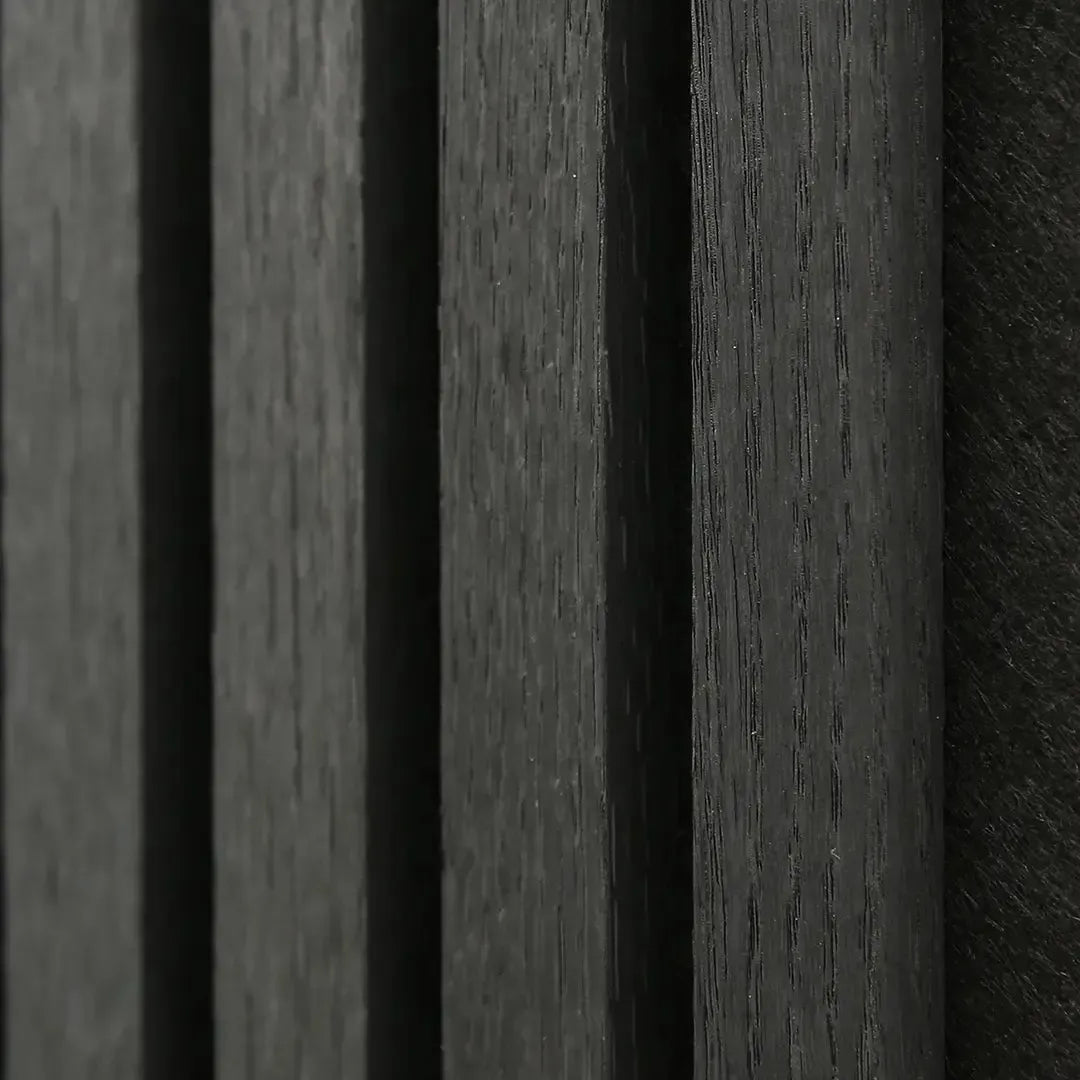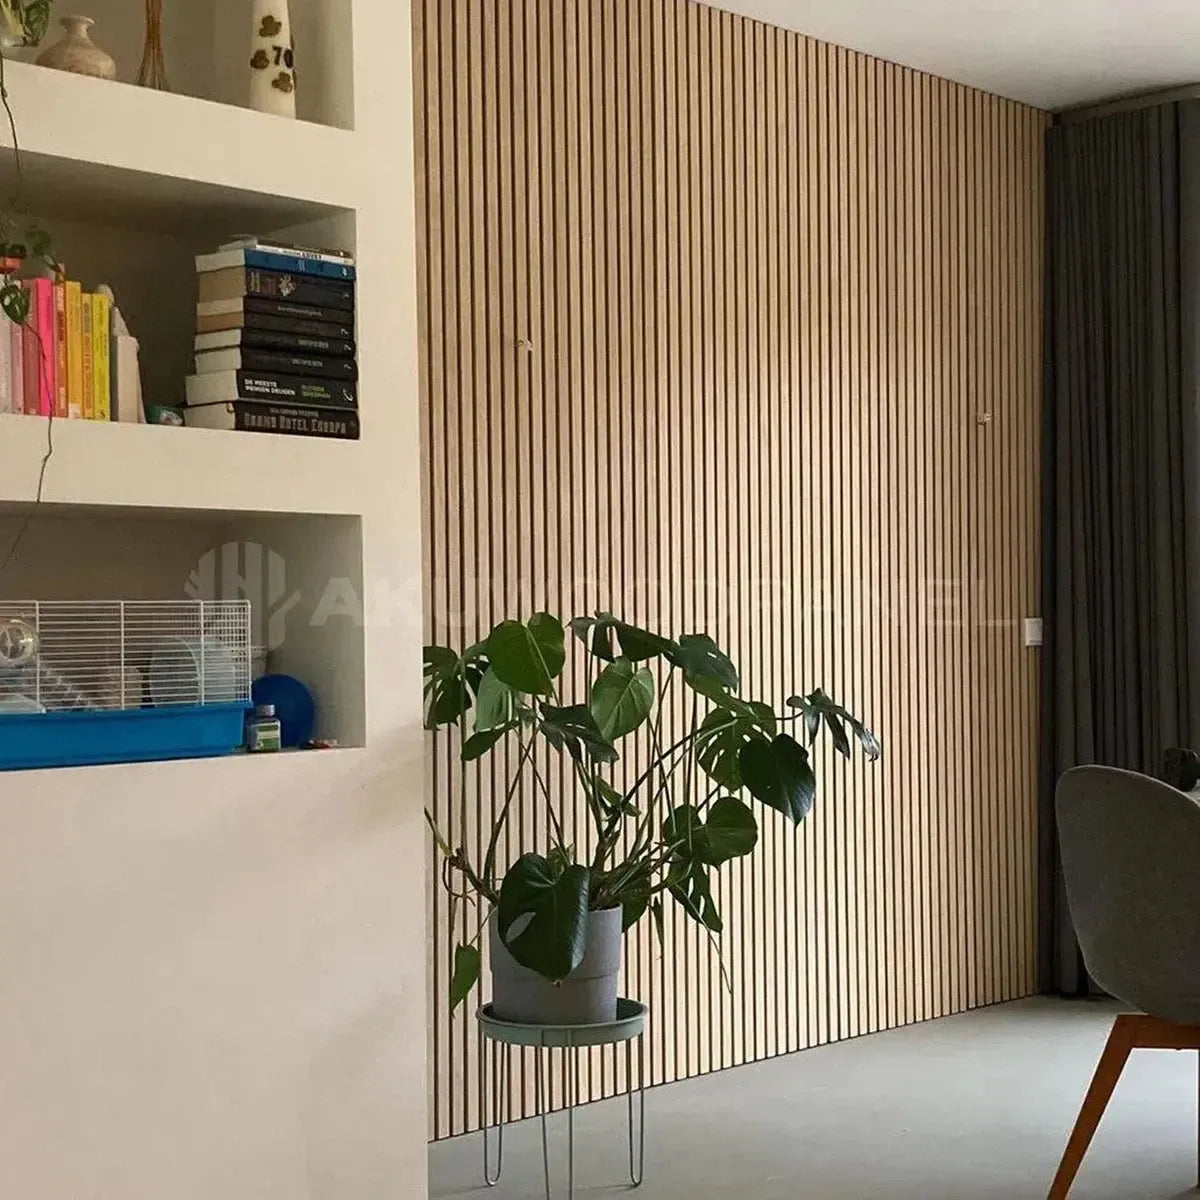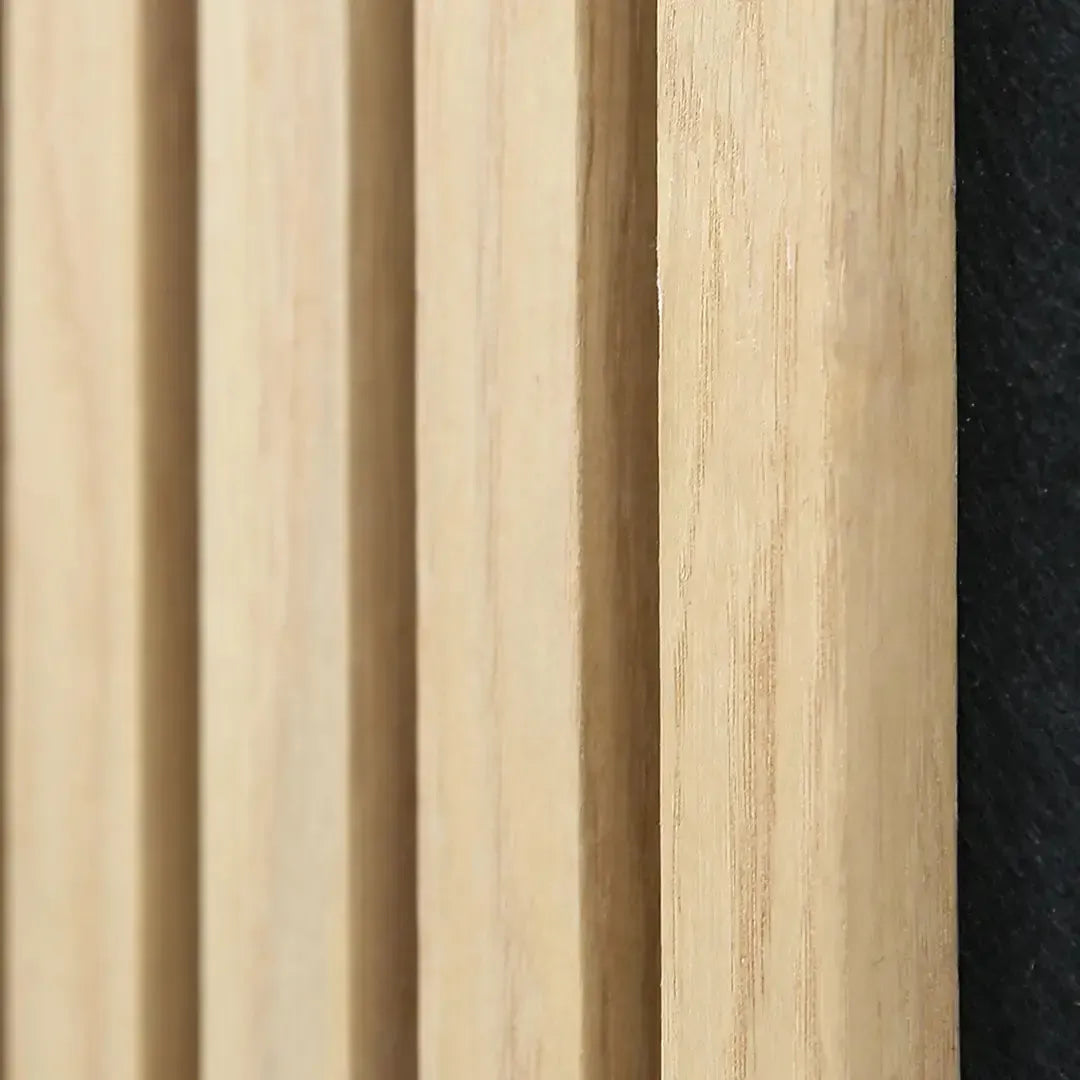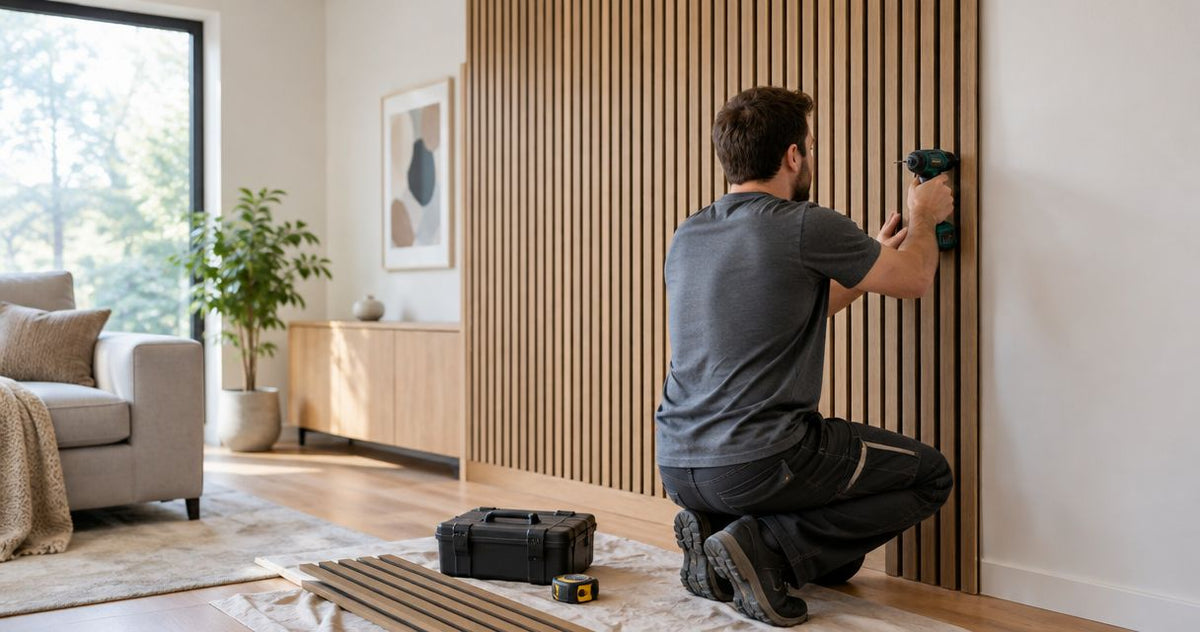
The time to install a wood slat panel accent wall depends on wall preparation, panel cuts, the approved fixing method, and edge finishing—not just the time spent attaching panels. For your 2026 project, separate hands-on work from any required conditioning, drying, or adhesive curing before you set a completion date.
- How long to install wood slat panel accent wall depends on preparation, cuts, fixing, and finishing—not wall area alone.
- Akustiq USA supplies acoustic wood panels; plan installation around the selected panel’s instructions and your wall construction.
- Separate active installation from conditioning, repair drying, and adhesive curing when those steps apply.
- Resolve outlets, exposed edges, and mounting details before cutting the first panel.
Why this matters
A wall that looks finished is not necessarily ready for normal use. Panels can be in position while adhesive still needs to cure, electrical work remains incomplete, or exposed edges need finishing. Decide what completion means before you book help or move furniture back.
Start with the sequence in this guide to installing wood slat wall panels on a feature wall. Then build your schedule around the actual wall, rather than a generic installation promise.
For a useful 2026 plan, distinguish between a clear, prepared wall and a wall needing repairs, service changes, or a supporting framework. Those are different scopes of work, even when the finished accent walls look similar.
How long does it take to install a wood slat panel accent wall?
Set the duration after you inspect the wall and confirm the installation method. A reliable schedule includes preparation, layout, cutting, fixing, finishing, and any waiting periods specified for the materials you use.
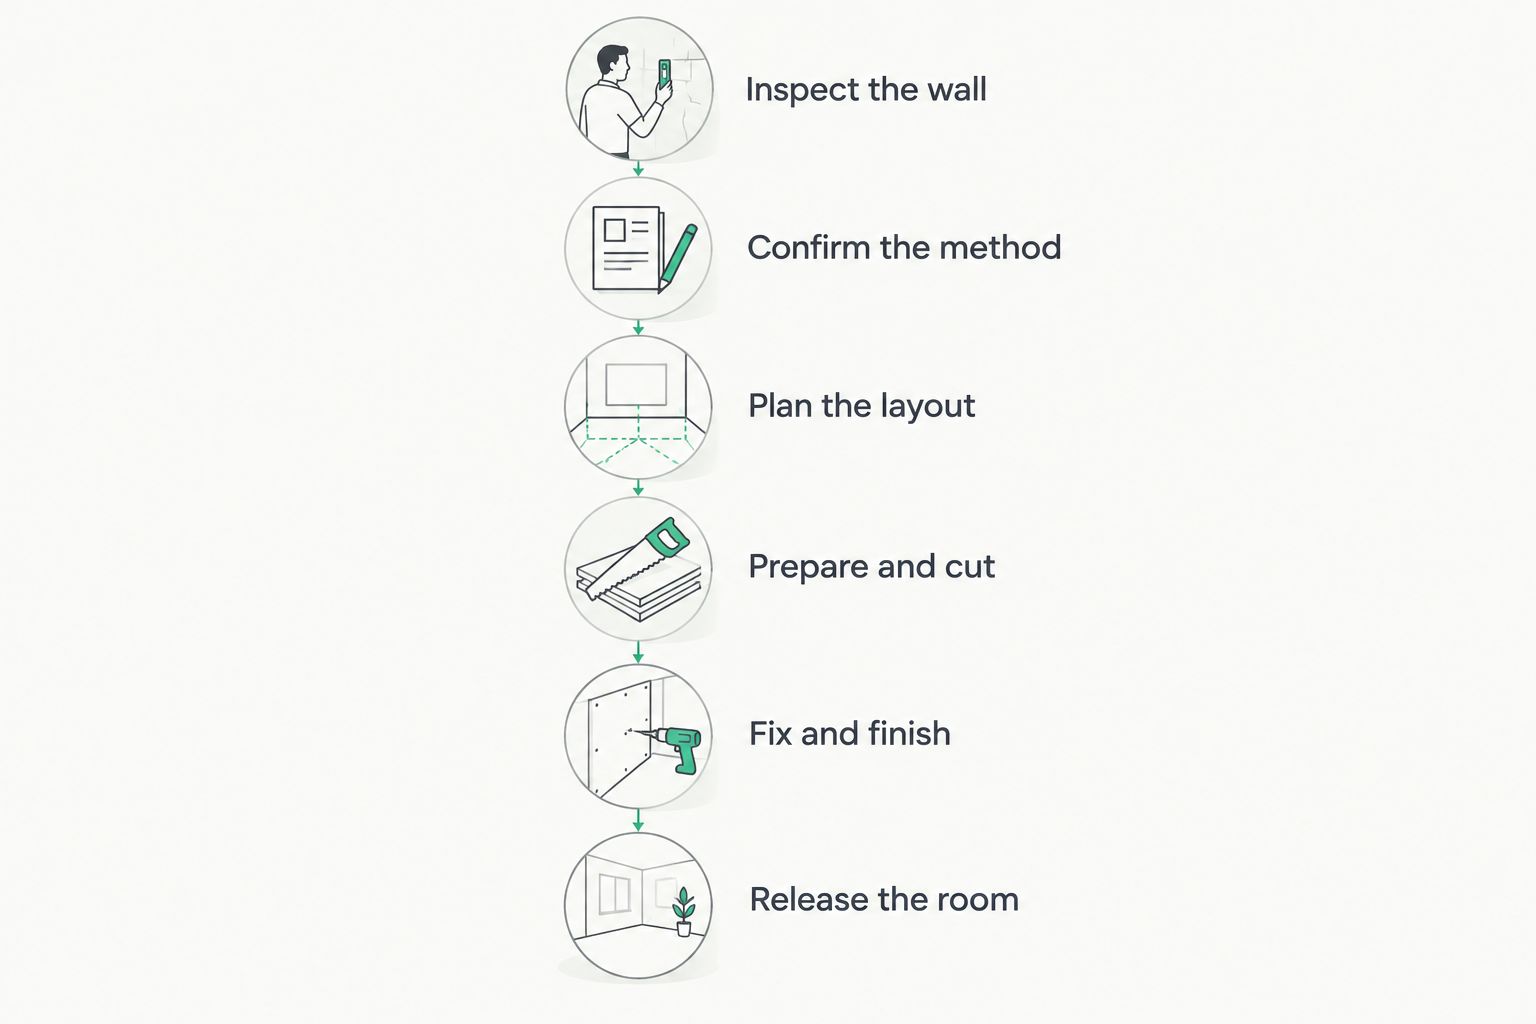
Use the following sequence to define the work. Treat each stage as complete only when its exit condition is met; that prevents unfinished preparation from interrupting installation.
- Inspect the wall. Identify its construction, surface condition, uneven areas, and services. Finish when you know what will support the panels and what needs repair.
- Confirm the method. Read the selected panel’s installation instructions and check the proposed fixings or adhesive against the substrate. Finish when the complete assembly is defined.
- Plan the layout. Mark panel boundaries, visible joints, cutouts, and exposed ends. Finish when you know how the first and last panels will meet the wall edges.
- Prepare and cut. Complete the necessary surface work, measure each location, and check cut pieces before fixing. Finish when the panels fit the planned layout.
- Fix and finish. Install according to the instructions, check alignment as you progress, and complete edge details. Finish when the assembly is secure and visually complete.
- Release the room. Observe applicable curing requirements, complete electrical work, and clean the space. Finish when the room is safe and ready to use.
The practical distinction is between working time and elapsed time. You spend working time measuring or fixing; elapsed time also includes periods when materials must remain undisturbed. Do not treat those waiting periods as optional.
Compare installation scopes before setting the date
The fixing method changes the task list. Choose it for compatibility with the panel, wall, and intended assembly—not because it sounds quicker.
These are planning options, not interchangeable instructions. Use only a method permitted for your selected panel and suitable for the supporting wall.
| Installation scope | Best for | Practical advantage | Limitation to schedule |
|---|---|---|---|
| Direct mechanical fixing, where approved | A suitable wall with identified fixing locations | No adhesive-curing stage if adhesive is not used | Requires appropriate fixings and checks for concealed services |
| Direct adhesive fixing, where approved | A compatible, properly prepared substrate | Does not rely on a mechanically fixed layout alone | Surface preparation, support, and curing follow the adhesive instructions |
| Fixing to battens, where specified | A design that calls for a supporting framework | Establishes a separate fixing plane | Adds framework layout, fixing, and perimeter detailing |
Do not choose adhesive solely to avoid drilling. Adhesive suitability depends on the panel backing and the surface it bonds to, including any existing coating. A weak or unsuitable surface is not corrected by covering it.
Likewise, battens are not an automatic requirement for every accent wall. Include them when the specified installation calls for them, and account for the finished wall depth at outlets, corners, and adjoining trim.
Why wood slat panel installation time varies
The most useful scheduling factors are visible during a site check. Record them in your 2026 project brief before asking an installer for a completion date.
- Wall condition. Loose finishes, damage, dampness, or uneven surfaces require investigation and suitable preparation before covering.
- Wall construction. Drywall, masonry, and other substrates need an appropriate attachment approach. Confirm the supporting construction rather than guessing from the painted surface.
- Panel layout. Full-panel areas and repeated straight cuts involve different work from angled boundaries, narrow infills, and multiple changes in direction.
- Outlets and services. Switches, receptacles, cables, and mounted equipment affect cutouts, access, and the finished wall depth.
- Assembly requirements. Direct fixing and a specified batten assembly have different preparation and installation tasks.
- Finishing details. Exposed sides, corners, baseboards, and adjoining surfaces need decisions before the main panels go up.
A large clear wall and a smaller wall crowded with fittings should not receive the same estimate just because both are accent walls. Ask for a scope-based schedule that identifies these details.
What should you finish before installation starts?
Make the installation date the start of fitting, not the start of decision-making. Gather the instructions, confirm materials, and resolve the layout beforehand.
Create a wall sketch showing the panel area and everything that interrupts it. Record wall width and height at the relevant locations, plus the positions of outlets, switches, doors, windows, and fixed furniture. Use the units shown in the product documentation consistently.
Then prepare a cut list. Distinguish repeated straight cuts from individual cutouts, and identify which edges remain visible. Do not assume the ceiling, floor, or adjoining walls form a perfectly square boundary.
Before you begin, check:
- The selected panels and finishing components match the planned layout.
- The wall is suitable for the approved installation method.
- Any required material conditioning has been completed according to instructions.
- Tools, appropriate fixings, protective equipment, and a supported cutting area are ready.
- Electrical changes and heavy-object mounting details are resolved.
- Furniture protection, dust control, and waste removal are planned.
These checks do not establish a universal duration. They establish whether your installation is ready to start without avoidable interruptions.
How do you prevent cutting and layout delays?
Check the first panel position and the final edge before fixing either. A layout that starts neatly can still end with an awkward strip or an unfinished exposed side.
Mark a reliable reference line using suitable measuring equipment. Check how the proposed panel arrangement meets the ceiling, baseboard, and adjoining wall. If the feature is centered behind furniture, compare the wall layout with the furniture position before committing.
Test-fit cut pieces where practical. A cutout needs to fit its location without blocking required access, and a perimeter piece needs to meet the chosen finishing detail. Check the actual piece against the actual location instead of relying only on the sketch.
Keep tools and cutting methods consistent with the panel instructions. Support the material securely and use appropriate dust extraction and personal protection. Do not improvise blade selection or cutting direction from a different panel type.
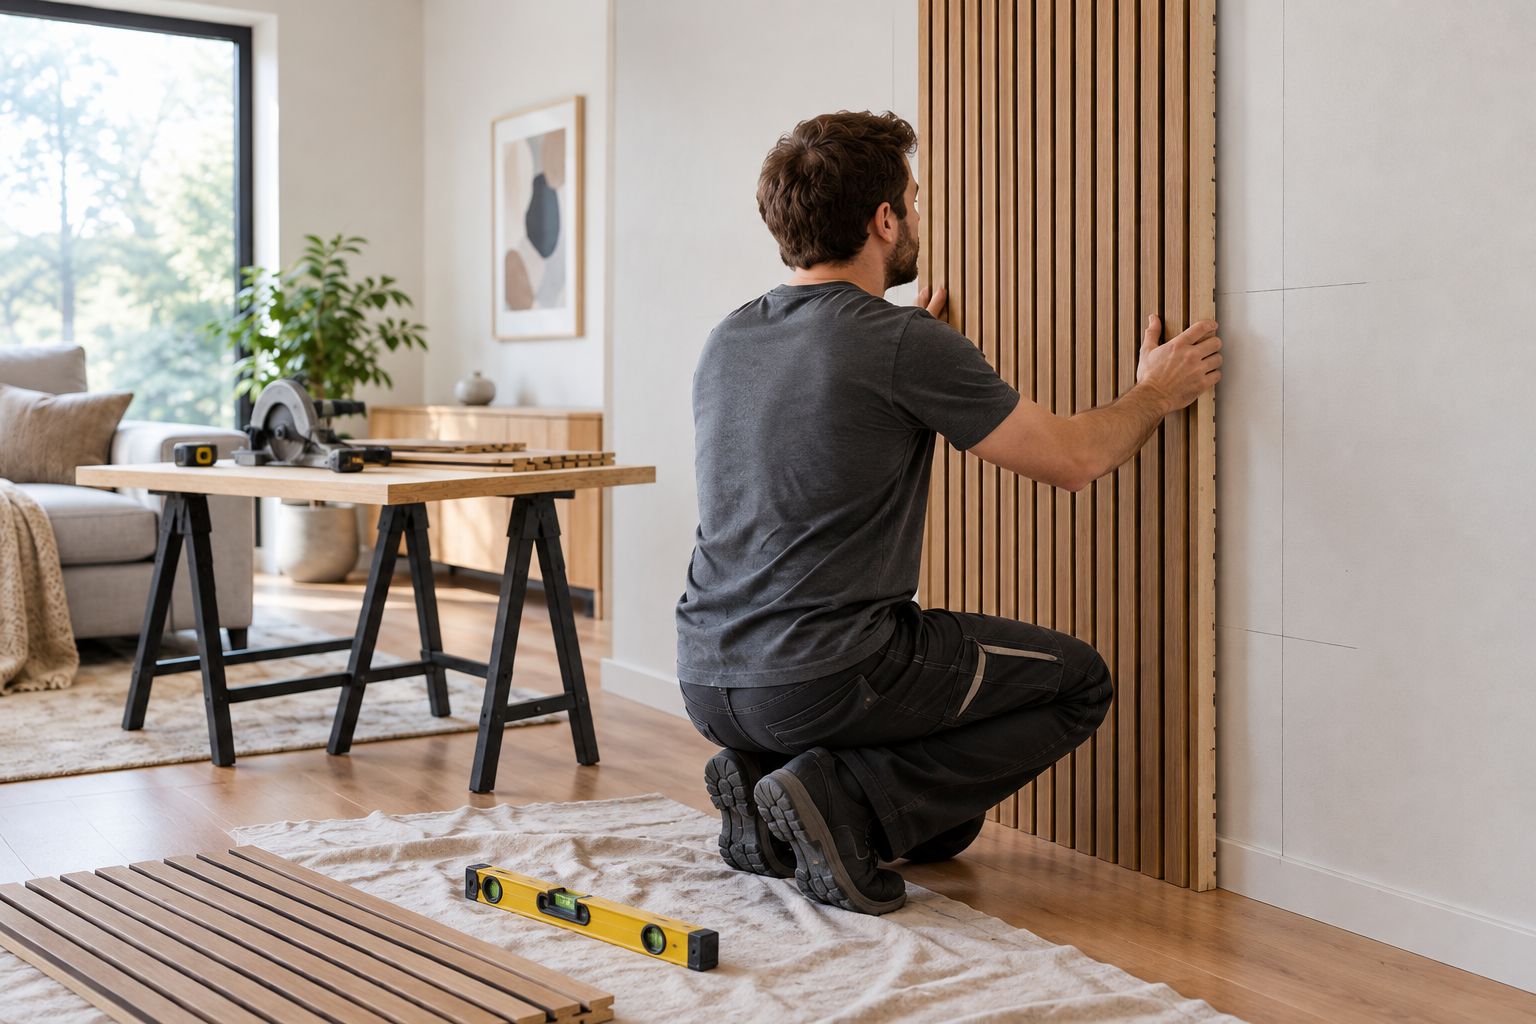
Keep usable offcuts organized by their intended location. Do not count an offcut toward coverage until you have checked its dimensions, edge condition, and suitability for that position.
Does choosing a different wood finish change installation time?
Do not use the finish name as a scheduling shortcut. Confirm panel dimensions, construction, installation instructions, and finishing requirements for the exact item you select.
Akustiq USA acoustic wood panels are best for homeowners and businesses planning a decorative wall with an acoustic purpose. Akustiq USA supplies acoustic wood panels for interior applications; the installation schedule still depends on the selected panel and the site.
The practical benefit is the combination of a wood-panel finish and an acoustic application. The limitation is that choosing an acoustic product does not, by itself, define the mounting assembly or guarantee a particular room result. Confirm the relevant installation and performance documentation before specifying the wall.
For your 2026 selection, settle the appearance before cutting begins. A late finish change affects material planning, while a late mounting-method change affects the installation scope itself.
Can you complete the wall in a single working session?
A single working session is a planning goal, not a reliable promise for every wall. Confirm that preparation is complete, the layout is resolved, and no required waiting period or separate trade visit prevents completion.
Ask your installer to distinguish fitting completion from room readiness. If adhesive curing or electrical work remains, do not describe the project as fully finished simply because all panels are attached.
Is DIY installation quicker than hiring an installer?
DIY installation and professional installation require the same wall-specific checks. Compare experience, tools, access, and the agreed scope rather than assuming either route has a fixed duration.
If you hire an installer in 2026, request a schedule that states who handles preparation, cutting, electrical coordination, finishing, and cleanup. If you install the wall yourself, use that same scope as your checklist.
FAQ
How long does it take to install a wood slat panel accent wall?
Installation time depends on wall condition, layout, cuts, the approved fixing method, and finishing. Set the duration after inspecting the wall, and separate active work from any required conditioning, drying, or curing.
Can I install wood slat panels without waiting for adhesive to dry?
An approved mechanical-only installation has no adhesive-curing stage if it uses no adhesive. If your installation uses adhesive, follow its support and curing instructions before treating the wall as ready for use.
Do I need to prepare a painted wall before fitting slat panels?
A painted wall needs inspection before fitting slat panels. Check the coating’s condition and the requirements of the approved attachment method; covering a weak surface does not make it suitable.
Do outlets make a slat panel installation more complicated?
Outlets add layout, cutout, and finished-depth details to the installation. Keep electrical boxes accessible and have a qualified electrician handle any required electrical alterations.
Should I install the panels before deciding how to finish the edges?
Decide the edge treatment before installing the panels. Exposed sides and corners affect panel placement and cutting, so leaving them unresolved creates unfinished work at the end.
Will acoustic slat panels soundproof my room when installation is complete?
Acoustic absorption and soundproofing are different tasks. Do not treat a decorative acoustic wall as a complete barrier to sound transmission; check performance evidence for the specified assembly and your actual noise problem.
One last thing
Plan the last visible edge before installing the first panel. Trace the layout across the wall and check where it ends beside trim, furniture, or an adjoining surface. That final boundary belongs in the initial plan—not on a list of problems to solve after the panels are fixed.



 Better performance and aesthetic appeal
 In Stock