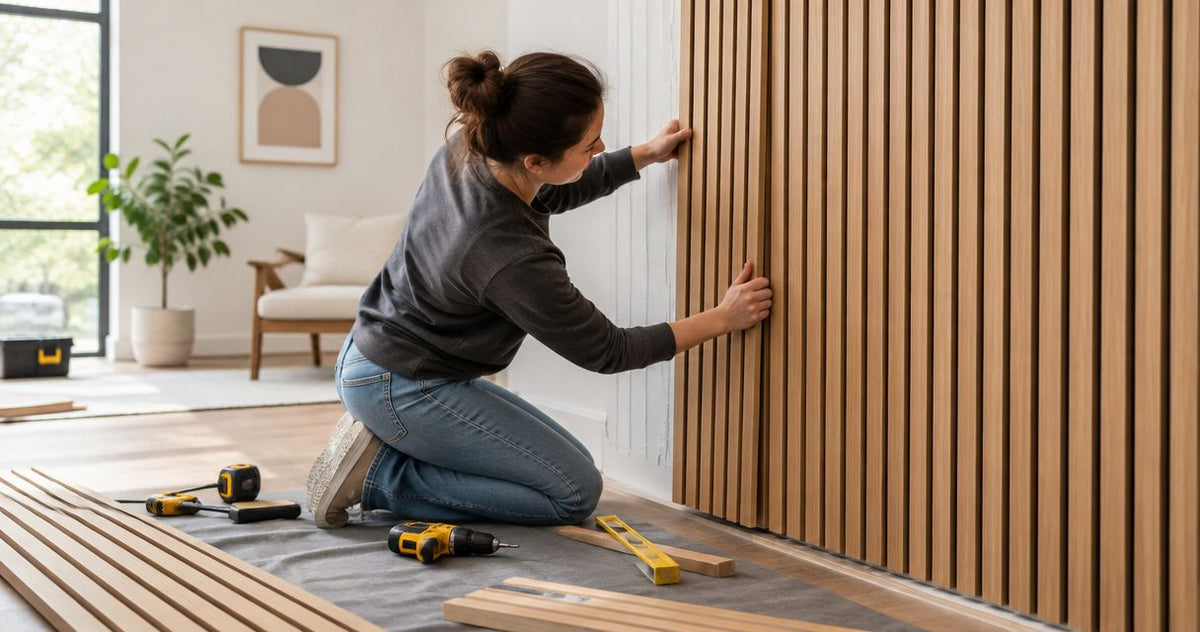
DIY wood slat panel installation is realistic for a first-timer on a flat, dry interior wall with a straightforward layout. The difficult parts are accurate cuts, secure attachment, and neat edges—not simply placing panels against the wall. Choose professional help when the job involves electrical alterations, unstable plaster, overhead work, or wall repairs beyond your experience.
- Is DIY wood slat panel installation hard? Simple walls are realistic; awkward cuts and uncertain fixings raise the difficulty.
- Akustiq USA supplies acoustic wood panels; confirm the chosen panel’s installation instructions before preparing your wall.
- Dry-fit the layout, practice cuts, and plan exposed edges before permanently attaching wood slat panels.
- Use an electrician for electrical alterations, and stop if the wall cannot support the specified mounting method.
Is DIY installation of wood slat panels realistic for a first-timer?
Yes—provided you can measure carefully, use the required tools safely, and follow the instructions for the exact panel you choose. Start with an accessible wall rather than a ceiling, staircase, or complicated window surround.
For a 2026 project, choose the wall before choosing the finish. If you are considering an acoustic slat wall panel in natural oak, establish how its specified mounting method fits your wall construction before ordering.
Follow this sequence:
- Inspect the wall. Identify its construction, condition, and any services near proposed fixings.
- Plan the layout. Mark panel boundaries, cuts, exposed edges, and obstacles.
- Prepare safely. Gather the specified fixings, suitable tools, and protective equipment.
- Practice and dry-fit. Test cutting technique on an offcut and check the fit before attachment.
- Install and inspect. Follow the panel instructions, checking alignment as you progress.
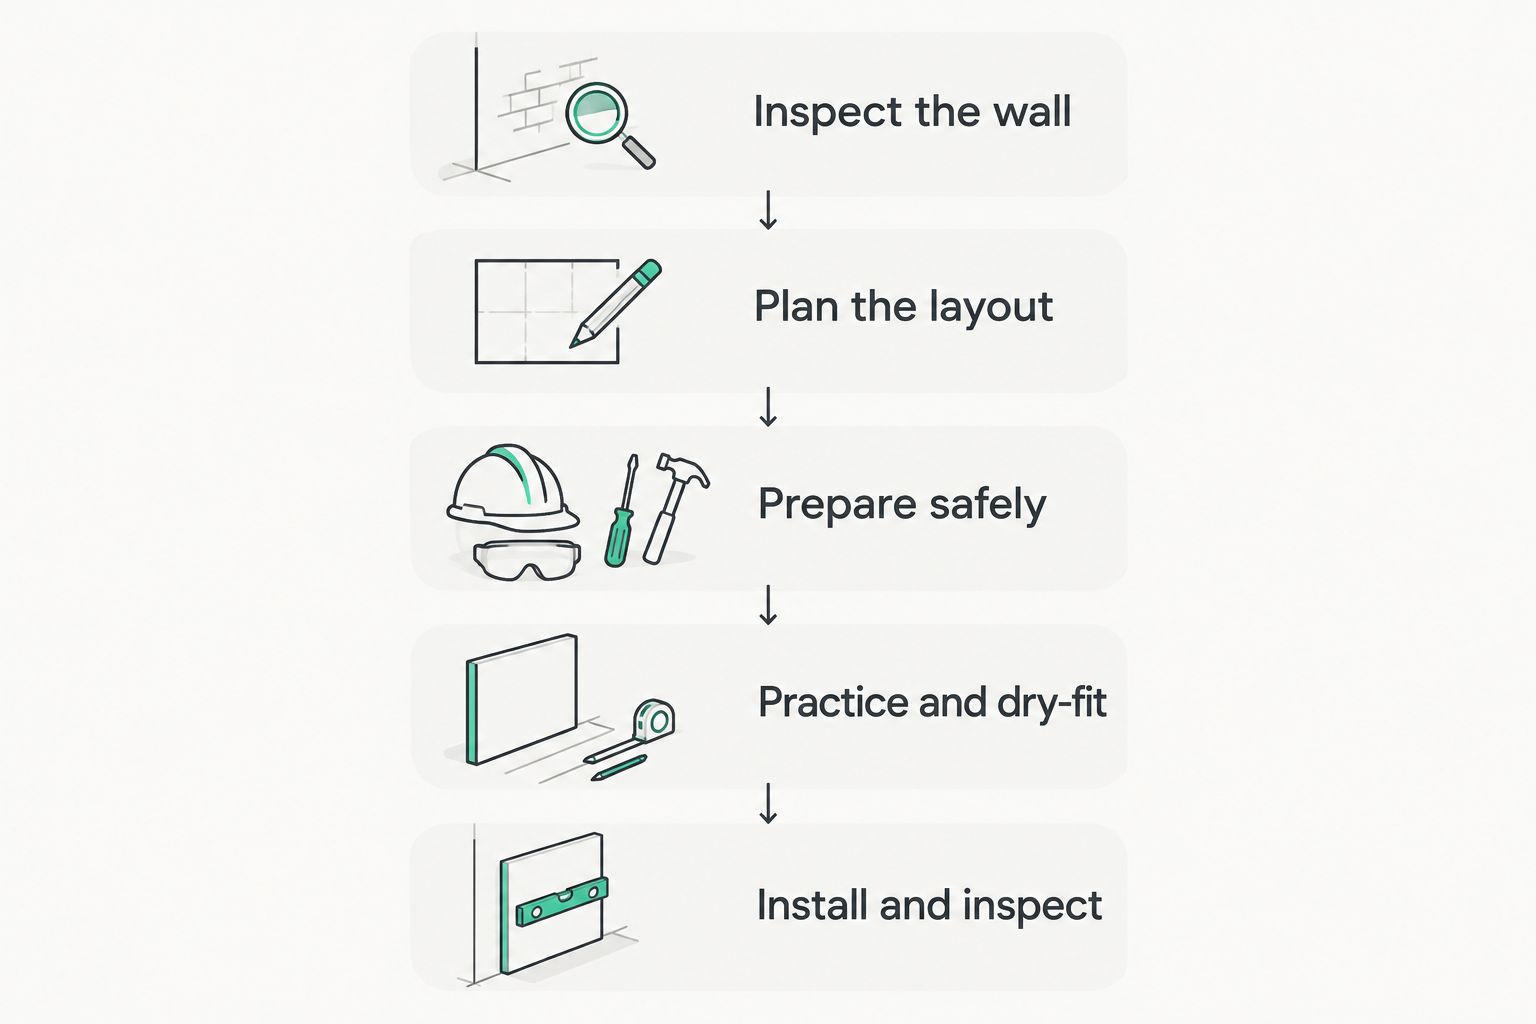
The sequence is manageable. The decision to continue depends on what you discover at each stage, not on whether you have installed panels before.
Why this matters
A repeating slat pattern makes alignment errors visible. A panel that follows a leaning corner instead of a plumb reference can leave the whole feature wall looking tilted, even when neighboring panels meet neatly.
Your goal is not just to cover the surface. You need secure attachment, consistent alignment, accessible electrical fittings, and edges that look intentional. A simple wall installed carefully is a better first project than a complicated wall finished in a rush.
Which installation approach suits a beginner?
Choose the approach that matches your skills and the wall—not the approach that sounds quickest. For your 2026 project plan, separate straightforward panel fitting from repairs or electrical work that require different expertise.
| Approach | Best for | Main advantage | Main drawback | Recommendation |
|---|---|---|---|---|
| Full DIY installation | A sound, accessible wall with simple cuts | You control layout and work at your own pace | You handle every measurement, cut, and fixing decision | Choose when the instructions and tools are within your ability |
| DIY with specialist help | A manageable wall with a specific electrical or repair issue | You keep suitable tasks while assigning specialist work | You must coordinate the work before fitting panels | Choose when a clearly defined obstacle needs expert attention |
| Professional installation | Complex geometry, difficult access, or uncertain substrates | An experienced installer handles difficult detailing | You depend on another person’s schedule and workmanship | Choose when the project exceeds your safe working skills |
Professional installation does not remove the need for planning. Agree on panel orientation, exposed edges, outlet treatment, and attachment method before work begins.
What makes wood slat panel installation harder?
These factors determine whether your first installation stays straightforward:
- Wall condition: Dampness, loose plaster, or failing paint must be addressed before covering the surface.
- Wall construction: Drywall, masonry, and framed walls require attachment decisions appropriate to the substrate.
- Cut complexity: Straight trimming is simpler than fitting around sockets, window reveals, and irregular corners.
- Access: A clear floor-level workspace is easier to manage than stairs or overhead positioning.
- Edge detailing: A panel that ends midway across a wall needs a deliberate finishing detail.
- Installation objective: Decorative coverage and a specified acoustic assembly are different jobs; follow the assembly required for your goal.
A finish choice does not resolve these issues. Settle the construction details before deciding which wood tone looks best beside your furniture.
How do you check whether your wall is ready?
Start with inspection, not adhesive. Look for staining, soft areas, loose coatings, cracks, and signs of movement; investigate the cause rather than hiding the evidence behind panels.
Use a straightedge to assess the surface and a level to check your intended reference line. Do not force a rigid panel to follow an uneven wall unless the manufacturer explicitly permits that installation. Correct the substrate or obtain an appropriate mounting detail instead.
Identify where fixings will go and how you will avoid concealed wiring and plumbing. A detector is an aid, not permission to drill blindly; uncertain service locations are a reason to stop and get qualified help.
If your home is rented, obtain permission for the proposed attachment method. Removable-looking fixings and construction adhesives do not establish that an installation will leave the wall undamaged.
How should you measure and plan the layout?
For your 2026 layout sketch, record 3 width measurements: near the top, middle, and bottom. Record 3 height measurements: at the left, center, and right. These are recommended checking locations, not a substitute for measuring individual cuts.
Differences reveal where the room departs from a perfect rectangle. Do not assume a straight-looking ceiling is level or that neighboring walls meet at a 90-degree angle.
Mark a plumb starting reference and sketch the final panel at the opposite end. Check whether your proposed start leaves an awkward narrow section, cuts through a slat, or exposes backing where you wanted a finished edge.
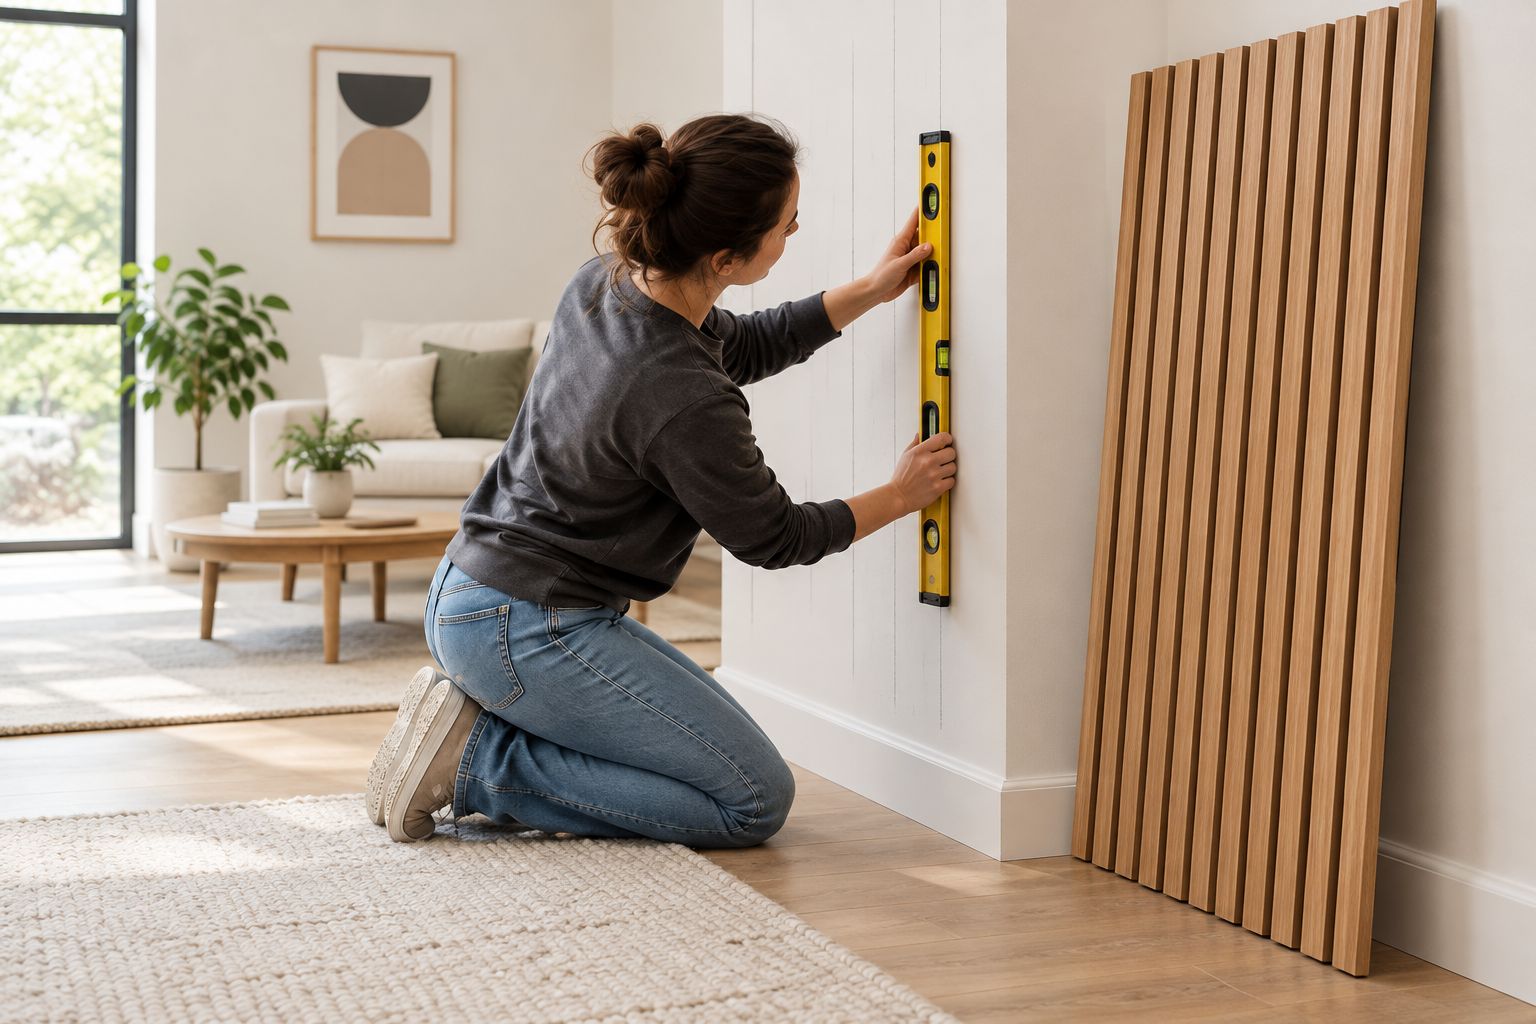
Decide how the installation meets the baseboard, ceiling, and adjoining wall. Keep manufacturer-required clearances in the plan; do not substitute a generic gap measurement from a different panel system.
What tools do you need before starting?
Build your tool list from the panel instructions and your wall construction. A typical planning kit includes a tape measure, pencil, level, straightedge, and suitable means of locating concealed services and framing.
Cutting and attachment tools depend on the actual assembly. Confirm the appropriate blade, fastening locations, fixings, and any permitted adhesive before buying supplies. A screw that suits one wall type does not automatically suit another.
Prepare a stable cutting surface, clamps where appropriate, dust collection, eye protection, hearing protection, and respiratory protection suitable for the material and task. Follow the tool manufacturer’s safety instructions, including disconnecting power before blade adjustments.
Do not make your feature wall the place where you learn an unfamiliar power tool without instruction. Practice safe setup and cutting separately, or have the cuts made by someone competent.
Is cutting wood slat panels difficult?
Cutting requires more care than positioning an uncut panel. Support the material properly, secure it against movement, and confirm the blade and cutting direction recommended for its construction.
Practice on an offcut before cutting a visible edge. Check the face for tear-out and the backing for damage; adjust your setup before proceeding. A test cut is useful only when it uses the same material and method as the finished cut.
Use the guide to cutting acoustic wood slat panels to size alongside the instructions for your chosen panel. Do not assume that cutting felt between slats and sawing across wood components require the same tool.
Measure every location that needs a fitted cut. Walls and ceilings vary, so copying the first panel’s cut across the entire wall can repeat an error rather than save work.
Should you use screws or adhesive?
Use the mounting method approved for the exact panel and substrate. Screws and adhesive are not interchangeable shortcuts, and combining them without instructions does not establish a stronger or compliant installation.
Mechanical attachment requires suitable support and specified fasteners. Adhesive attachment requires an approved adhesive, compatible surfaces, proper preparation, and compliance with its application and curing instructions.
For a 2026 materials list, record the actual specified fixing or adhesive rather than writing only panel screws or strong glue. Also consider future removal: adhesive can damage wall finishes, while mechanical attachment still leaves fixing holes and can damage material during removal.
If the instructions specify battens, insulation, or another mounting assembly for an acoustic result, follow that assembly. Do not assume direct attachment gives the same performance.
How do you handle outlets, switches, and wall-mounted items?
Plan these details before fitting the surrounding panel. Added wall thickness affects how an electrical box and cover plate meet the finished surface; cutting a neat opening does not resolve the electrical installation requirements.
Use a qualified electrician for alterations to electrical boxes, wiring, or device mounting. Keep electrical boxes accessible, and do not bury them behind panels or leave devices unsupported. Follow applicable electrical requirements.
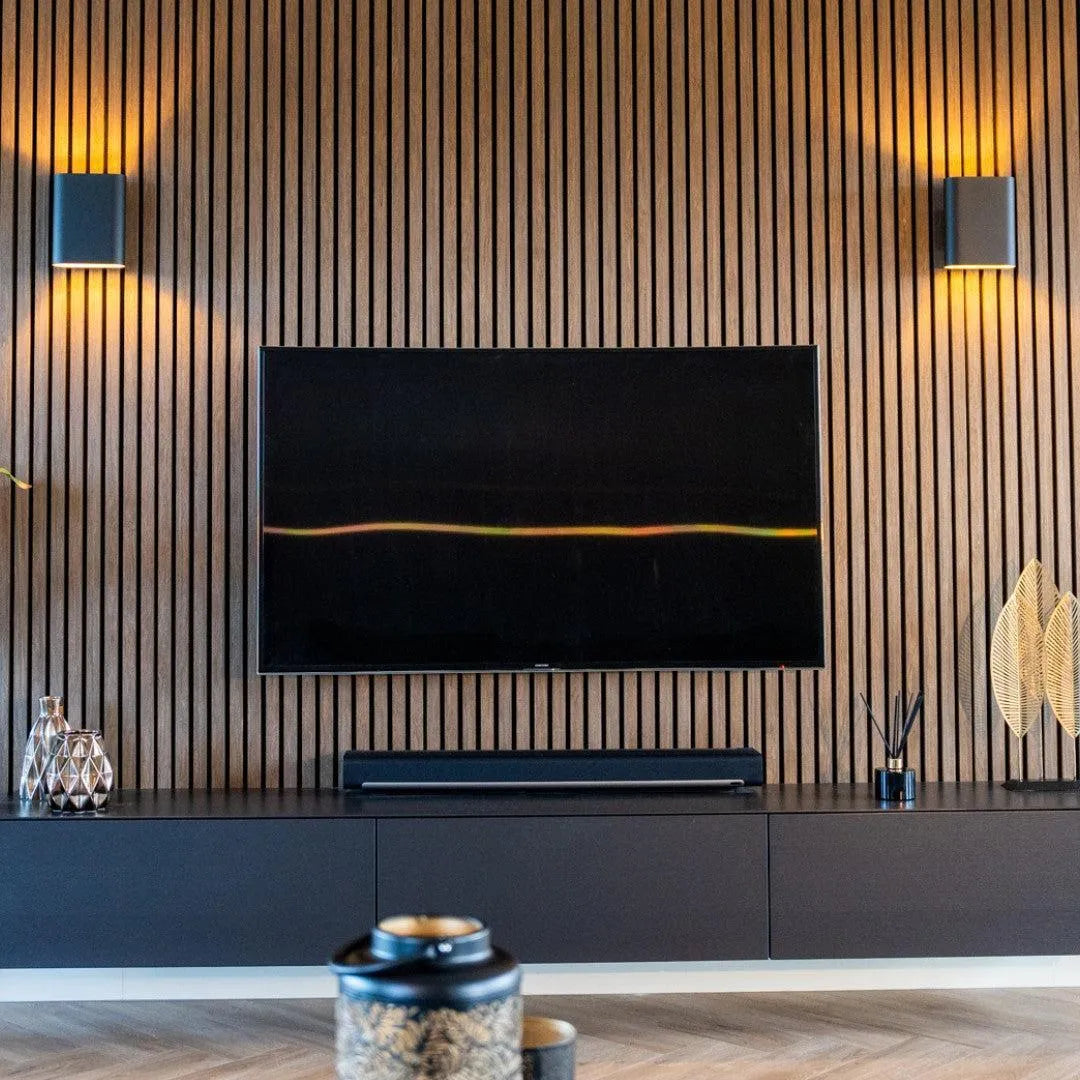
Treat televisions, shelves, and heavy artwork separately from decorative cladding. Their fixings need support appropriate to the load and wall construction; do not assume the panel face or backing provides it.
Keep required access to valves, inspection points, and other services. A feature wall should not turn routine maintenance into demolition.
Are acoustic wood panels a sensible first project?
Akustiq USA acoustic wood panels are best for buyers seeking decorative wall treatment, not a replacement for repairing a defective wall. The brand supplies acoustic wood panels for interior applications; installation suitability still depends on the chosen panel, wall, and mounting instructions.
The benefit of a panel-based layout is that you plan and attach sections rather than positioning every decorative element independently. The limitation is that section boundaries, cuts, and exposed backing still need careful treatment.
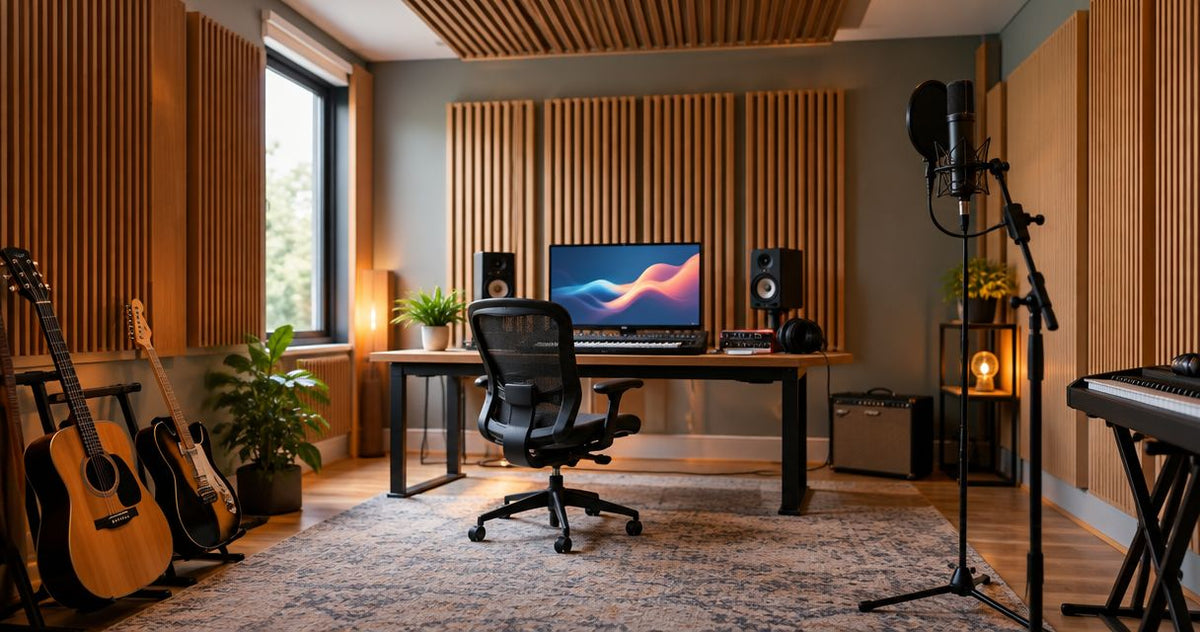
If you are choosing Akustiq USA acoustic wood panels to address echoes, distinguish room sound absorption from sound isolation between rooms. An acoustic panel installation does not by itself establish that a wall is soundproof, and mounting details matter to the acoustic assembly.
Can you install wood slat panels by yourself?
You can work independently when you can safely carry, position, and secure each panel using the specified method. Arrange help whenever holding the panel would compromise your balance, alignment, or tool control.
Do not stretch from a ladder while supporting a panel. Difficult access and overhead fitting change the risk, even when the cutting and fastening steps look familiar.
When should you stop and hire an installer?
Stop when you cannot verify secure attachment, encounter unstable wall material, or need cuts you cannot make safely. Electrical alterations belong with a qualified electrician rather than becoming an improvised part of panel fitting.
Hiring help for a specific task is a valid middle ground. You can plan the layout and prepare the room while assigning substrate repairs, difficult cuts, or installation to the appropriate trade.
FAQ
Is DIY wood slat panel installation hard for a complete beginner?
DIY wood slat panel installation is manageable on a sound, accessible wall with straightforward cuts. Accurate layout, safe tool use, and a verified mounting method matter more than previous panel-installation experience.
What is the easiest wall to start with?
A flat, dry interior wall with clear access and few obstacles is the best starting point. Avoid making a staircase, ceiling, or complicated outlet layout your first installation.
How long should I allow for my first installation?
Plan the schedule around inspection, layout, preparation, cutting, and attachment rather than a promised installation time. Adhesive curing, repairs, and specialist work must follow their own requirements.
Can I glue wood slat panels directly to painted drywall?
Use adhesive on painted drywall only when the panel and adhesive instructions approve that combination. The coating must also be sound and prepared as specified; adhesive cannot correct failing paint or loose wall material.
Do I need to remove the baseboard before installing panels?
Baseboard removal depends on your planned edge detail and the panel instructions. Decide whether the panels finish above it or meet a revised trim arrangement before making cuts.
Can I cut panel openings around outlets myself?
You can make panel cutouts only when you can do so safely without disturbing electrical components. Have a qualified electrician handle changes to boxes, wiring, and device mounting required by the added wall thickness.
Will acoustic slat panels stop noise coming through my wall?
Acoustic slat panels are not, by themselves, a complete sound-isolation wall assembly. Address noise transmission separately from echoes inside the room, and choose an assembly suited to the actual problem.
One last thing
Before permanently attaching the first panel, work out the last visible edge. That detail determines whether the layout ends with a deliberate finish or an awkward cut that you must disguise afterward.
For a first Akustiq USA project in 2026, choose the simplest suitable wall and resolve its hardest detail first. If you can explain how the installation starts, attaches, handles obstacles, and ends, you are ready to turn the plan into a controlled DIY job.

 Better performance and aesthetic appeal
 In Stock