


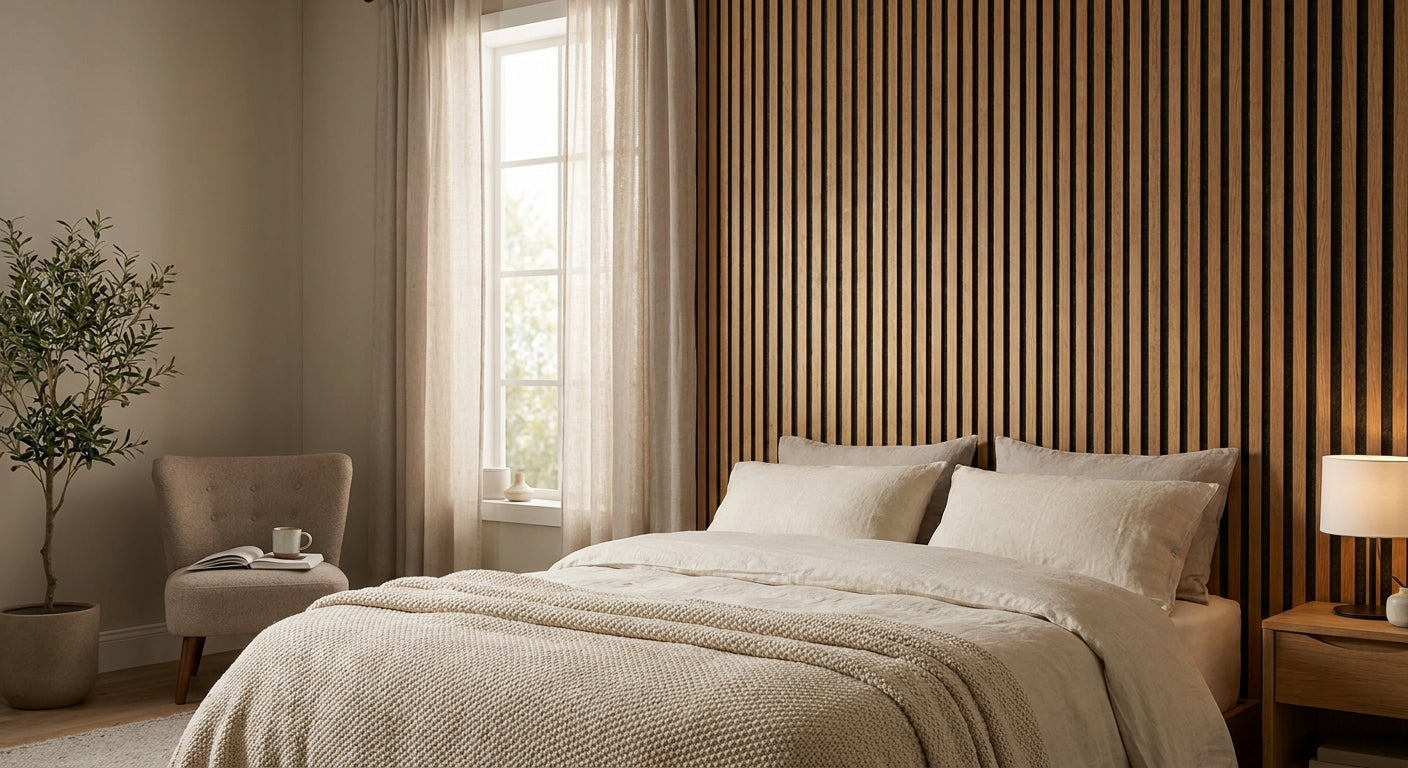
A noisy bedroom kills sleep and privacy, and acoustic wood panels fix both by absorbing sound and blocking flanking noise between rooms — here's the exact process for 2026.
TL;DR
Soundproofing a bedroom with acoustic wood panels means covering the walls that share noise with neighbors or hallways, prioritizing the headboard wall and any shared wall with a living room. Felt-backed slat panels, like the acoustic slat wall panel in natural oak with gray felt, absorb mid-to-high frequency echo and reduce perceived noise inside the room — they don't stop bass from a subwoofer next door, but they cut the sharp, ringy noise that makes a bedroom feel loud. Verdict: acoustic wood panels are the right call for echo and mid-frequency noise, not a substitute for mass-loaded vinyl if you're dealing with heavy low-end bleed. Budget one weekend and expect the project to run 4-8 hours depending on wall size.
Why this matters
Most bedroom noise complaints in 2026 aren't about traffic outside — they're about hearing a partner's TV through a shared wall, or a hallway conversation bouncing around a bare drywall room. Hard, flat surfaces reflect sound instead of absorbing it, which is why a small bedroom with drywall and a hardwood floor can feel louder than a much bigger, furnished living room.
Acoustic wood panels solve the reflection problem directly. A slat panel with a felt backing behind the wood slats gives sound waves somewhere to go instead of bouncing straight back at you. That's a different job than blocking sound from crossing a wall entirely, and knowing the difference before you buy saves you from disappointment.
What you'll need
- Acoustic slat wall panels sized for the wall you're covering (felt-backed versions absorb more than plain wood slats)
- A stud finder
- A level (4-foot minimum for accuracy across a full wall)
- Construction adhesive or panel clips, depending on the panel's mounting system
- A tape measure and pencil
- A fine-tooth saw or oscillating tool for cutting around outlets and trim
- Painter's tape to mark layout before committing to adhesive
- Optional: a sample panel to check color and slat spacing against your room's lighting before ordering full coverage
If you're not sure how a panel will look against your wall color or lighting, order a full sample box first. It's a five-minute decision that prevents a costly reorder.
The steps
1. Identify your noise source before buying anything
Walk your bedroom at different times of day and note where the noise actually enters — shared wall, hallway door, or a window. This single step determines which wall gets panels and which doesn't, and skipping it is the number one reason people cover the wrong wall and stay disappointed.
If the noise is airborne (voices, TV, music), panels on the offending wall will noticeably reduce what you hear. If it's structural vibration (footsteps, plumbing, HVAC), panels help less and you'll need to manage expectations.
Common mistake: covering the window wall when the real noise leak is a hollow-core door with a gap underneath.
2. Measure the wall and calculate coverage
Measure width and height of the target wall in inches, then convert to square footage. A typical 10-by-9-foot bedroom wall runs roughly 90 square feet before subtracting windows and doors — most projects end up needing panels for 55 to 75 square feet once openings are removed.
Order 5-10% extra to cover cutting waste around outlets, corners, and trim.
3. Find studs and mark your layout
Run the stud finder across the full wall and mark every stud with painter's tape at both the top and bottom of the intended panel area. Panels mounted into studs hold significantly more securely over time than adhesive-only installs, especially in a bedroom where the wall gets bumped by furniture.
Dry-fit your first panel before applying adhesive or driving a single fastener. This is where you catch layout mistakes — like slats running the wrong direction relative to the headboard — while they're still free to fix.
Common mistake: starting installation at a corner instead of centering the layout, which leaves an awkward sliver panel on the far end.
4. Prioritize the headboard wall first
If budget or time forces you to choose one wall, pick the wall behind the bed. It's both the largest uninterrupted surface in most bedrooms and the wall closest to your ears at night, so it does the most acoustic work per square foot.
A felt-backed slat panel behind the headboard also doubles as a design feature, which matters if you're weighing whether the investment pays off visually as well as acoustically in 2026.
5. Install panels working left to right, top down
Apply adhesive in a zigzag pattern across the back of the panel (or engage the clip system, depending on which panel type you bought) and press firmly for 30-60 seconds per panel to set the bond. Work in one direction across the wall so slat lines stay continuous and gaps stay consistent.
Check level every second or third panel — small errors compound fast across a full wall, and a wall that's off by even a few degrees is obvious once natural light hits it.
Common mistake: rushing adhesive cure time and shifting a panel before it sets, which leaves visible drag marks in the felt backing.
6. Address the door and any remaining flanking paths
Panels on the wall don't help if sound is leaking under or around the bedroom door. Add a door sweep and weatherstripping around the frame before calling the project finished — this closes the gap that panels alone can't cover.
7. Let the room settle for 48 hours before judging results
Adhesive needs time to fully cure, and your ears need a couple of nights to recalibrate to the new sound profile of the room. Don't make a final judgment on night one; most people report the clearest improvement by the third night.
Troubleshooting
- Panels look uneven along the top edge — you likely didn't check level often enough during install; shim behind the low panel before the adhesive fully cures.
- Adhesive isn't holding on a textured wall — sand high spots flat first or switch to a mechanical clip system instead of adhesive-only mounting.
- Room still sounds echoey after full coverage — you probably need panels on a second wall or a rug on a hard floor; one wall alone rarely solves a fully hard-surfaced room.
- Noise from the neighbor is still audible — that's often structural transmission through the shared wall itself, not an air-gap problem panels can fix; check for outlet boxes and pipe penetrations as flanking paths.
- Cutting around an outlet left a rough edge — use a fine-tooth blade and cut slightly undersized, then trim to fit rather than cutting oversized and forcing it.
- Panel color looks different once installed than it did online — room lighting temperature shifts wood tone; this is exactly why ordering a sample first before full coverage matters.
Tools and resources
- Acoustic slat wall panel, natural oak with gray felt — the felt-backed option for maximum absorption on the headboard wall
- Full sample box — check color and slat spacing before committing to full coverage
- How to calculate how many wall panels you need — a coverage math walkthrough if step 2 above needs more detail
- Stud finder, level, and a fine-tooth cutting tool from any hardware store
What to do next
Once panels are up and the room has settled for a few nights, the next question is usually mounting method — adhesive versus a cleaner mechanical fix for a rental or a wall you might reconfigure later. The guide to installing acoustic slat wall panels on drywall covers both approaches in more depth than fits here.
FAQ
Does soundproofing a bedroom with acoustic wood panels actually work? Yes, for airborne echo and mid-to-high frequency noise like voices and TV sound — felt-backed slat panels absorb reflected sound inside the room. They don't block low-frequency bass or structural vibration coming through a shared wall.
How many panels do I need for a bedroom? Coverage depends on wall size, but most bedroom headboard walls run 55-75 square feet once windows and doors are subtracted from the total. Measure your specific wall and add 5-10% for cutting waste.
Is felt-backed panel better than plain wood slat panel for noise reduction? Yes — the felt backing behind the slats is what absorbs sound, while plain wood slats over a hard wall reflect more than they absorb. For a bedroom noise project specifically, felt-backed is the right choice.
Which wall should I cover first in a bedroom? Start with the wall behind the headboard. It's usually the largest flat wall in the room and the closest surface to your ears while you sleep, so it delivers the most noticeable acoustic change per panel installed.
Can I install acoustic wood panels myself, or do I need a contractor? Most bedroom installs are a DIY weekend project with a stud finder, level, and basic cutting tool — no contractor required for a standard drywall bedroom wall in 2026.
Will panels stop noise from a neighbor's apartment? Partially — they reduce what you hear reflecting inside your own room, but heavy noise coming through the wall structure itself needs additional treatment like door seals or, in more serious cases, added mass on the wall.
How long does it take to install panels in one bedroom? Plan for 4-8 hours for a single wall, including measuring, stud-finding, dry-fitting, and adhesive cure time — most of that is patience, not labor.
Do acoustic panels need maintenance after installation? Wood veneer panels just need occasional dusting; felt backing doesn't require upkeep once mounted. No recoating or resealing is needed for an interior bedroom install.
One last thing
The detail most people skip: door sealing. You can panel every square inch of a bedroom's walls and still hear a hallway conversation clearly if there's a half-inch gap under the door — that gap acts like an open window for sound. Panels handle the walls; a door sweep handles the last flanking path, and skipping it undercuts everything else you just installed.
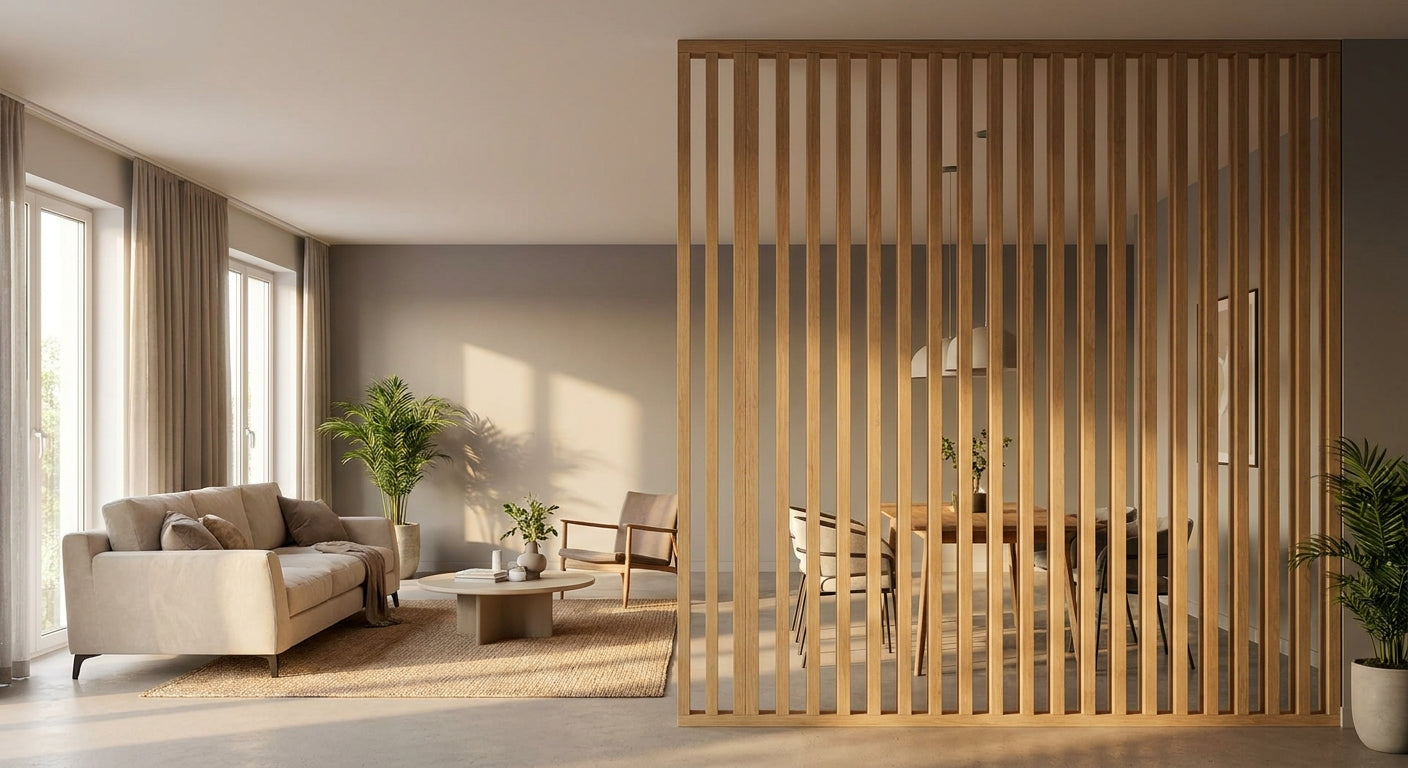
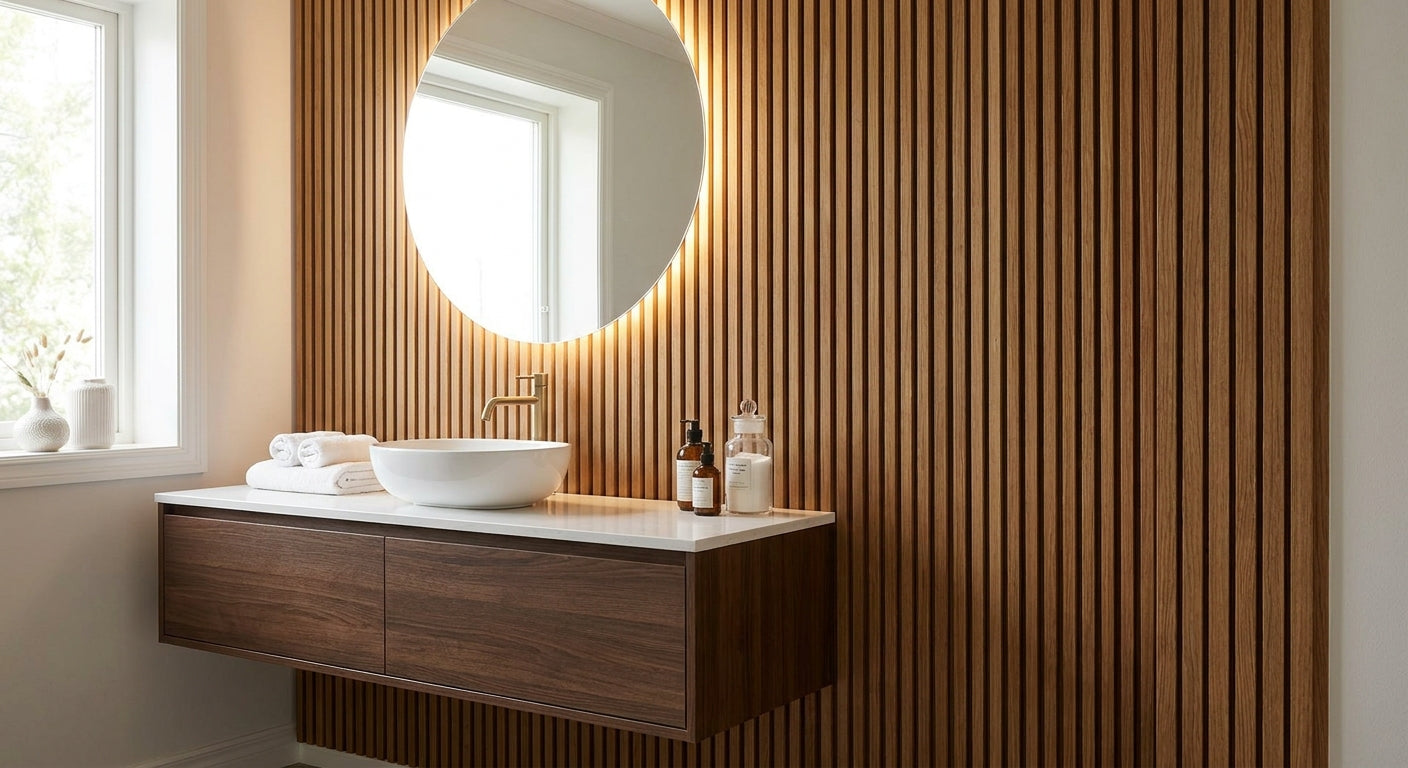



 Better performance and aesthetic appeal
 In Stock




