


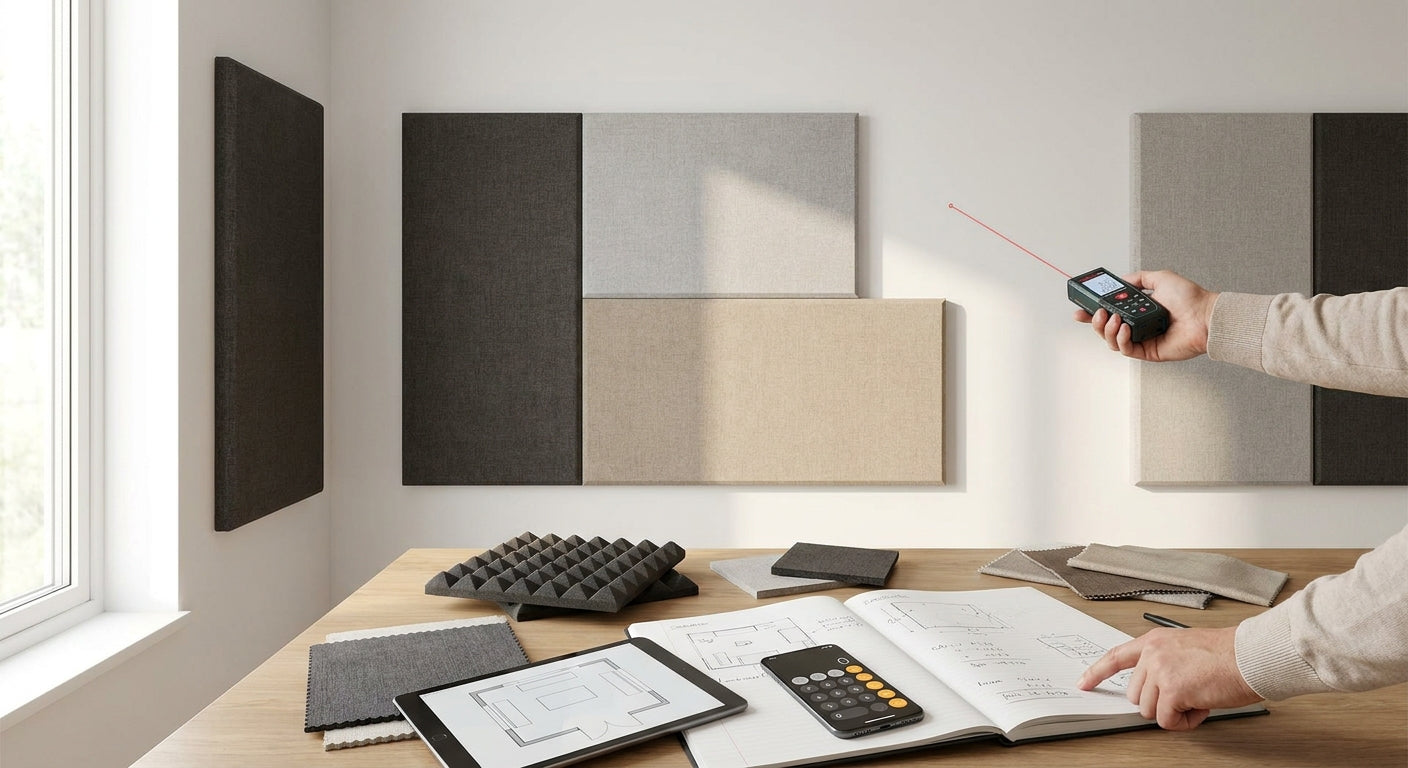
Acoustic panel coverage calculations trip up more DIY installers than the actual mounting does — get the square footage wrong and you're either waiting on a reorder or storing leftover boxes in the garage for a project that's already finished. This guide walks through the exact math, the waste allowance professionals build in, and where measurements go wrong most often.
TL;DR: How to calculate acoustic panel coverage comes down to three numbers — total wall square footage, coverage per panel, and a waste allowance of 10-15%. Measure width times height for every wall you're treating, subtract doors and windows, then divide by the coverage figure listed on the product page for the panel style you've chosen. Before you commit to full coverage for a 2026 install, ordering a Full Sample Box Slat Wall Panel is the smart move — Verdict: Buy — because grain and tone shift noticeably between oak, walnut, and smoked oak runs, and coverage math means nothing if you order the wrong finish.
Why this matters
Acoustic slat panels aren't sold by the square foot the way drywall or paint are — they're sold by the panel, and each panel covers a fixed width regardless of your wall's actual dimensions. That mismatch is where overorders and underorders happen.
A 2026 renovation budget gets blown fast when a homeowner orders based on "about 10 panels should do it" instead of running the actual math. Underordering means a mid-project pause waiting on a reshipment; overordering means paying for coverage you'll never use, and returns on cut or opened panels are rarely straightforward.
The fix is a five-minute calculation before you place any order. Do it once, correctly, and you order exactly what the room needs.
What you'll need
- A tape measure or laser measuring tool (accurate to a quarter-inch)
- Graph paper or a notes app to sketch the wall
- The width and height of every door, window, and vent opening on the wall
- A calculator (phone calculator is fine)
- The coverage-per-panel figure from the product page of the acoustic slat wall panel style you've chosen
- A waste allowance of 10-15% built into your final order
The steps
1. Measure the total wall height and width
This gives you the raw square footage before any subtractions. Measure floor to ceiling for height, and corner to corner for width, on every wall you plan to cover.
Multiply width by height in feet to get square footage per wall. A wall that's 12 feet wide and 9 feet tall equals 108 square feet. Add up every wall in the room if you're doing a full-room install rather than a single feature wall.
Common mistake: measuring only the visible flat section and skipping corners, alcoves, or a chimney breast that still needs coverage.
2. Subtract doors, windows, and fixed obstructions
Any opening that won't be paneled comes out of your total. A standard door opening runs roughly 21 square feet (3 ft x 7 ft), and a mid-size window runs around 15-16 square feet (4 ft x 4 ft).
Subtract each opening's square footage from the wall total. On that same 108-square-foot wall, one door and one window bring you down to roughly 71 square feet of actual panel coverage.
Common mistake: forgetting electrical outlets, light switches, or a thermostat panel — these don't need full subtraction but do affect where panels get cut, which increases waste.
3. Find the coverage-per-panel figure for your chosen style
Coverage varies by panel type — slat, fluted, hexagon, and 3D wood panels don't cover identical square footage per unit, and finish (natural oak, smoked oak, black oak, walnut) doesn't change coverage but does change how batches match visually. Check the listed dimensions on the specific product page before running your math, since guessing here undoes every measurement you've already taken.
Common mistake: using a coverage number from a different panel style than the one you're actually ordering.
4. Divide net wall area by panel coverage
Take your net square footage (after subtracting openings) and divide by the coverage per panel. If your net area is 71 square feet and each panel covers roughly 5 square feet, you land at just over 14 panels before waste allowance.
Round up, never down. A partial panel requirement still means you need the full unit.
5. Add a 10-15% waste allowance
Cuts around outlets, corners, and trim lines eat material even on a straightforward wall. Industry practice for slat and fluted panel installs is a 10% allowance for a simple rectangular wall and up to 15% for rooms with multiple corners, sloped ceilings, or curved sections.
On the 14-panel example above, a 10% allowance rounds you to 16 panels; a 15% allowance for a more complex wall rounds to 17. Order the higher number if the room has more than two corners or any angled surface.
6. Confirm batch and finish before finalizing quantity
Wood veneer panels vary slightly in grain and tone between production runs, even within the same finish name. Confirm your full order ships from a single batch where possible, and hold your final quantity decision until you've checked a physical sample against your wall's actual lighting.
Common mistake: ordering panels weeks apart for the same wall — batch variation becomes visible once panels are mounted side by side.
7. Recalculate for ceilings or multi-surface installs
Ceiling coverage and vertical wall coverage are calculated the same way — length times width, minus any fixtures — but ceiling installs typically need a higher waste allowance because cuts around recessed lighting or vents are less forgiving. Treat ceiling square footage as a separate calculation from wall square footage rather than combining them into one number.
Troubleshooting
Problem: You forgot to subtract outlets and now have visible gaps around switch plates. Fix: measure the outlet footprint (typically under 1 square foot each) and account for it during cutting, not during ordering — outlets rarely change your panel count but do change cut placement.
Problem: Panels ran short after cutting around a window. Fix: order the higher end of your waste allowance range (15% rather than 10%) any time a wall has more than one opening.
Problem: New panels don't match the color of panels ordered months earlier. Fix: reorder from the same finish line and request confirmation of batch consistency before the shipment goes out, or plan a visual break (trim, corner piece) between old and new sections.
Problem: The room has a bump-out, chimney breast, or angled wall that throws off flat-rectangle math. Fix: break the wall into separate rectangles or triangles, calculate each section's square footage independently, then sum them before dividing by panel coverage.
Problem: You calculated wall coverage but forgot end pieces or trim. Fix: end pieces and finishing trim are ordered separately from field panels — check the trim options for your finish before finalizing your cart, since they aren't included in the per-panel coverage math.
Problem: Ceiling height varies across the room (sloped or vaulted ceiling). Fix: measure height at multiple points along the wall and use the tallest measurement for your square footage, then trim excess on-site rather than underordering.
Tools and resources
- Tape measure or laser measure, accurate to the quarter-inch
- Calculator or spreadsheet for square footage math
- Painter's tape to mark panel layout on the wall before ordering
- A physical sample set — read how to order acoustic wall panel samples before buying before finalizing finish and batch
- Graph paper or a room-planning app for sketching multi-wall installs
What to do next
Once you've got your square footage nailed down, the next question is panel count by style and layout pattern — vertical runs, horizontal runs, and mixed-width designs all change how many units you actually need per wall. The full breakdown is in how to calculate how many wall panels you need, which walks through panel counts by layout rather than raw square footage alone.
FAQ
What's the best way to calculate acoustic panel coverage? Measure total wall height times width, subtract door and window openings, divide by the coverage-per-panel figure for your chosen style, then add a 10-15% waste allowance before finalizing your order.
How much wall coverage does one acoustic panel provide? Coverage varies by panel style — slat, fluted, and hexagon panels don't cover identical square footage — so always check the listed dimensions on the specific product page rather than assuming a standard figure across styles.
Do I need to subtract doors and windows when calculating coverage? Yes, any opening that won't be paneled comes out of your total square footage before you divide by coverage per panel, otherwise you'll overorder by the exact size of every opening on the wall.
How much extra should I order for waste? Plan for a 10% allowance on a simple rectangular wall and up to 15% on rooms with multiple corners, sloped ceilings, or curved sections — cuts around trim and outlets eat material even on straightforward installs.
Is acoustic panel coverage calculated the same way for ceilings? The math is the same — length times width minus fixtures — but ceiling installs generally need a higher waste allowance because cuts around recessed lighting and vents are less forgiving than a flat wall.
How much does covering a room in acoustic panels cost in 2026? Total cost depends on panel style, finish, and total square footage, so pricing is best confirmed directly on the current product listings rather than estimated from a general figure.
Can I mix panel finishes in one coverage calculation? Yes, but calculate coverage separately for each finish or style since panel dimensions and coverage-per-unit figures can differ between lines, and mixing batches within a single finish risks visible color variation.
How do I calculate coverage for an irregular wall shape? Break the wall into separate rectangles or triangles, calculate square footage for each section independently, then add the totals together before dividing by your panel's coverage figure.
One last thing
Most coverage miscalculations in 2026 installs don't come from bad math — they come from skipping the sample step and ordering full coverage sight-unseen. A finish that looks warm and light in a product photo can read noticeably darker under a room's actual lighting, and once panels are cut and mounted, that's not a fix you can math your way out of. Order the sample, hold it against the wall at the time of day the room gets used most, and only then finalize your square footage order.

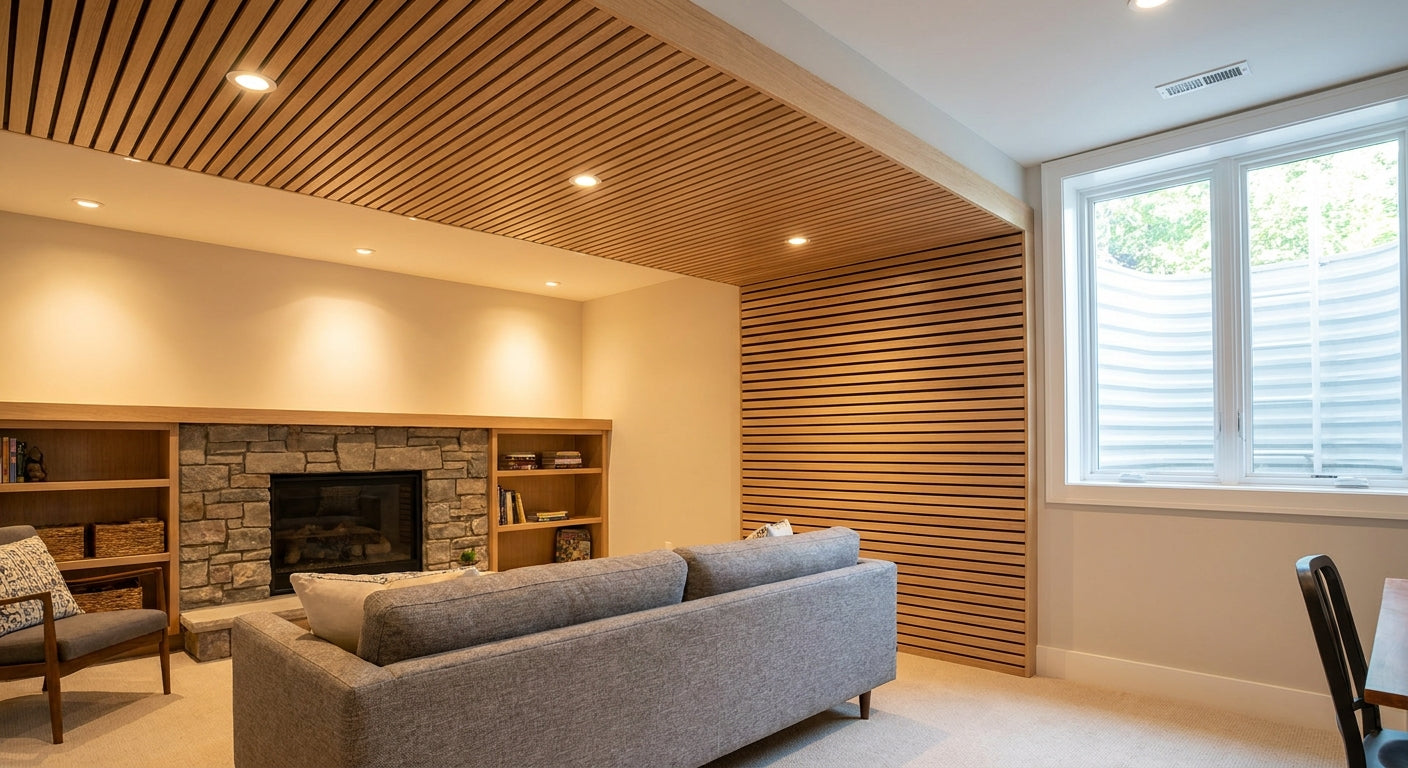



 Better performance and aesthetic appeal
 In Stock




