


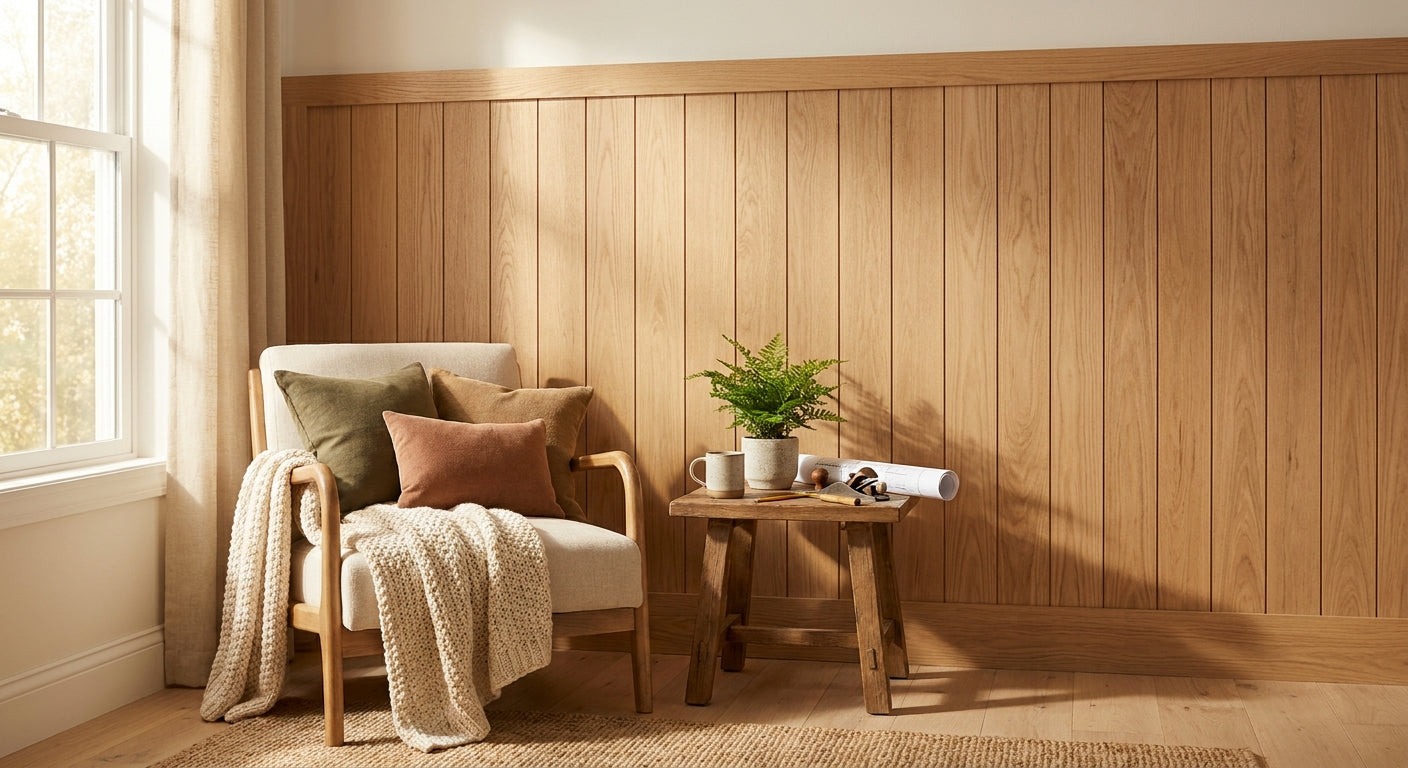
Building a wood panel accent wall from scratch is a weekend project most homeowners finish in a single Saturday, and it costs a fraction of a full remodel while completely changing how a room feels. This guide walks through the exact steps, tools, and mistakes to avoid so your wall looks like a professional install, not a DIY guess.
TL;DR: Building a wood panel accent wall from scratch takes 4-6 hours for a standard 10x8 ft wall, needs a level, a stud finder, a miter saw or hand saw, construction adhesive, and panels like the acoustic slat wall panel in natural oak. Measure and dry-fit first, mount from the center out, and use a laser level to keep every slat true. In 2026, most acoustic slat panels ship in 2 ft x 8 ft sections, so a 10 ft wide wall needs roughly 6 panels plus one cut piece. Verdict: doable in a day if you prep the wall and dry-fit before you glue anything down.
Why this matters
A flat drywall accent wall does nothing for a room's sound or its resale photos. Wood slat panels add texture, hide minor wall imperfections, and in the case of felt-backed acoustic panels, cut down on the echo that makes open-plan living rooms sound hollow. Search interest in how to build wood panel accent wall projects has stayed steady through 2026 because the payoff-to-effort ratio is hard to beat compared to tile, wallpaper, or built-in millwork.
Most people who search this term are working with a blank drywall or concrete wall and want a real result without hiring a contractor. This guide assumes that starting point.
What you'll need
- Stud finder (magnetic or electronic)
- 4 ft level or laser level
- Tape measure and pencil
- Miter saw, circular saw, or fine-tooth hand saw
- Construction adhesive rated for wood-to-drywall bonding
- 1.5-2 inch finish nails or brad nailer (optional, for extra hold)
- Caulk gun
- Sandpaper (220 grit) for cut edges
- Panels: acoustic slat wall panel in natural oak or your chosen finish
- A sample panel or full sample box if you haven't picked a finish yet
Order samples before committing to a full order. Wood veneer color shifts under different lighting, and what looks warm in a showroom photo can read yellow or gray under your own bulbs. This single step prevents most of the buyer's remorse people report after installing accent walls.
The steps
1. Measure the wall and calculate panel count
Measure width and height in inches, then divide by your panel's coverage area to get a rough count. A standard 2 ft x 8 ft slat panel covers 16 square feet, so a 10 ft x 8 ft wall (80 sq ft) needs 5 full panels plus trim cuts for the remainder. Always add 10% extra for waste and mistakes — running short mid-project on a Saturday afternoon kills momentum fast.
Common mistake: measuring only width and skipping ceiling height variance. Older homes especially can be off by half an inch from one side of the wall to the other, which throws off your top row alignment if you don't account for it early.
2. Locate studs and mark your reference lines
Run the stud finder across the full wall and mark every stud location lightly in pencil near the baseboard and near the ceiling. Snap a vertical chalk line at the wall's true center — this becomes your starting point, not the corner.
Starting from center and working outward keeps the pattern symmetrical even if the wall isn't perfectly square, which is common in houses built before 2000. Expected outcome: a wall with faint vertical guide marks every 16 or 24 inches on center, matching your framing.
3. Dry-fit the panels before any adhesive touches the wall
Lay or lean your panels against the wall in the pattern you plan to install, including any color mixing or end pieces. This is the step people skip and regret. Dry-fitting catches spacing errors, reveals if your last piece will be an awkward 2-inch sliver, and lets you adjust the starting point before anything is permanent.
If the final piece on either side will be under 3 inches wide, shift your center line so both ends land closer to even. An end piece slat wall panel in natural oak is built for exactly this transition and gives you a clean factory edge instead of a raw cut.
4. Cut panels to size
Use a fine-tooth blade to avoid splintering the veneer. Cut from the back side when using a circular saw, since tear-out is worse on the finished face. Sand every cut edge with 220 grit before mounting — raw edges catch light differently and look unfinished if left rough.
Common mistake: cutting the panel to the exact wall height with zero gap top and bottom. Leave a 1/4 inch gap at floor and ceiling; wood veneer panels expand and contract slightly with humidity, and a tight fit can bow the panel within a few months.
5. Apply adhesive and mount from center out
Run a bead of construction adhesive in a zigzag pattern on the panel back, plus a perimeter bead. Press the first panel along your center chalk line, check it with the level immediately, and hold or brace it for the adhesive's open time (check the product label, typically 10-15 minutes).
Work outward in both directions, checking level every second panel — small gaps compound fast across a wide wall. If you're nailing into studs for extra hold, drive nails into the routed slat grooves so the fastener heads stay hidden.
6. Finish the edges and corners
A raw cut edge at a corner or ceiling line reads as unfinished no matter how clean the cut is. Trim pieces close the gap and give the installation a factory look, especially where the panel meets drywall, a window frame, or an adjacent wall.
Verdict on trim: always budget for it. Skipping trim is the single most common reason DIY accent walls look homemade in photos even when the panel work itself was solid.
7. Let the adhesive cure before heavy contact
Most construction adhesives need 24-72 hours to reach full strength, even though the panel feels solid within the hour. Avoid leaning furniture, hanging shelves, or letting kids climb the new wall until the cure window has passed.
Common mistake: mounting a TV bracket or floating shelf into the panel the same day. Wait the full cure time listed on your adhesive, then mount into studs behind the panel, not just into the panel material itself.
Troubleshooting
Panel won't sit flush against the wall. Check for outlet boxes, old nail heads, or texture bumps behind the panel location. A thin foam shim behind the low spot usually solves it without re-cutting anything.
Gaps appear between panels after a few weeks. This is usually humidity-driven wood movement, not an installation error. A small bead of matching wood filler in the gap resolves it; a whole-panel replacement is rarely needed.
Colors don't match between panels from different batches. Natural wood veneer varies by batch since it's a real material, not a print. Order all panels for one wall in a single order and inspect them together before cutting, so any variance gets distributed evenly across the wall rather than concentrated in one spot.
Adhesive won't hold on a textured or painted wall. Sand glossy paint down to a dull finish first, or the adhesive bond will fail within weeks. Textured walls (orange peel, popcorn) need a thicker adhesive bead or mechanical fasteners as backup.
Panel edges look chipped after cutting. Switch to a finer-tooth blade and always cut with the finished face down on a circular saw, or face up on a table saw where the blade enters from below.
Tools and resources
- Full sample box to test finishes before ordering: full sample box slat wall panel
- Coverage math for larger or irregular walls: how to calculate how many wall panels you need
- Laser level, stud finder, miter saw, construction adhesive rated for interior wood veneer
- Sandpaper (220 grit) and a caulk gun for finishing work
FAQ
What's the best wood panel for a DIY accent wall in 2026? Slat panels with a real wood veneer face, like natural oak or walnut finishes, give the cleanest look for beginners because the routed grooves hide minor spacing inconsistencies better than flat panel styles.
How long does it take to build a wood panel accent wall from scratch? Most 80-100 sq ft walls take 4-6 hours including measuring, dry-fitting, cutting, and mounting, plus a 24-72 hour adhesive cure before hanging anything on the wall.
Do I need to hire a contractor to install slat wall panels? No. The project is designed for one or two people with basic tools; the main skill required is patience during the dry-fit and leveling stages, not carpentry experience.
Is construction adhesive enough, or do I need nails too? Adhesive alone holds most lightweight veneer panels, but adding finish nails into studs gives extra security, especially on taller walls or in households with kids or pets.
Can I install wood slat panels over a textured wall? Yes, after sanding glossy or heavily textured spots flat enough for adhesive to bond properly; skipping this step is the top cause of panels loosening within a year.
How much does a wood panel accent wall cost to build in 2026? Cost depends on wall size and finish choice, but check current panel pricing directly since veneer type and coverage area both affect the total.
What's the difference between acoustic and standard slat panels? Acoustic slat panels have a felt or foam backing that absorbs sound, useful in living rooms and media rooms, while standard slat panels are purely decorative and slightly less expensive.
Do wood panel accent walls need maintenance? Occasional dusting and keeping humidity relatively stable is enough for most interior installs; avoid direct high-moisture exposure unless the panel is rated for it.
One last thing
The detail that trips up most first-timers isn't the cutting or the leveling — it's skipping the dry-fit. Every experienced installer who's done more than one of these walls says the same thing: lean every panel against the wall in its final position before any adhesive comes out, because that's the only way to catch a bad last-piece width before it's permanent. It costs you fifteen minutes and saves you from staring at a lopsided sliver panel for the next five years.

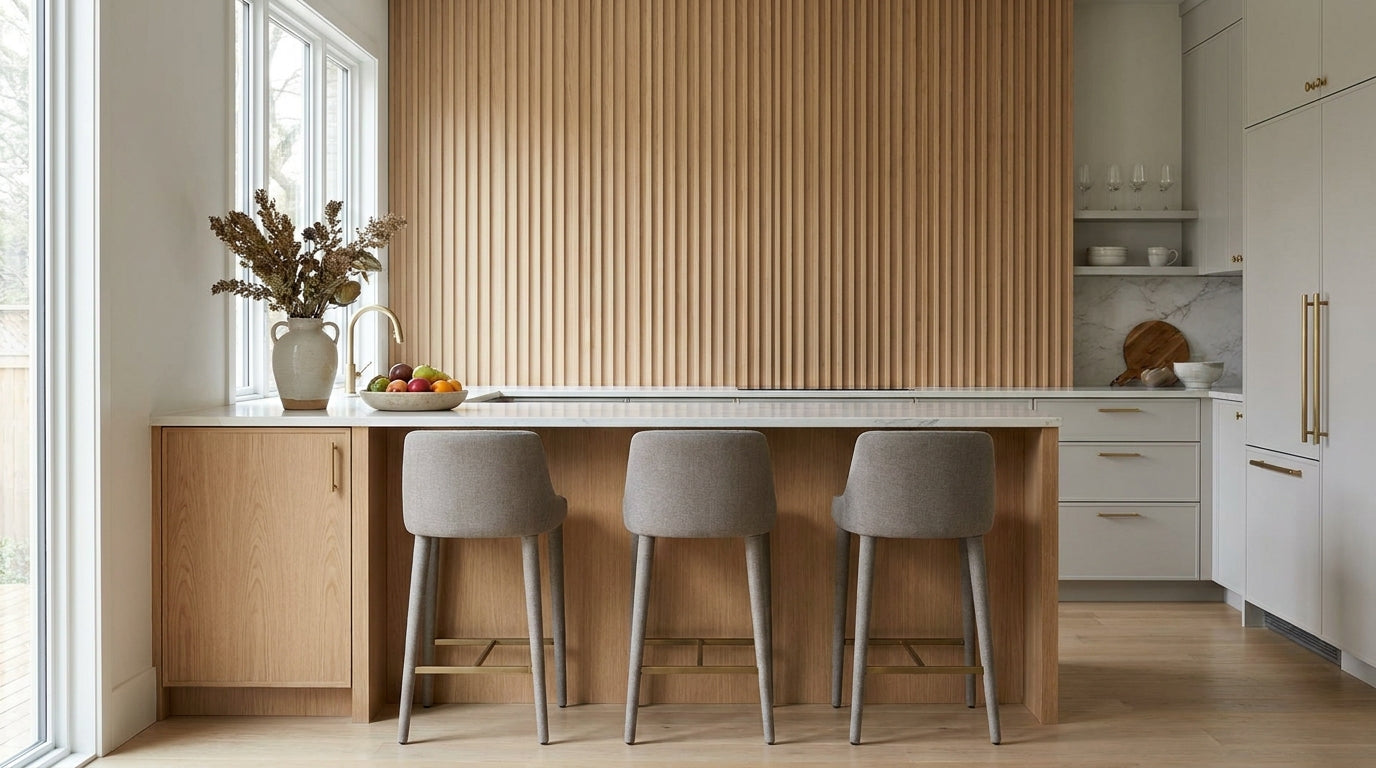



 Better performance and aesthetic appeal
 In Stock




