


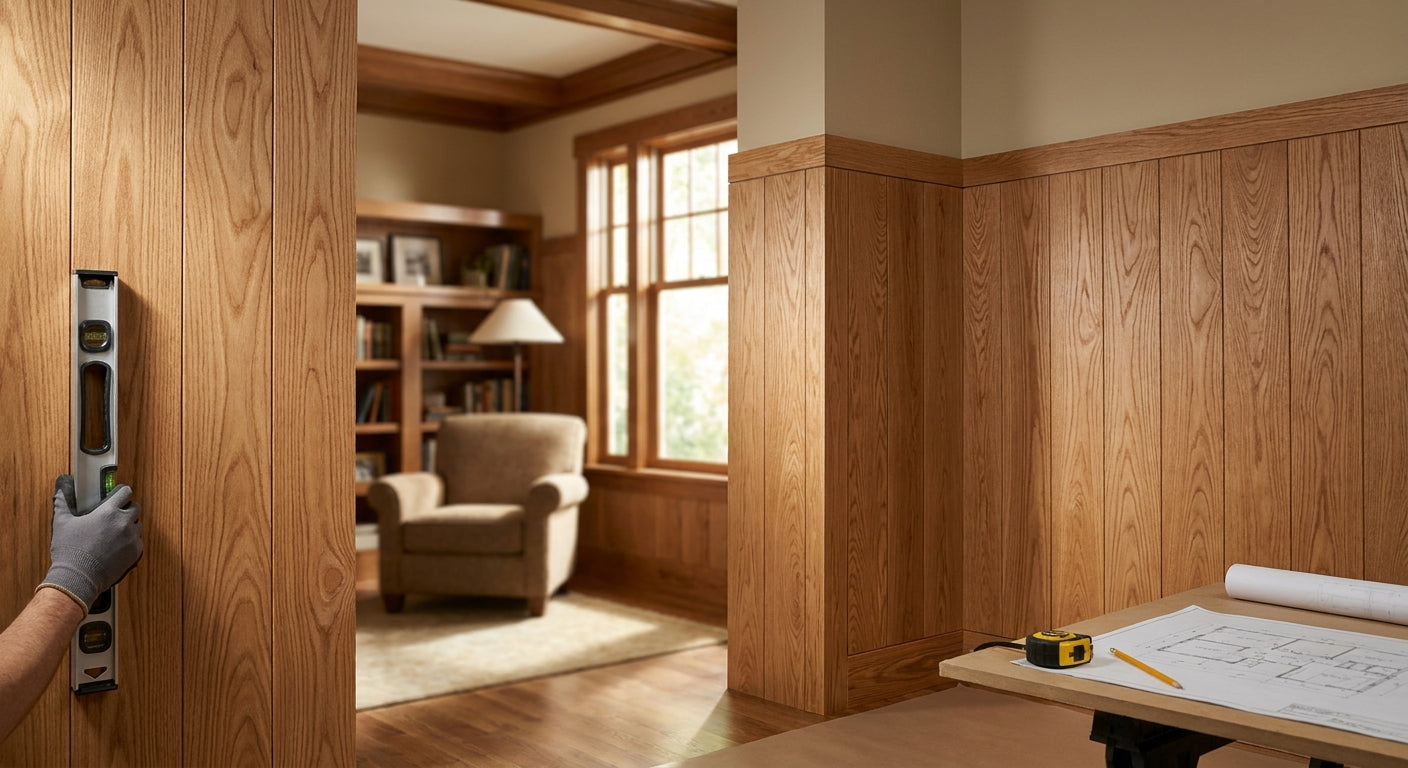
Grain direction mismatches turn a wall of premium panels into a patchwork quilt, and it happens most often on multi-wall installs where boxes get opened out of order. This guide walks through how to plan, sequence, and install panels so the grain reads as one continuous surface across every wall in the room, not four separate projects that happen to share a color.
- Match wood panel grain direction by dry-fitting the full run before driving a single screw — skipping this causes most visible seams.
- AKU Woodpanel's Full Sample Box ($10) lets you check grain and tone consistency before ordering full runs for a multi-wall job.
- Number every panel on the back before it leaves the stack; batch shifts in real wood veneer are the top cause of grain drift.
- Vertical slat runs hide grain shifts better than horizontal runs where two walls meet at a corner in 2026 installs.
- Establish one continuous grain reference line at the first corner and carry it through every adjoining wall.
Why this matters
Real wood veneer is not printed laminate. Every sheet carries natural grain variation, and that variation shifts from batch to batch even within the same natural oak slat wall panel product line. On a single wall, small shifts blend in. Across three or four walls in the same room, an unplanned grain break at each corner reads as sloppy work, even when the panels themselves are premium.
The fix is not a special product. It is a sequencing problem you solve before any panel touches the wall. Get the layout and numbering right in 2026's install season, and the corners disappear into the wall instead of announcing themselves.
What you'll need
- Full inventory of panel boxes for every wall in the room, unopened until layout is confirmed
- A pencil and painter's tape for numbering panels on the back
- A laser level or long straightedge to carry a grain reference line around corners
- End pieces to finish transitions cleanly at outside and inside corners
- Enough floor space to dry-fit the longest wall run flat before installing
- A sample of your chosen finish ordered ahead of the full purchase, to confirm grain tone under your room's actual lighting
If you're ordering across finishes — natural oak, walnut, smoked oak, or black oak — grab a full sample box first. At $10 it costs less than a single panel and it's the fastest way to catch a grain or tone mismatch before it's on four walls instead of one.
The steps
1. Inventory every panel before you cut anything
Open every box for the room and lay panels flat, unlabeled side up. This accomplishes one thing: it lets you see the full grain range you're working with before any piece is committed to a specific wall. Cutting first and sorting later is how mismatched grain ends up permanently installed. Common mistake: installers cut panels to length as boxes are opened, which locks in whatever order the factory packed them.
2. Sort panels by veneer batch and tone
Real wood veneer batches can vary in tone even within the same SKU. Group panels into piles by visible grain pattern and color depth — light, medium, and slightly deeper tones. This step accomplishes grain consistency planning: you'll assign the most similar-toned panels to walls that are visible from the same sightline, like a living room and the adjoining hallway wall visible from the same doorway. Common mistake: assuming every panel in a box is identical: veneer is a natural material, not a printed sheet.
3. Dry-fit the full wall run on the floor
Lay out panels edge to edge in the order they'll be installed, for each wall, before mounting anything. This is the single highest-leverage step in the whole project. You're checking that grain lines flow in a consistent direction and that no two adjacent panels clash in tone. Expected outcome: a run that reads as one continuous grain field when viewed from six feet away. Common mistake: dry-fitting only the first wall and assuming the rest will match.
4. Establish one grain reference line across corners
At every inside or outside corner where two walls meet, decide in advance whether the grain direction continues straight through or breaks intentionally at a mitered seam. Mark this decision with tape before installing either wall. This matters because unplanned grain breaks at corners are the most visible mismatch in the whole room — your eye tracks straight lines, and a corner is where the eye naturally lands. Common mistake: installing one wall fully, then figuring out the corner transition afterward.
5. Number and map each panel to its wall position
Write a number on the back of each panel in the order you'll install it, matched to a simple sketch of the wall layout. This turns your dry-fit decision into a install-day checklist you can't second-guess under time pressure. Expected outcome: zero on-the-fly grain decisions during install, when lighting and fatigue make judgment calls worse. Common mistake: relying on memory instead of a written map once boxes get shuffled at the job site.
6. Install starting from the most visible corner
Begin at the corner or focal wall that gets seen first — a TV wall, an entry sightline, a reception desk backdrop — and work outward from there. This puts your best-matched panels where they'll be judged hardest. Set panels with consistent spacing (most slat panel systems space the same gap between slats, so keep that gap constant panel to panel). Expected outcome: the focal wall reads perfectly, and any minor tone drift lands on a less-visible return wall. Common mistake: starting install in a closet or low-visibility corner and running out of the best-matched panels before reaching the wall that matters.
7. Finish transitions with end pieces
At exposed edges, outside corners, and where panels meet drywall or trim, use end pieces rather than a raw cut panel edge. A raw cut edge exposes the panel core and interrupts the grain line at exactly the spot where the eye is drawn. Expected outcome: a factory-finished edge that continues the grain illusion instead of breaking it. Common mistake: cutting a full panel down to fit a corner and leaving the cut edge exposed and unfinished.
8. Step back and check under raking light
Once a wall run is fully mounted, check it under raking light — light hitting the surface at a low angle from a lamp or window. This is the fastest way to spot a grain break your eye missed under flat overhead lighting. Expected outcome: any remaining mismatch shows up now, while a single panel swap is still possible, instead of after the whole room is finished. Common mistake: only checking the wall under the room's main overhead light, which flattens grain texture and hides mismatches.


Troubleshooting
Grain looks reversed when you turn a corner. This happens when the grain reference line from step 4 wasn't marked before both walls were installed. Fix: if only a few panels are affected, remove and flip them if the panel design allows a mirrored install; if not, plan an intentional mitered break at that corner instead of pretending it isn't there.
A visible seam shows at an inside corner. Raw cut edges pushed into a corner without an end piece expose the panel core and break the grain line. Fix: pull the panel back, trim clean, and finish with an end piece rather than caulk or filler.
Color drift is visible between two boxes from the same order. Real wood veneer batches vary even within one SKU and one order date. Fix: reorder panels between walls so the biggest tone shift lands on your least-visible wall, not your focal wall.
A panel bows slightly, changing how the grain angle reads. This usually means the panel sat in a hot garage or direct sun before install and the MDF backing absorbed humidity unevenly. Fix: store panels flat, indoors, at room temperature for 48 hours before mounting.
Outlet or switch cutouts break the grain line mid-panel. Cutting an outlet hole through a strong grain pattern draws the eye straight to the interruption. Fix: plan cutouts during the dry-fit stage in step 3, and rotate which panel gets the cutout so it lands in a section with subtler grain, not the most dramatic piece.
Tools and resources
- Full inventory sketch of every wall, marked with panel numbers from step 5
- Full Sample Box to confirm tone and grain before ordering the full quantity
- End pieces sized to your finish, for every exposed edge and corner
- A related read on mixing slat panel widths if your multi-wall layout uses more than one panel width
- A raking-light source (lamp or work light) for the final check in step 8
What to do next
Grain matching is one piece of a bigger sequencing job. If you're planning panels for an entire room rather than a single wall, read the full breakdown on planning a full room wood panel installation before you place your order — it covers quantity math and layout sequencing that pairs directly with the grain-matching steps above.
FAQ
What's the best way to match wood panel grain direction across walls?
Dry-fit the full panel run for each wall on the floor before installing anything, sorting panels by grain tone first. This catches mismatches while a swap is still easy, instead of after panels are mounted.
Is vertical or horizontal grain direction better for matching walls?
Vertical slat runs generally hide grain shifts better at corners than horizontal runs, since the eye tracks the vertical line rather than comparing tone across a horizontal seam. Horizontal runs work fine on a single wall with no corner transition.
How much does it cost to check grain matching before ordering full panels?
A sample box costs around $10, far less than reordering a full wall's worth of panels that don't match. It lets you compare natural oak, walnut, and smoked oak tones under your own room lighting.
Can you mix grain direction on purpose for a design effect?
Yes, an intentional grain break at a corner or a mitered seam can work as a deliberate design choice in 2026 interiors. The key difference from a mistake is that it's planned and marked before install, not discovered afterward.
Do wood veneer panel batches always match exactly?
No, real wood veneer varies naturally batch to batch, even within the same product and finish. Sorting panels by tone before install, as in step 2, is how you manage that variation instead of fighting it.
How many panels should I check before starting a multi-wall install?
Open every box for the entire room before cutting a single panel, not just the first wall's boxes. This gives you the full grain range up front so similar tones can be grouped to visible walls.
What happens if grain direction is installed wrong?
A grain mismatch at a corner or seam draws the eye immediately, even on otherwise well-installed panels. The panels themselves aren't damaged, but fixing it after install usually means removing and reinstalling at least the affected section.
Should ceiling panels match the grain direction of wall panels?
Ceiling and wall panel grain direction should be planned together if both surfaces are visible from the same sightline, using the same reference-line approach from step 4. If the ceiling is a separate visual zone, matching is optional.
One last thing
Most grain mismatches trace back to a single decision: which box got opened first. Installers who number panels before removing a single one from the stack almost never end up with a corner that looks wrong, because the hard decision happened on the floor during the dry-fit, not on a ladder mid-install. Order the sample box before the full run in 2026 — it's the cheapest insurance in the whole project.





 Better performance and aesthetic appeal
 In Stock




