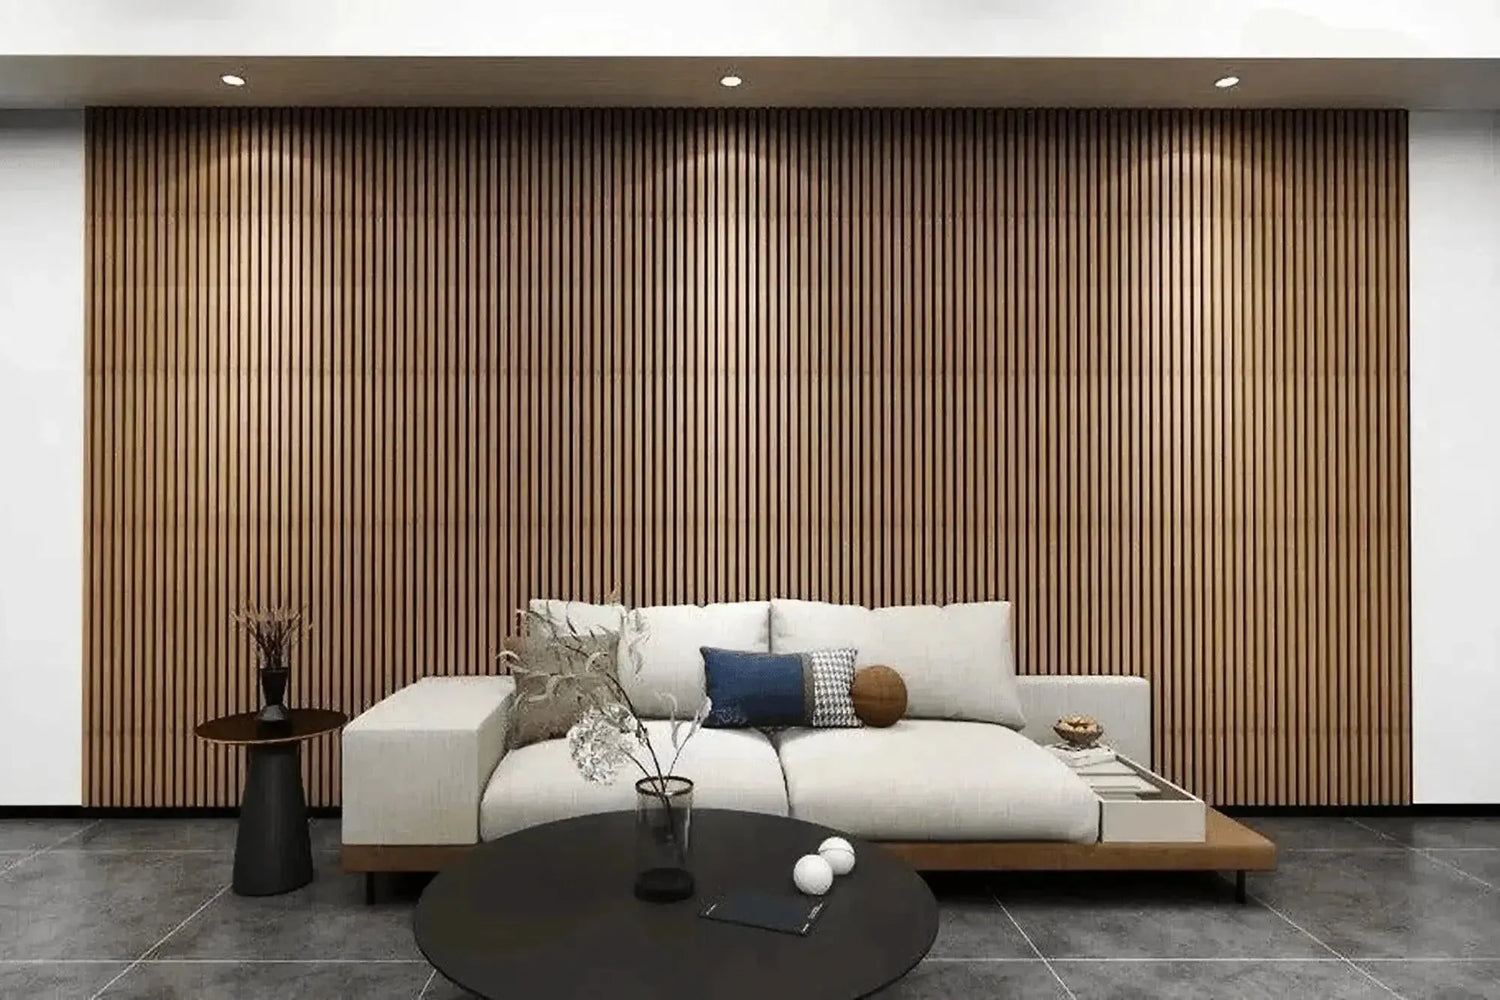
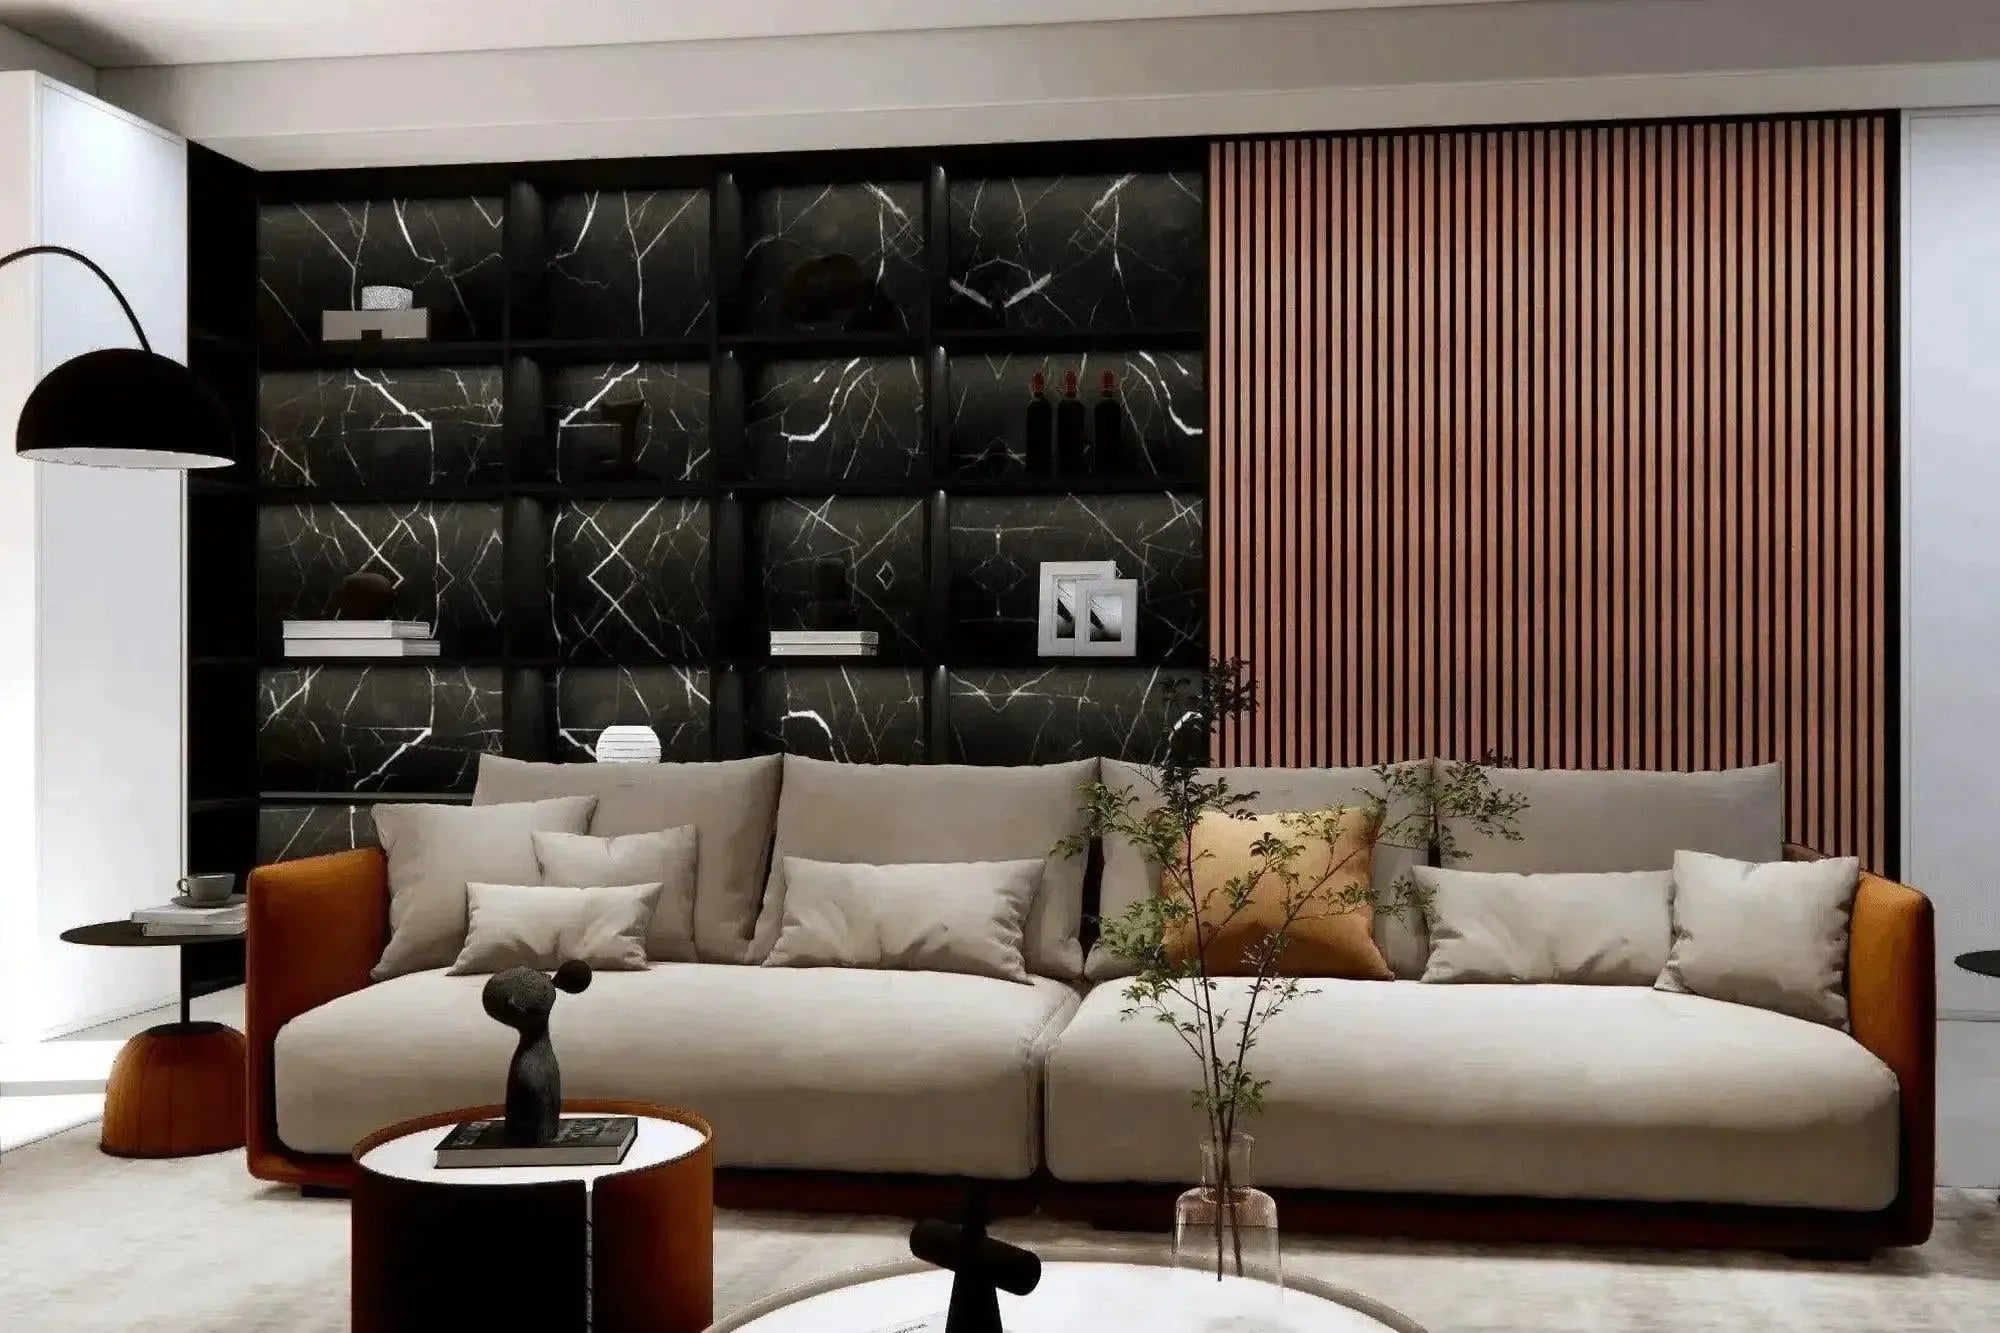
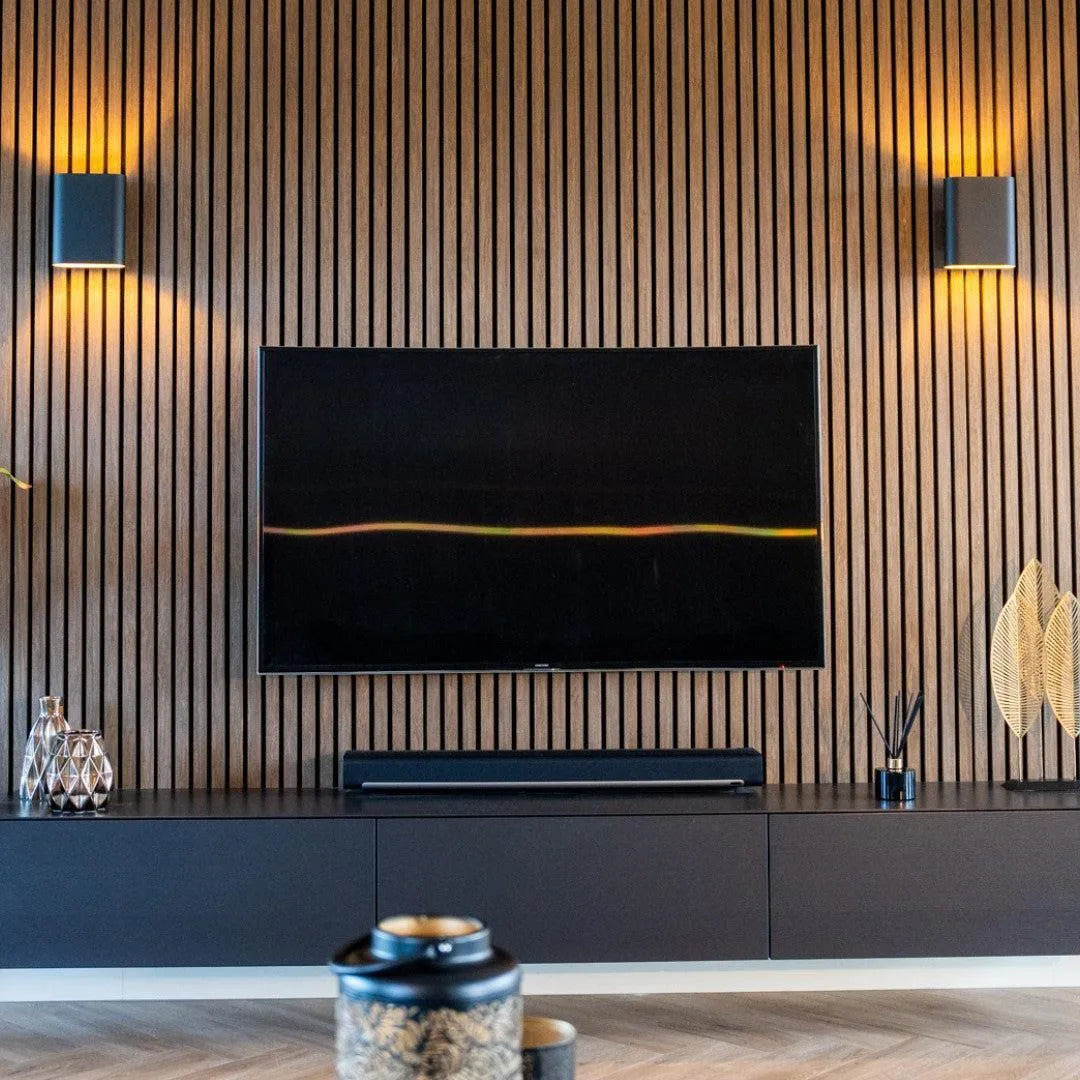
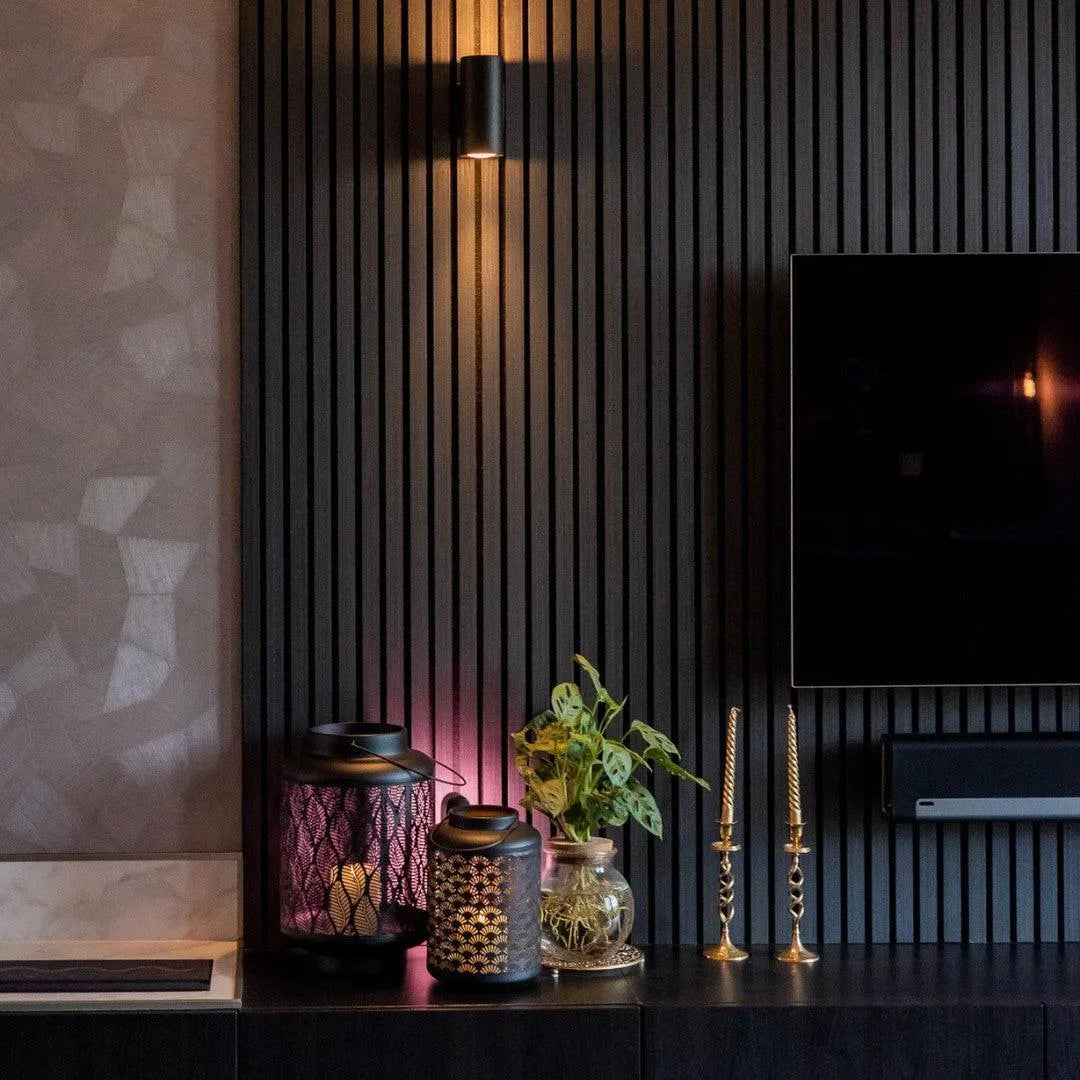
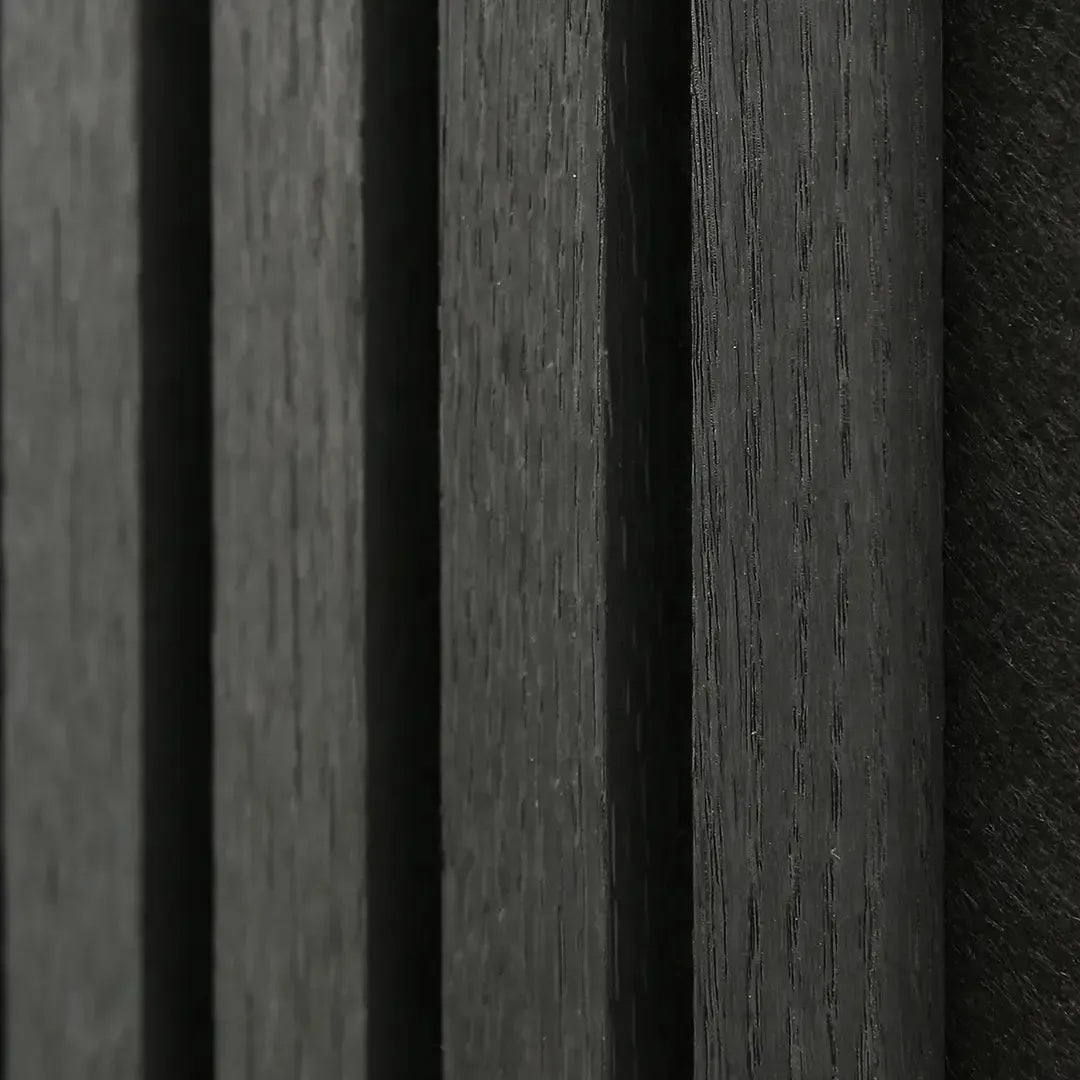
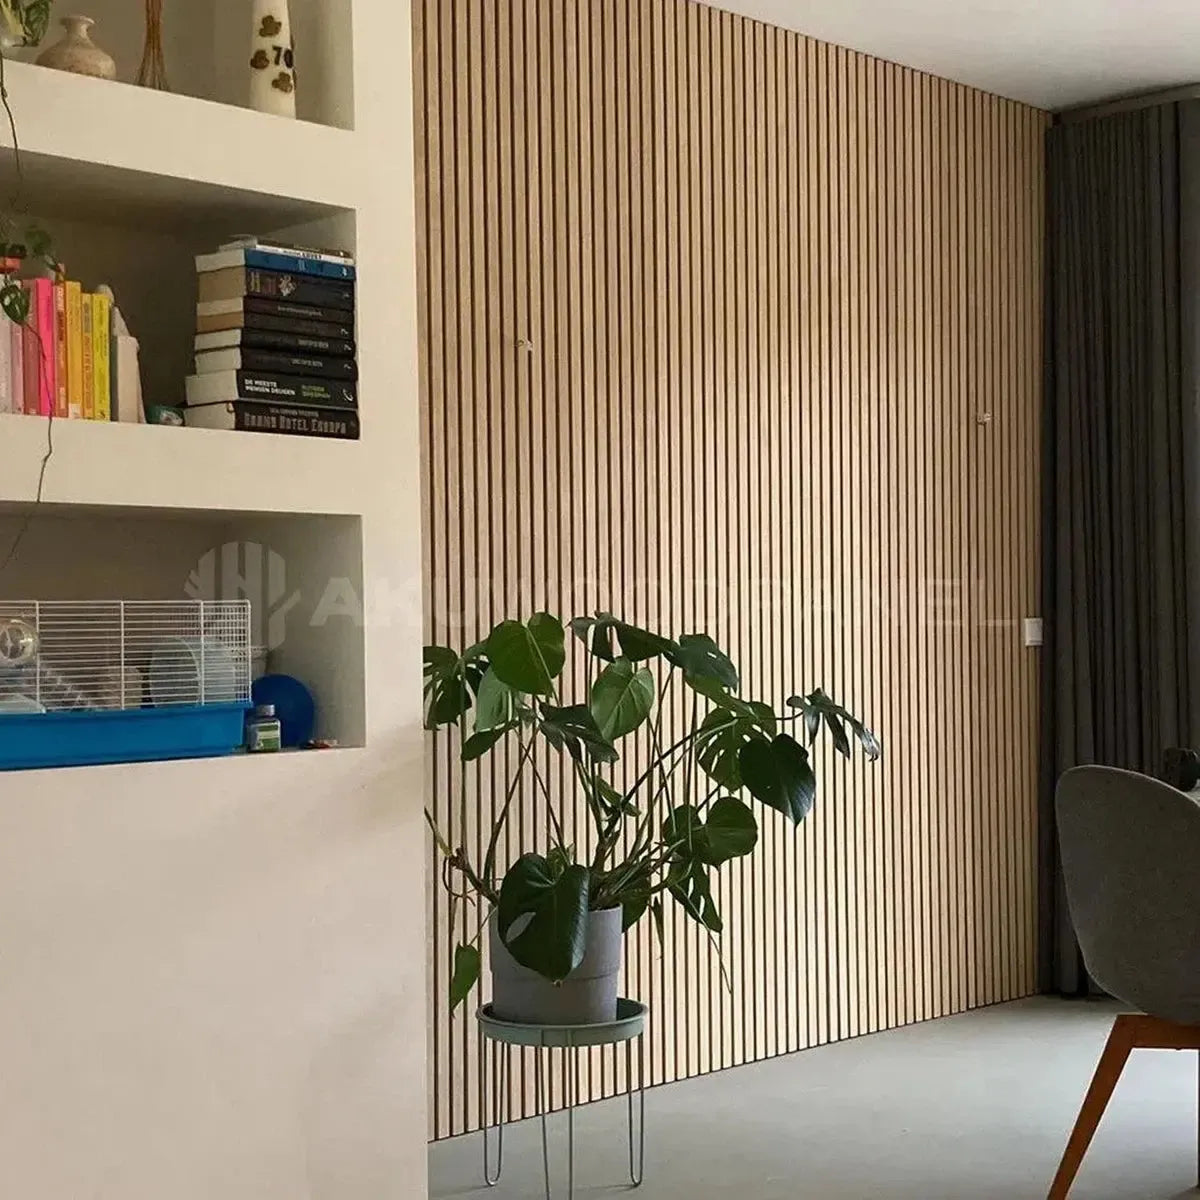
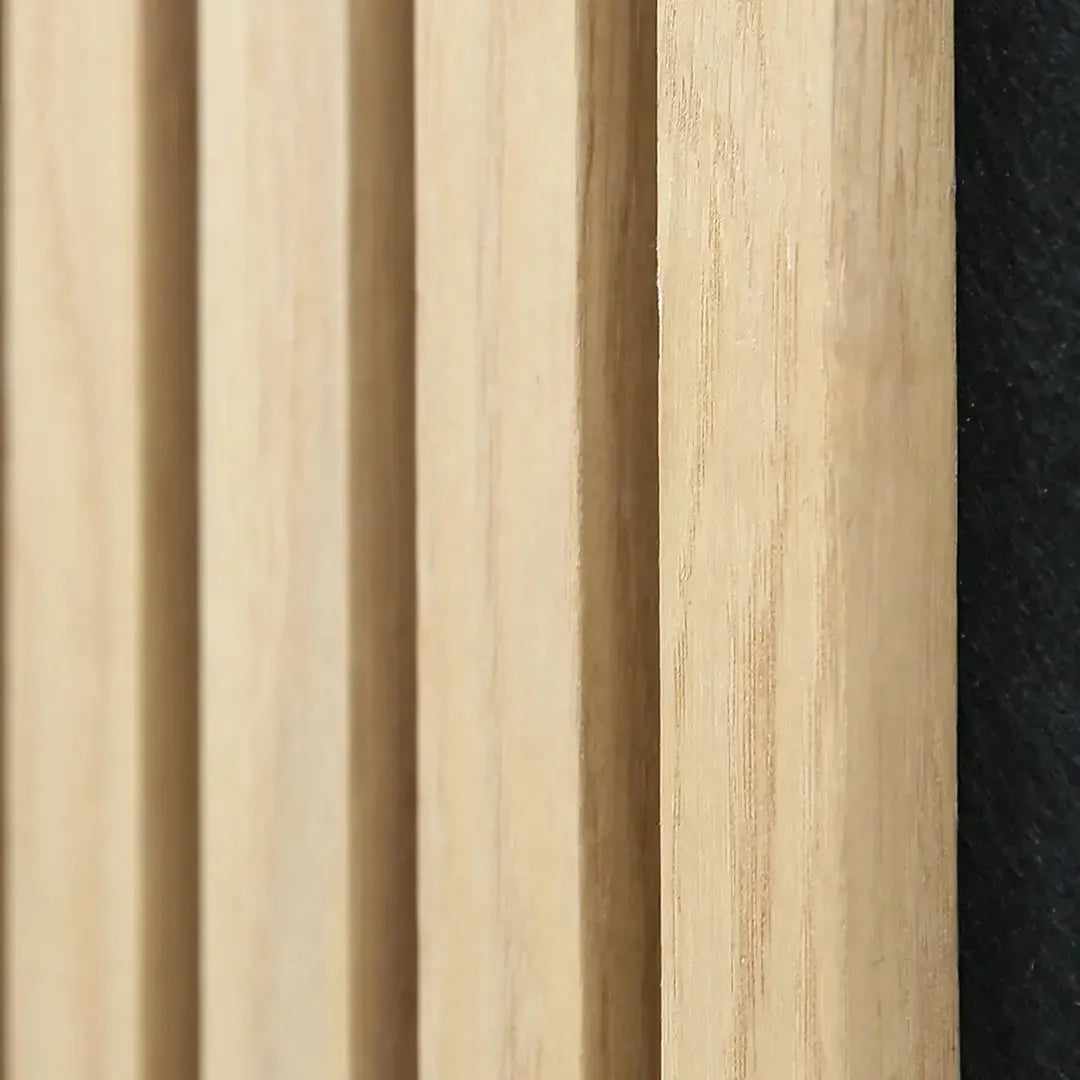
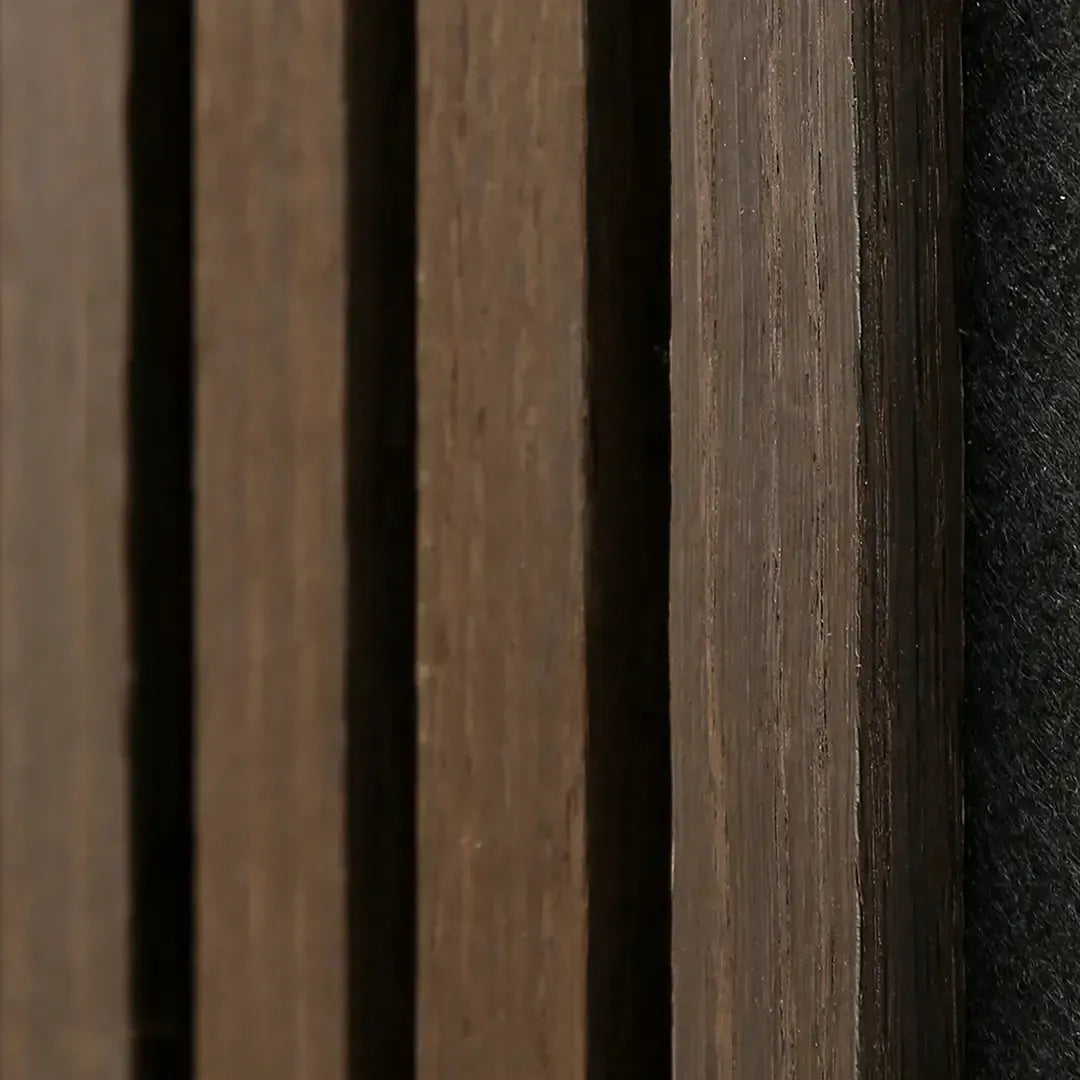
Are you looking to install acoustic slat wall panels in your living room, kitchen, or office but find the usual options a bit boring? Not to worry! There’s a whole host of possibilities. Imagine transforming your panels into a stunning work of art, chic headboard, or even an elegant radiator cover.
Gathering Materials
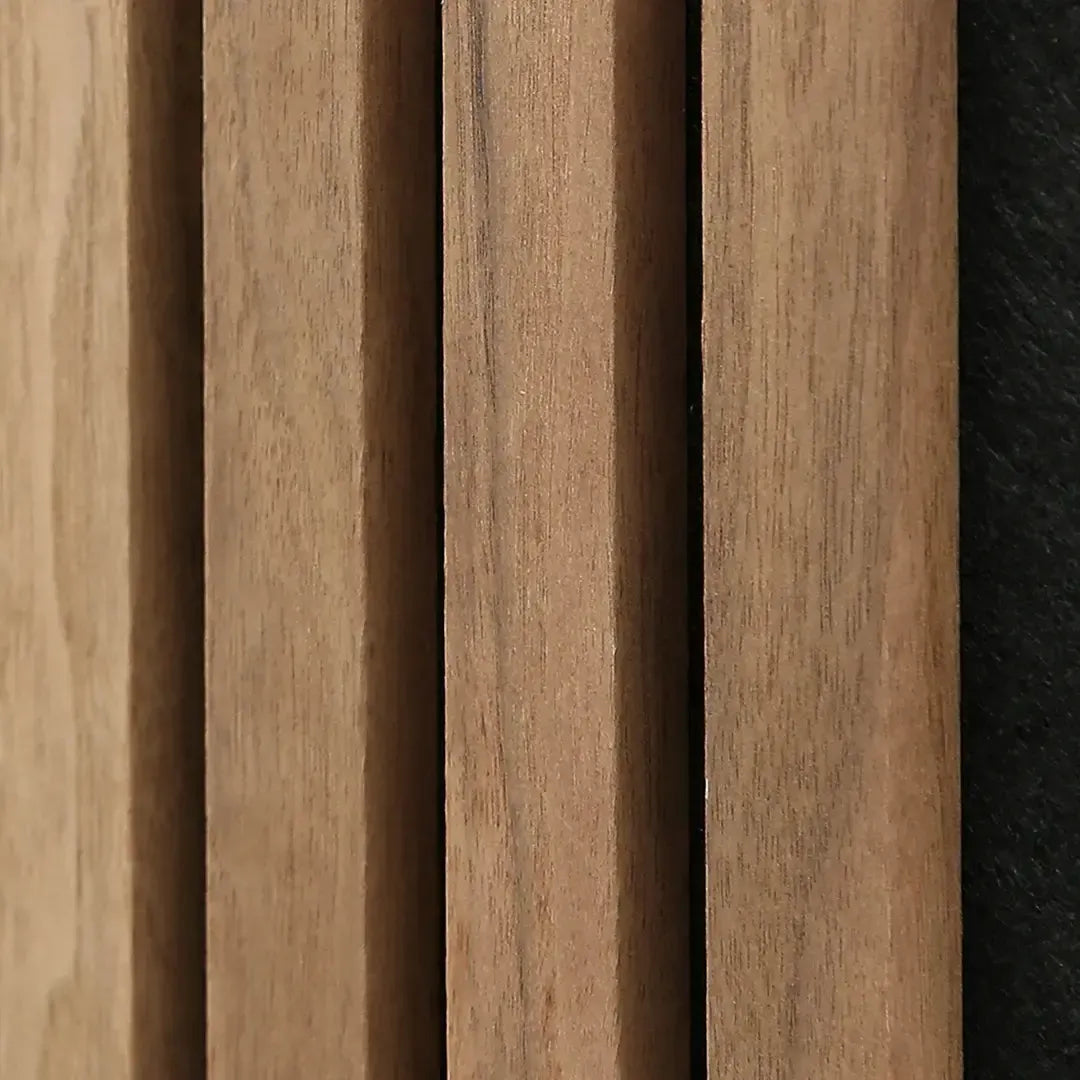
First, you need to gather the tools and materials you'll need for your project. Most panels come in a standard size of 94.5” x 23.6” x 0.9”. If you need a different size, you can cut the panels accordingly.
- Tape measure
- Saw
- Screws or putty (try to use black screws for black felt)
- Plumb rule
- Pencil
- Steel square
Custom Artwork Panels
Why settle for the ordinary when you can turn your acoustic panels into an extraordinary piece of art? Start by measuring your chosen artwork, marking its dimensions on the panel, and cutting along those lines. Install the panels on the wall, ensuring they are level. Lay the painting face down on a soft surface, apply glue to the back, and press it firmly onto the wall panels. Just like that, you have created a custom art installation!
DIY Headboard
Giving your bedroom a refresh can be as simple as adding a custom headboard. This easy DIY project can dramatically change the look and feel of your room. First, decide whether you prefer vertical or horizontal paneling. Horizontal panels can make the room feel more spacious while vertical panels can create a sleek, sophisticated look. Attach the panels to the wall behind your bed using screws or putty. If you have black felt, be sure to use black screws for a more seamless finish. Push the bed back against the wall, and enjoy your new headboard!
Radiator Cover
Looking for a way to improve both your living room acoustics and aesthetics at the same time? Try covering your radiator with acoustic paneling. Start by measuring the radiator and, if you want to create a frame, gather additional slats for support. Ensure the frame has both vertical and horizontal supports, then cut the panels to fit. Attach the panels to the frame using putty or screws, and you’ve got a sleek, functional radiator cover.
We love seeing your creativity! If you try out any of these projects or come up with your own, send us your photos. Your project might even be featured on our website!
